
Your LED LENSER headlamp red light keeps flashing instead of turning solid, leaving you in the dark when you need it most. This common issue often stems from a dead battery, a faulty cable, or loose pins in the universal charger plug.
This guide explains exactly how to charge LED LENSER headlamp models like the H14R.2 by testing cables, fixing plug contacts, and diagnosing battery health. You will learn safe methods to revive your lamp or determine when a replacement is necessary.
Test and Replace the USB Charging Cable
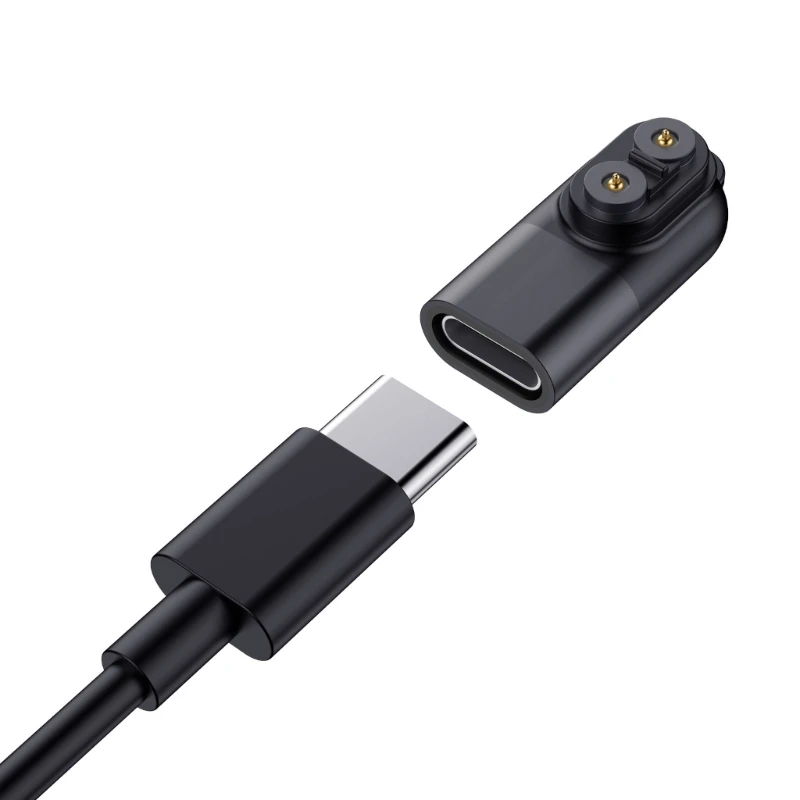
A damaged or low-quality USB cable is frequently the culprit behind charging failures. Even if the outer jacket looks perfect, internal wire breaks can prevent sufficient power from reaching the battery.
Switch to a High-Quality Fast Charge Cable
Many users resolve the flashing red light simply by swapping cables. The included cable may be thin or damaged.
* Use a known-working cable from a smartphone, such as an HTC or Samsung fast-charge cable.
* Ensure the cable supports data and power transfer, not just charging.
* Connect directly to a wall adapter rather than a computer port for consistent voltage.
Inspect for Intermittent Connections
Gently wiggle the cable near the headlamp port while it is plugged in. If the indicator light flickers or cuts out during this movement, the internal wires are broken. Replace the cable immediately with a certified USB-C or micro-USB option matching your specific model to ensure a stable connection.
Fix Loose Pins in the Universal Charger Plug

The universal plug adapter included with many LED LENSER lamps often suffers from poor contact quality. This design uses interchangeable pins that can loosen over time or fail to press firmly against the battery contacts.
Bend Pins to Restore Contact
If you notice blue sparks or hear crackling when plugging the charger into the wall, the internal pins are not making solid contact. This is a fire hazard and causes intermittent charging.
1. Unplug the charger from the wall and remove the USB cable.
2. Carefully inspect the two small metal pins inside the universal plug housing.
3. Gently bend these pins forward with your finger so they protrude slightly more.
4. Reassemble and test. This simple adjustment often forces a firm connection, stopping the flashing light.
Consider a Dedicated Wall Charger
For long-term reliability, replace the cheap universal plug with a fixed-pin wall charger. Alternatively, use a high-quality USB power bank with a stable output. These sources provide consistent power without the mechanical failure points of the interchangeable plug system.
Verify Battery Insertion and Cell Health
Even with perfect charging gear, incorrect battery placement or degraded cells will prevent the headlamp from powering up. The H14R.2 relies on specific lithium-ion configurations to function.
Confirm Correct Polarity Orientation
Double-check that batteries are inserted with the correct polarity (+/-) inside the compartment. Inserting them backward prevents charging and may trigger error signals on the device. This is a common mistake after the lamp has been in storage for months.
Test with Fresh 18650 or 14500 Cells
The H14R.2 typically uses rechargeable 18650 or 14500 Li-ion batteries. If a battery sits fully drained for too long, its voltage drops below the safe charging threshold of 2.5V.
* Swap in known-charged batteries of the same type to see if the lamp activates.
* Try using 4xAA alkaline batteries if your model supports them. This isolates whether the issue lies with the lamp electronics or the rechargeable cells themselves.
* Always replace 18650 cells in matched pairs to ensure even discharge and prevent charger damage.
Diagnose Flashing Red Light Meanings
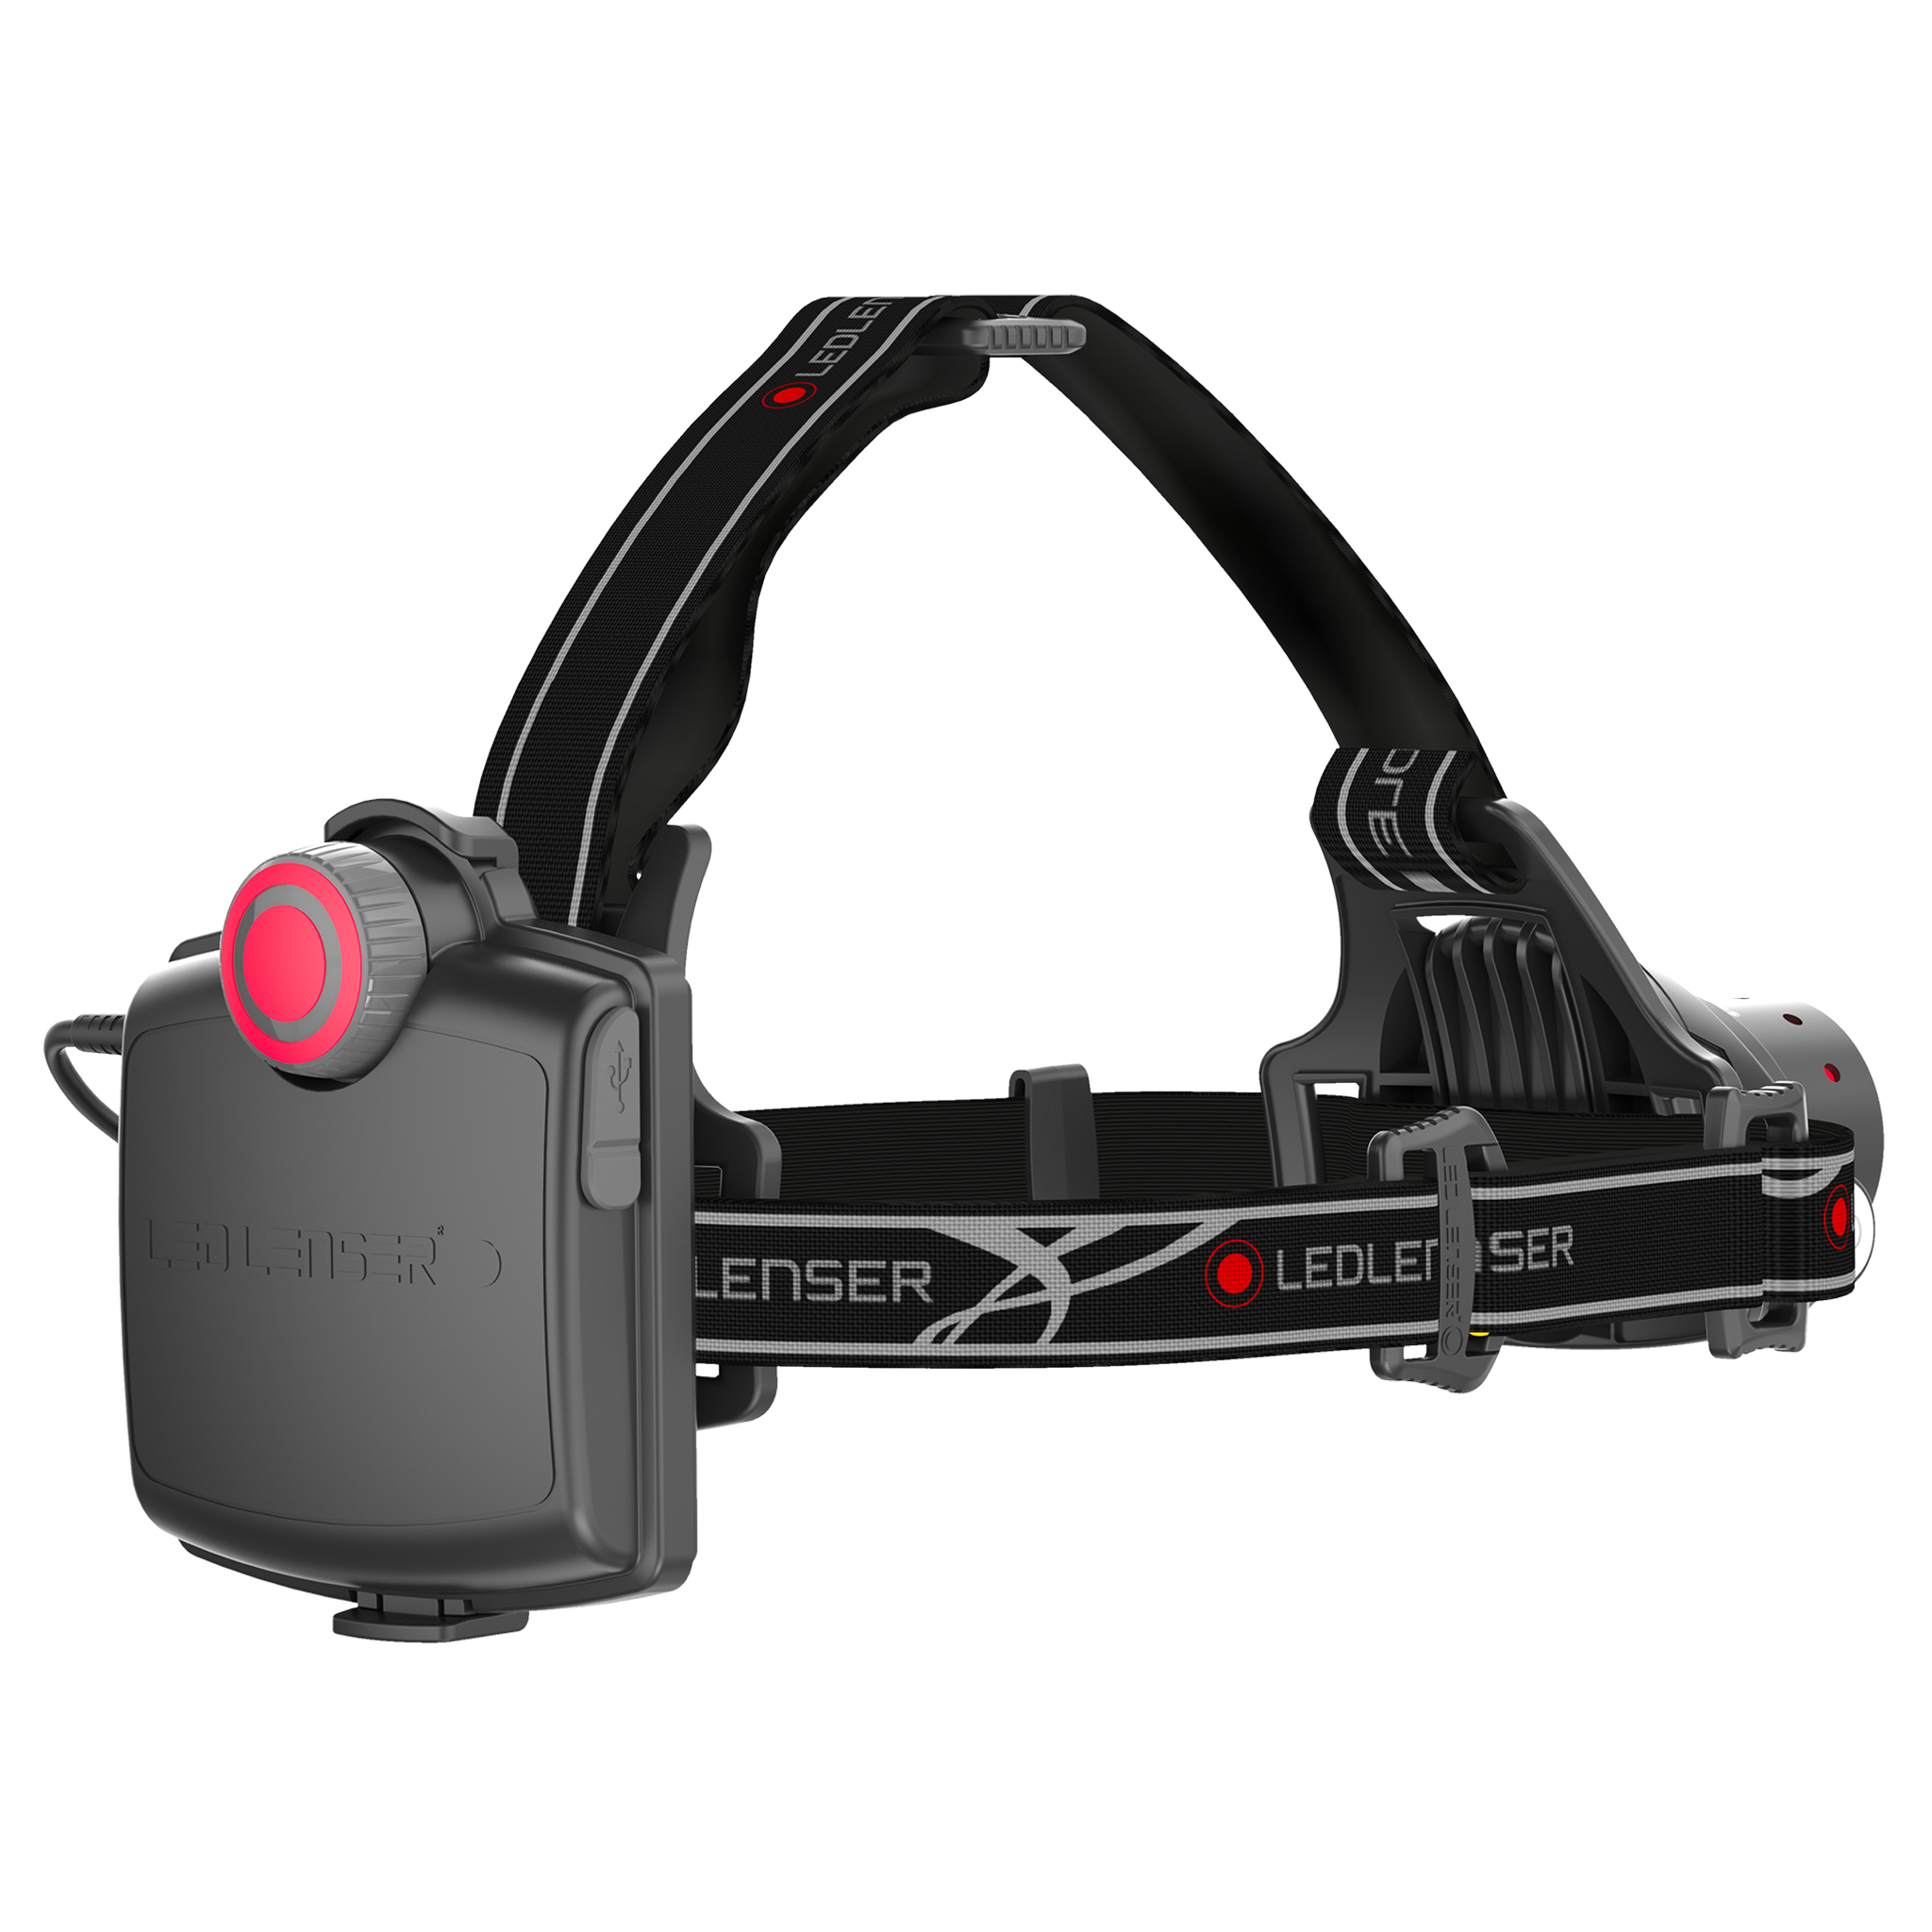
The behavior of the indicator light provides critical clues about the battery status. A blinking red light usually signals that the charger has detected a fault with the connected cell.
Understand Low Voltage Lockout
When a Li-ion cell drops below 2.5V, most smart chargers enter a safety lockout mode to prevent fire hazards. The flashing red light warns that the battery voltage is too low to charge safely.
* Do not attempt to jumpstart a deeply discharged Li-ion cell with external power sources. This poses a severe risk of fire or explosion.
* Use a smart charger like the LED LENSER VP2 or Nitecore D4. These devices can sometimes recover slightly depleted cells by applying a gentle trickle charge.
* If a multimeter reads below 2.5V, discard the battery immediately and replace it.
Recognize Normal Charging Indicators
Once the battery voltage rises above the cutoff point, the red light should remain solid. This indicates active charging is occurring.
* A full charge cycle typically takes 3 to 4 hours.
* Upon completion, the light usually turns green or switches off, depending on your specific model version.
Select the Optimal Charging Method
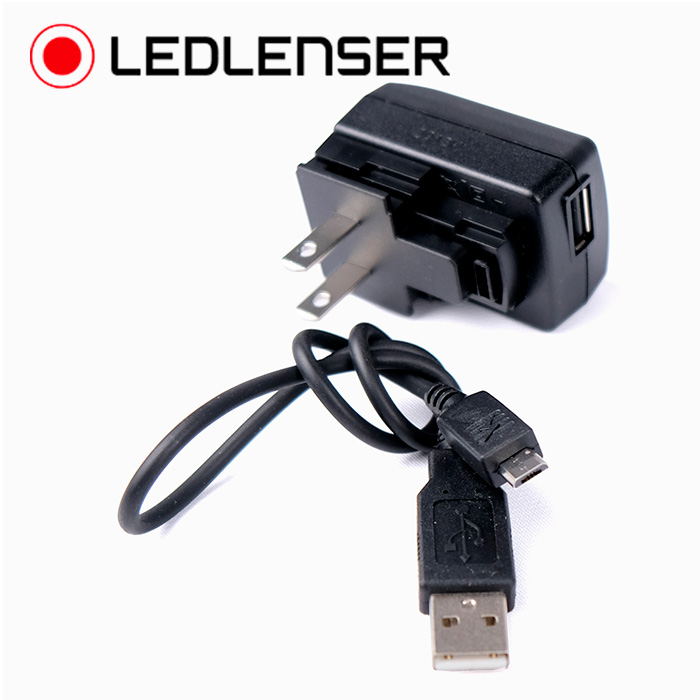
Using the correct power source ensures both safety and charging efficiency. Not all USB ports deliver the amperage required to initiate charging on dormant batteries.
Prefer Wall Adapters Over Computer Ports
Computer USB ports often limit output to 500mA, which may be insufficient to wake a dormant battery or sustain the charging process. Always use a 5V/1A or 2A wall adapter for reliable results. This higher amperage helps overcome initial resistance in the battery cells.
Avoid Mixing Battery Ages
If your headlamp uses removable 18650 cells, never mix old and new batteries. Uneven discharge rates between mismatched cells can cause the older cell to reverse charge, leading to leakage or failure. Always install batteries of the same age and brand.
Prevent Future Charging Failures
Proper maintenance extends the life of your headlamp and prevents deep discharge issues. Small habits can save you from troubleshooting sessions later.
Store with Partial Charge
Never store your headlamp with a completely dead battery. Before long-term storage, charge the unit to approximately 50%. This level minimizes chemical degradation and prevents the voltage from dropping below the critical 2.5V safety threshold.
Clean Charging Contacts Regularly
Dirt, sweat, and corrosion on battery terminals or charger ports can block electrical flow. Use a cotton swab dipped in isopropyl alcohol to clean these contacts every few months. This ensures a strong connection every time you plug in.
Rotate Spare Batteries
If you depend on your headlamp for hiking or emergency use, keep a spare set of charged batteries. Rotate their usage periodically to keep all cells active and healthy. This practice ensures you always have a reliable power source available.
Determine When to Replace Battery or Lamp
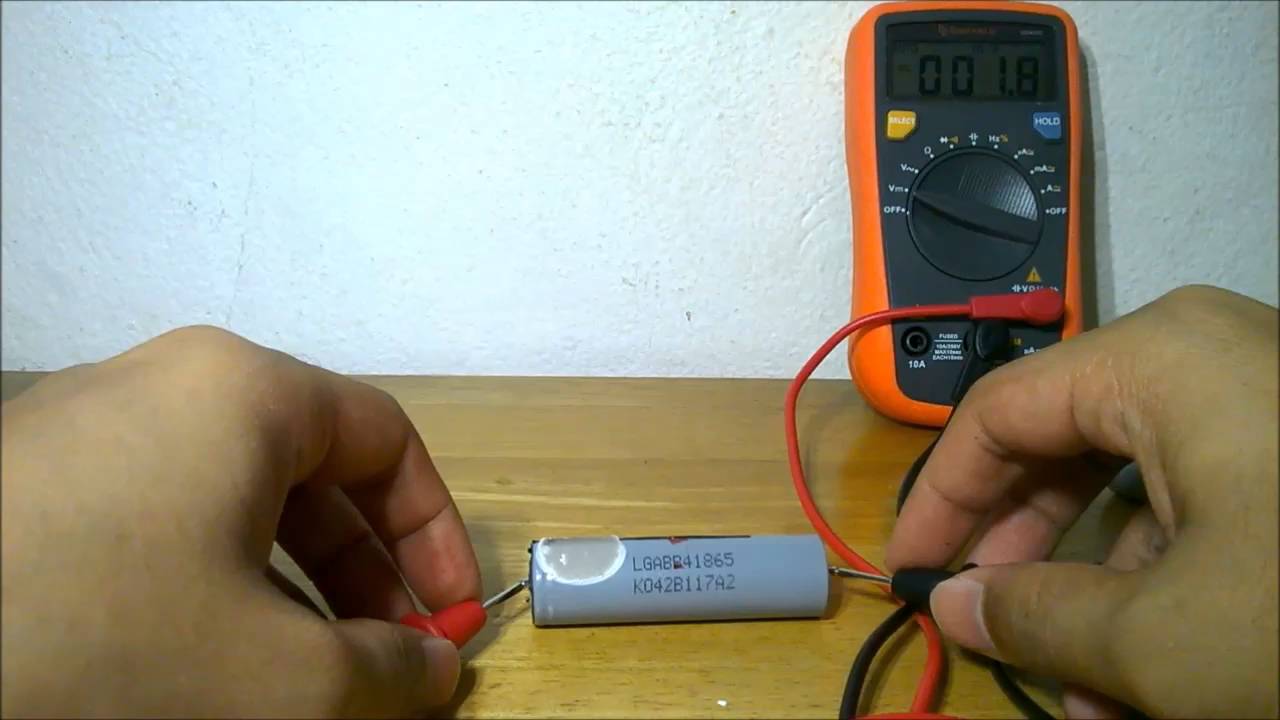
Sometimes troubleshooting reveals that the hardware has reached the end of its life. Knowing when to stop repairing and start replacing saves time and ensures safety.
Measure Battery Voltage with a Multimeter
Use a multimeter to check the exact voltage of your cells. Remove the battery and set the meter to DC voltage, then touch the probes to the positive and negative ends.
* Above 3.0V: The battery should charge normally.
* 2.5V to 3.0V: The battery may charge slowly or require a smart charger.
* Below 2.5V: Replace immediately. The cell is unstable and poses a safety risk.
Utilize Warranty Coverage
If your lamp fails to charge after testing new cables, chargers, and batteries, contact LED LENSER support.
* Warranty coverage often applies even without the original paper receipt.
* Provide bank statements or online order screenshots as proof of purchase, which is legally sufficient in many regions including the EU.
* Request a replacement charger or lamp if the defect is confirmed to be hardware-related.
Frequently Asked Questions About Charging LED LENSER Headlamps
Why does my LED LENSER red light flash when charging?
A flashing red light usually indicates the battery voltage is below 2.5V, triggering a safety lockout. It can also signal a loose cable connection or poor contact in the universal charger plug.
Can I jumpstart a dead LED LENSER battery?
No, you should not attempt to jumpstart a deeply discharged Li-ion battery with external power. This is dangerous and can cause fires. Use a smart charger designed for recovery or replace the cell if voltage is under 2.5V.
How long does it take to fully charge an H14R.2 headlamp?
A full charge typically takes between 3 to 4 hours using a standard wall adapter. The indicator light will turn solid red during charging and switch to green or turn off when complete.
What type of batteries does the LED LENSER H14R.2 use?
The H14R.2 generally uses rechargeable 18650 or 14500 Li-ion batteries. Some models also support 4xAA alkaline batteries as a temporary power source, though these cannot be recharged inside the lamp.
Is it safe to use my phone charger cable for my headlamp?
Yes, using a high-quality phone charger cable is often better than the included cable. Ensure the cable supports adequate current flow and is not damaged to avoid intermittent charging issues.
Key Takeaways for Charging Your LED LENSER Headlamp
Fixing a non-charging LED LENSER headlamp often requires checking the cable quality, bending loose pins in the universal plug, or replacing deeply discharged batteries. By understanding the meaning of the flashing red light and using proper wall adapters, you can safely restore your lamp to working order.
Always prioritize safety by discarding batteries that read below 2.5V and storing your device with a partial charge. If simple fixes like cable swaps and contact cleaning do not work, leverage your warranty coverage with proof of purchase to get a replacement.