
Carrying trekking poles while hiking often leads to awkward struggles with loose gear that swings wildly or snags on branches. You need a reliable method to keep your equipment secure without sacrificing balance or comfort on the trail.
This guide explains exactly how to carry trekking poles using proven techniques from DIY bungee systems to built-in backpack straps. You will learn specific steps to attach poles safely, deploy them quickly, and avoid common mistakes that cause gear loss.
Build a DIY Bungee System for Ultralight Packs

Hikers using minimalist packs often lack dedicated pole holders, making a custom bungee solution ideal for secure transport. This method replicates high-end designs by using elasticity to absorb shock and hold poles tightly against your pack.
Identify Top and Bottom Anchor Points
You need two fixed points on your backpack to create a stable vertical hold for your poles. Look for daisy chain loops or shoulder strap buckles near the top of your pack. Find a second anchor point near the hip belt, such as a fixed loop or attachment site for removable belts. Most backpacks have these features even if they are not labeled for pole storage.
Install Bungee Cords Without Tools
Thread one bungee cord with a lock through your chosen top anchor point and secure it tightly. Attach a second bungee cord to the bottom anchor point near your hip belt area. This tool-free installation creates a vertical channel ready to receive your trekking poles.
Insert Poles Using the Correct Sequence
Proper insertion prevents poles from slipping out during your hike.
1. Slide the sharp pole tip through the bottom bungee loop first.
2. Feed the handle end through the top bungee loop.
3. Tighten both cord locks immediately to lock the pole in place.
Repeat this process on the opposite side of your pack if you need to carry two poles. Each pole requires its own dedicated top and bottom bungee pair to prevent them from crossing or interfering with each other.
Prevent Ground Snagging When Resting
Protruding pole tips can catch on the ground when you set your pack down, causing it to tilt or damaging the poles. Loosen the cord locks slightly before placing your pack on the ground to allow the poles to shift and lie flat. Retighten the cords immediately after repacking to ensure security before you continue walking.
Utilize Built-in Backpack Straps and Loops

Many hikers overlook existing features on their backpacks that can securely hold trekking poles without any modifications. Using these built-in elements is a free and immediate way to solve your carrying problems.
Secure Poles With Side Compression Straps
Side compression straps offer a simple way to hold poles vertically against your pack. Slide each pole between the pack body and the strap, then tighten the buckle until the pole feels flush with the fabric. This method minimizes swinging and keeps the poles aligned with your stride for better balance.
Anchor to External D-Rings
External D-rings located on the sides or top of your pack make excellent anchor points for pole storage. Wrap a strap or bungee around the ring and cinch the pole handle or shaft in place firmly. Avoid over-tightening webbing directly against pole shafts, as this can wear down the finish over time.
Cross-Load Poles on Small Packs
Small cotton backpacks often lack side space, making cross-loading an effective alternative for balancing weight. Position one pole diagonally from the top-left to the bottom-right of the pack face. Place the second pole in the reverse direction so the handles cross at the top, then secure both ends under existing straps.
Optimize Pole Positioning for Balance and Safety

Where you place your poles affects your center of gravity and how easily you can access them when terrain changes. Proper positioning ensures your gear stays out of the way while remaining ready for rapid deployment.
Choose Between Vertical and Horizontal Mounts
Vertical side mounts provide the quickest access and align with your natural walking rhythm. Horizontal mounts across the top work well for short poles but may block access to main compartments or helmet storage. Select the orientation that best fits your pack size and hiking style.
Keep Poles Close to the Pack Body
Poles must lie flat against your pack to prevent snagging on branches or narrow trail passages. Adjust your straps or bungees so the entire length of the pole remains紧贴 (close-fitting) to the fabric surface. Walk naturally to confirm the poles do not hit your hips or interfere with your arm swing.
Shorten Poles Before Attaching
Always collapse telescopic or folding poles to their shortest possible length before securing them to your pack. Shorter poles reduce leverage during movement, making them less likely to swing wildly or pull your pack off balance. This step also minimizes the risk of tip damage and makes cross-loading easier on compact packs.
Use Dedicated Carrying Accessories for Protection
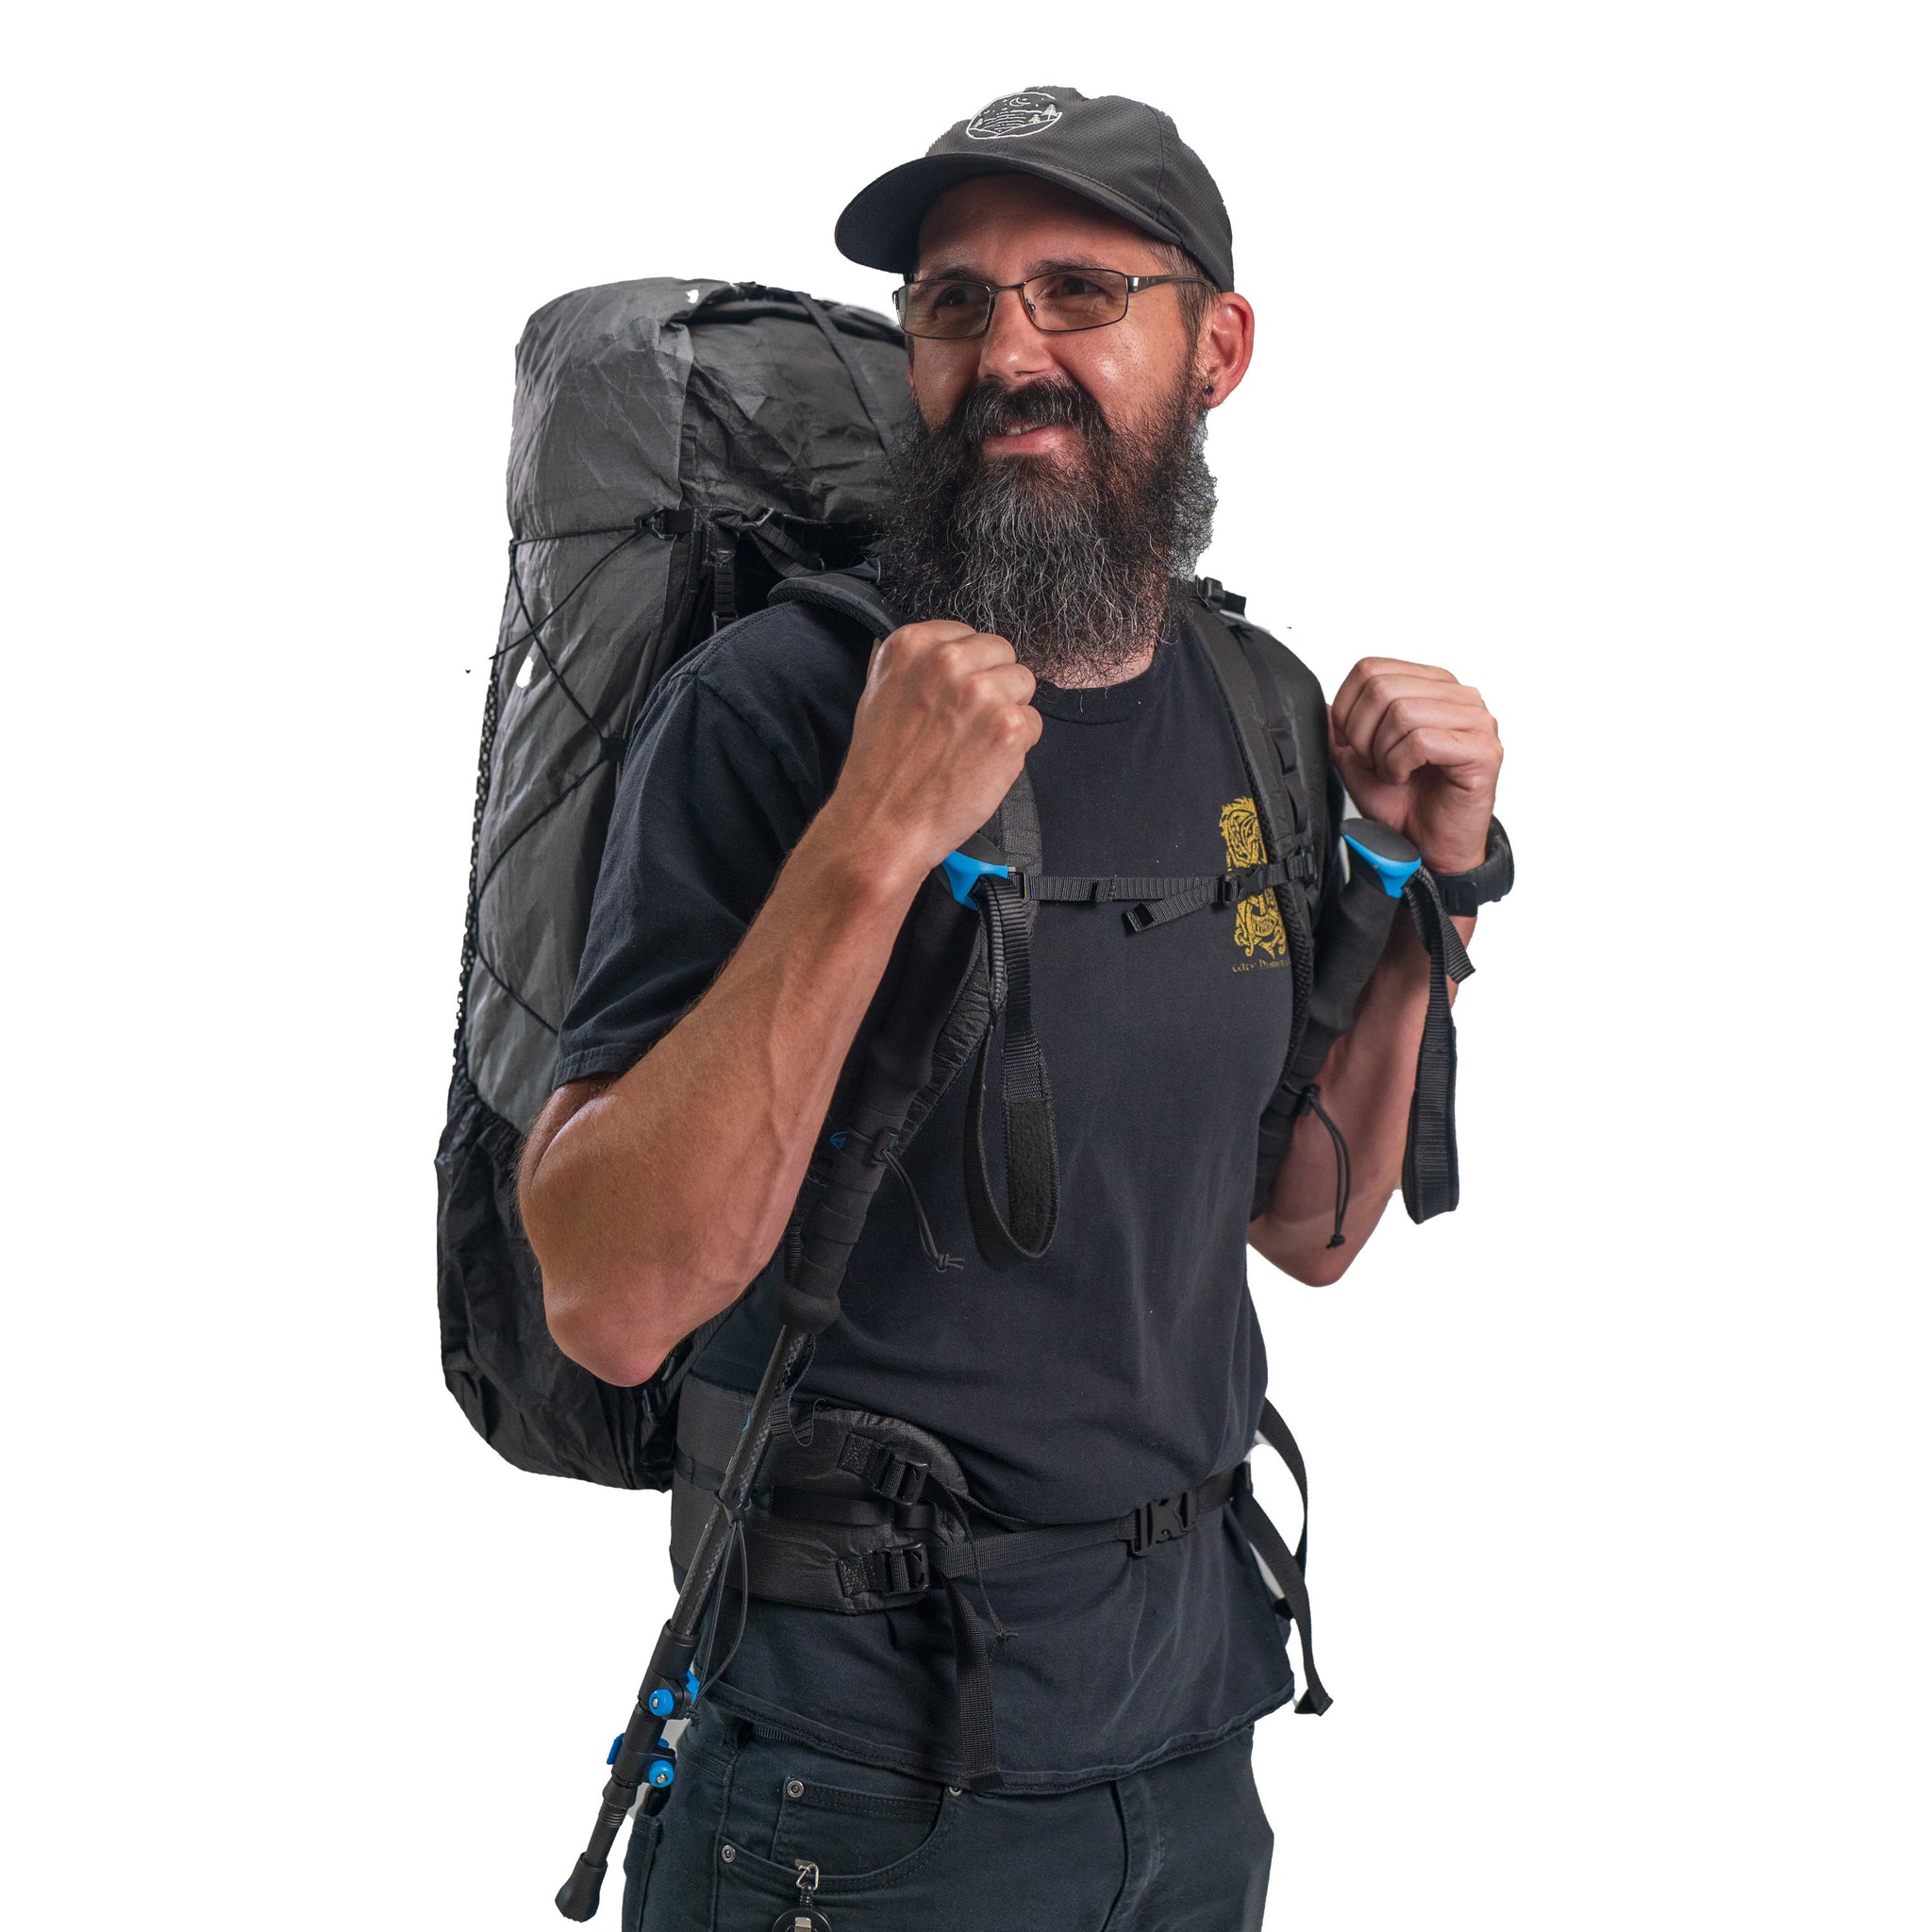
Specialized accessories offer superior organization and protection compared to improvised methods, especially for frequent hikers. These tools provide a clean and reliable way to transport your gear.
Clip On Dedicated Pole Sleeves
Dedicated pole sleeves or pouches attach via carabiners to backpack loops for secure holding. These padded holders protect shafts and tips while allowing quick release when you need your poles instantly. Look for models with quick-release clips to deploy your poles in seconds without unstrapping anything.
Try Lightweight Dual-Pole Cases
Compact dual-pole cases are ideal for hikers who prioritize gear organization and cleanliness. These zippered cases hold both poles together, protect them from scratches, and clip onto backpacks via webbing or daisy chains. While slightly bulkier than DIY methods, they offer excellent protection in muddy or wet conditions.
Test and Validate Your Carrying System
Even the best setup fails without proper testing, so you must validate your system before relying on it in the backcountry. A short practice session reveals issues that could cause problems on longer hikes.
Conduct a Short Practice Hike
Take a 15 to 30-minute test walk on varied terrain to check your pole security. Pay attention to whether poles stay secure over bumps, if they interfere with your hip belt, and how quickly you can remove them. Adjust tension or reposition attachments based on what you feel during this test.
Check Security Components Regularly
Inspect your cord locks for wear or stiffness before every hike to ensure they function correctly. Test bungee elasticity to confirm cords are not frayed or stretched, as these issues prevent proper tension. Replace worn components immediately to avoid losing your poles on rough terrain.
Prevent Common Trail Hazards
A poorly secured pole is not just inconvenient but poses a genuine safety risk to you and others on the trail. Proactive measures prevent accidents and ensure smooth hiking.
Stop Snagging on Branches
Ensure no part of the pole extends beyond your pack’s silhouette to avoid catching on low-hanging branches. Opt for vertical side mounts when bushwhacking through dense brush, as angled poles are more likely to snag. Tuck pole tips slightly upward to prevent ground contact during movement.
Ensure Fast Deployment Speed
Your carrying system should allow pole removal in under 10 seconds for steep ascents or slippery descents. Avoid complex knots or multi-strap systems that require removing your pack entirely. Bungee and clip-on systems excel here because you only need to loosen one lock to slide out the pole.
Avoid Gear Interference
Confirm your pole setup does not block access to water bottle pockets, hip belt compartments, or chest strap adjustments. If you cannot reach essential gear without removing your poles first, you must reposition them immediately. Accessibility is critical for maintaining hydration and safety on the trail.
Compare Carrying Methods for Your Needs

Choosing the right method depends on your specific pack type, hiking style, and budget constraints. Understanding the trade-offs helps you select the best option for your next adventure.
| Feature | DIY Bungee System | Built-in Straps | Dedicated Cases |
|---|---|---|---|
| Cost | Under $10 | Free | $15–$30 |
| Setup Time | 5 minutes initial | Immediate | Immediate |
| Security | High elastic hold | Medium | High |
| Shock Absorption | Excellent | Fair | Good |
| Pole Protection | Low exposed | Low exposed | High covered |
| Best For | Rugged trails ultralight | Casual hikes small packs | Organized frequent use |
Ultralight hikers should choose the DIY bungee system for its lightweight and effective design. Casual users with small packs benefit most from using compression straps or cross-loading techniques. Frequent backpackers should invest in a clip-on case for maximum protection and ease of use.
Maintain Your Setup for Longevity
Regular care ensures your carrying system remains reliable over many miles of hiking. Neglecting maintenance can lead to equipment failure when you need it most.
Inspect Bungees and Locks Monthly
Check bungee cords monthly for fraying, UV damage, or loss of stretch that compromises tension. Clean cord locks with a toothpick to remove trail grit that can prevent them from locking securely. Replace any components showing signs of wear immediately.
Monitor Strap Wear and Stitching
Compression straps and D-rings endure constant friction from pole shafts during movement. Look for webbing thinning or stitching cracks, especially at stress points where the pole rubs against the attachment. Reinforce or replace damaged straps early to prevent sudden failure.
Store Poles Properly When Not Hiking
Store poles disassembled or collapsed in a dry place when not in use to preserve their condition. Avoid leaving them attached to the pack for long periods, as this can deform bungees or stretch straps unnecessarily. Proper storage extends the life of both your poles and your carrying system.
Frequently Asked Questions About Carrying Trekking Poles
How do I carry trekking poles without a dedicated holder?
You can use a DIY bungee system by attaching cords to top and bottom anchor points on your pack. Alternatively, utilize existing side compression straps or D-rings to secure poles vertically or horizontally.
What is the safest way to attach poles to a backpack?
The safest method involves using two attachment points (top and bottom) to prevent swinging and snagging. Ensure poles are collapsed to their shortest length and tightened securely against the pack body.
Can I carry trekking poles on a small cotton daypack?
Yes, small packs work well with cross-loading techniques where poles angle across the pack face. You can also use built-in compression straps or D-rings if available on your specific model.
How do I stop my poles from snagging on branches?
Keep poles close to the pack body and ensure no tips protrude beyond the pack’s silhouette. Vertical side mounts generally snag less than horizontal or angled configurations in dense brush.
How quickly should I be able to deploy my poles?
Your system should allow you to remove and ready your poles in under 10 seconds. This speed is critical for reacting quickly to changing terrain like steep ascents or slippery descents.
Key Takeaways for How to Carry Trekking Poles
Securing your trekking poles properly enhances safety, balance, and overall hiking enjoyment. Whether you choose a DIY bungee system, built-in straps, or dedicated cases, the goal remains keeping poles accessible yet out of the way.
Test your chosen method on short walks before long hikes and inspect your gear regularly for wear. Select the technique that best fits your pack type and hiking style to ensure a smooth trail experience.