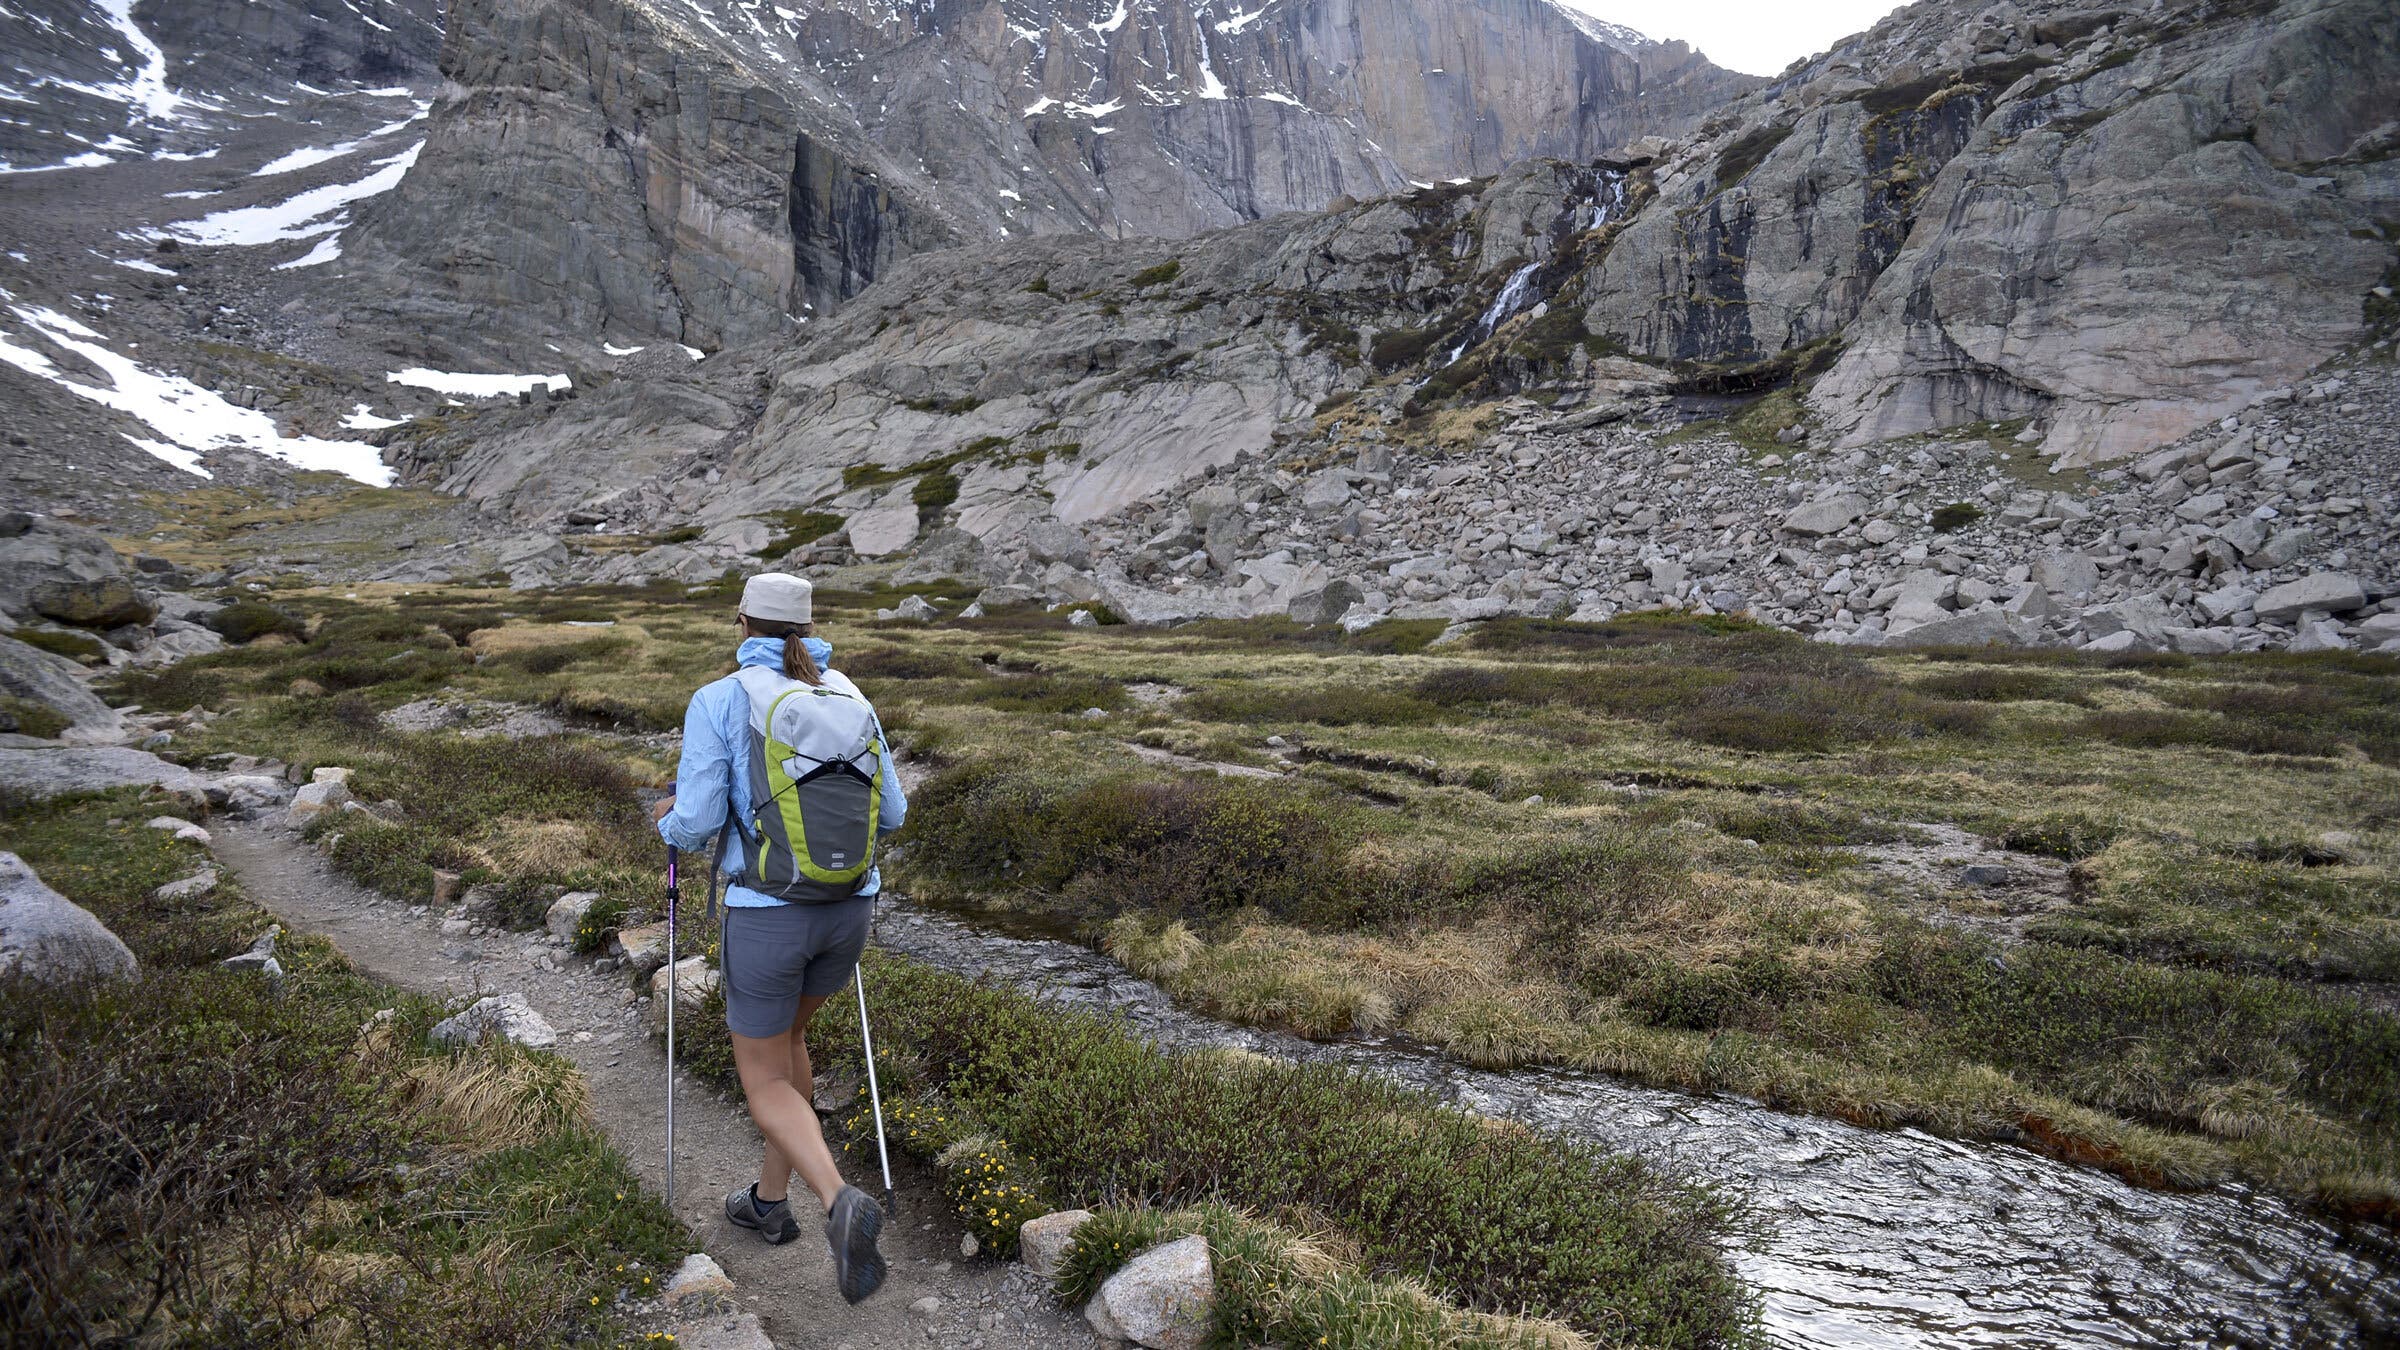
There’s nothing worse than setting out on a dream hike only to be sidelined by foot pain after the first mile. If you’ve ever laced up brand-new hiking boots and hit the trail unprepared, you know the agony: blisters, heel slippage, toe jamming, and arch fatigue. The best way to break in hiking boots isn’t a secret trick—it’s a smart, methodical process that molds the footwear to your feet while protecting them from damage. Skipping this step doesn’t just risk discomfort; it can derail trips and lead to long-term foot issues.
Breaking in hiking boots goes beyond softening stiff leather or mesh. It’s about customizing the fit so your boots move with your stride, not against it. Properly broken-in boots flex naturally, support your ankles, and eliminate hotspots. This guide delivers a proven, phase-based approach—backed by outdoor experts, experienced hikers, and gear specialists—so you can step onto the trail with confidence. Whether you’re prepping for a weekend trek or a multi-day backpacking adventure, follow these steps to avoid pain and ensure peak performance.
Phase 1: Indoor Acclimation
Start your break-in journey inside your home. Wearing new hiking boots indoors for 1–2 hours daily over 3–7 days allows you to assess fit in a safe, low-risk environment.
Wear Your Full Hiking Setup Indoors
Put on the exact socks and insoles you plan to use on the trail. Avoid cotton—they trap moisture and increase friction. Instead, choose moisture-wicking merino wool or synthetic blends. Lace the boots snugly, ensuring the tongue lies flat and gussets aren’t twisted. Walk across hardwood, tile, and carpet to test flexibility and pressure points.
Sit down with the boots on to simulate how they’ll feel after hours of hiking when your feet naturally swell. Pay close attention to pinching near the toes, heels, or ankles. If discomfort persists, don’t push through it—a poorly fitting boot won’t magically improve.
Pro Tip: This is your best chance to catch a bad fit early. No amount of wear fixes a boot that’s too narrow, too short, or pinching at the ankle.
Check for Early Warning Signs
Inspect the upper material for deep creasing around the toe box or ankle. Premature creases may indicate poor alignment or improper lacing. Adjust your lacing technique—try heel lock lacing—to relieve pressure. If your heel lifts more than half an inch while walking, tweak the laces or consider a different model. Some lift is normal, but excessive movement leads to blisters fast.
Phase 2: Short Outdoor Walks
After acclimating indoors, take your boots outside. This phase builds real-world confidence and exposes them to natural conditions.
Begin with 1–3 Mile Walks
Start on flat, forgiving terrain: sidewalks, paved paths, or grassy parks. Keep hikes short—1 to 3 miles—and increase distance gradually. Avoid rocky trails or steep hills during this stage.
Use these walks to test how the boots handle bending, twisting, and weight shifts. Carry a light backpack to simulate load stress. Watch for hotspots, which often appear as warm, tender spots before turning into blisters.
Expert Tip: Turn everyday errands into training—walk to the store or take the dog out in your boots. Every step counts.
Monitor Foot Feedback
Stop every 30 minutes to check your feet. Remove boots if needed and inspect for redness or swelling. Apply moleskin or blister patches to problem areas before they worsen.
If you feel consistent pressure on one spot, it may indicate a structural issue. Consider professional stretching or resizing rather than pushing forward.
Phase 3: Varied Terrain Testing
Now it’s time to challenge the boots—and your feet—with real trail conditions.
Hike on Mixed Surfaces
Choose easy trails with gravel, roots, mud, and slight elevation changes. Aim for 5–10 miles total over several outings. Include both uphill climbs and downhill descents to test ankle support and toe protection.
Wear your daypack and gradually increase its weight. A loaded pack shifts your center of gravity, increasing pressure on the toes during descents and altering boot flex.
Pro Tip: For backpackers, simulate your full trip load at least once. A 30-pound pack changes everything—from gait to foot swelling.
Test Waterproofing and Drainage
If your boots are waterproof (e.g., Gore-Tex), walk through damp grass, puddles, or shallow creek crossings. Check how well they shed water and whether moisture builds up inside. Some waterproof membranes feel stiff at first but loosen with use.
Let boots air dry naturally after wet hikes—never near direct heat. Reapply a water-repellent treatment (like Nikwax) after a few uses to maintain DWR coating.
Phase 4: Final Validation Hike
This is your dress rehearsal—a full-scale test under trip-like conditions.
Complete a 5–8 Mile Trial Hike
Pick a route that mirrors your upcoming adventure in distance, difficulty, and terrain. Wear your full gear, including navigation tools, hydration, and emergency supplies.
Mix in elevation gain, loose rock, and variable footing. Stop regularly to inspect your feet. If blisters form, note where and why—this tells you what needs adjustment.
Safety Note: Always carry a backup pair of shoes in your pack during early hikes. You might need to switch mid-trail.
Evaluate Post-Hike Comfort
After finishing, remove your boots and examine both footwear and feet. Look for:
- Persistent pressure marks
- Redness or swelling
- Unusual creasing or wear patterns
If everything feels solid—no pain, no hotspots, no slippage—you’re ready for the big hike. If not, repeat Phase 3 with adjustments.
Break-In Time by Boot Type
Not all boots break in the same way. Material and construction determine how long the process takes.
Lightweight Synthetic Boots
Break-in: 1–3 weeks | Mileage: 15–20 miles
Modern synthetic and mesh hiking shoes require minimal break-in. Many are flexible right out of the box. Still, wear them for a few short hikes before long trips.
Best for: Fastpacking, day hikes, hikers with tight schedules
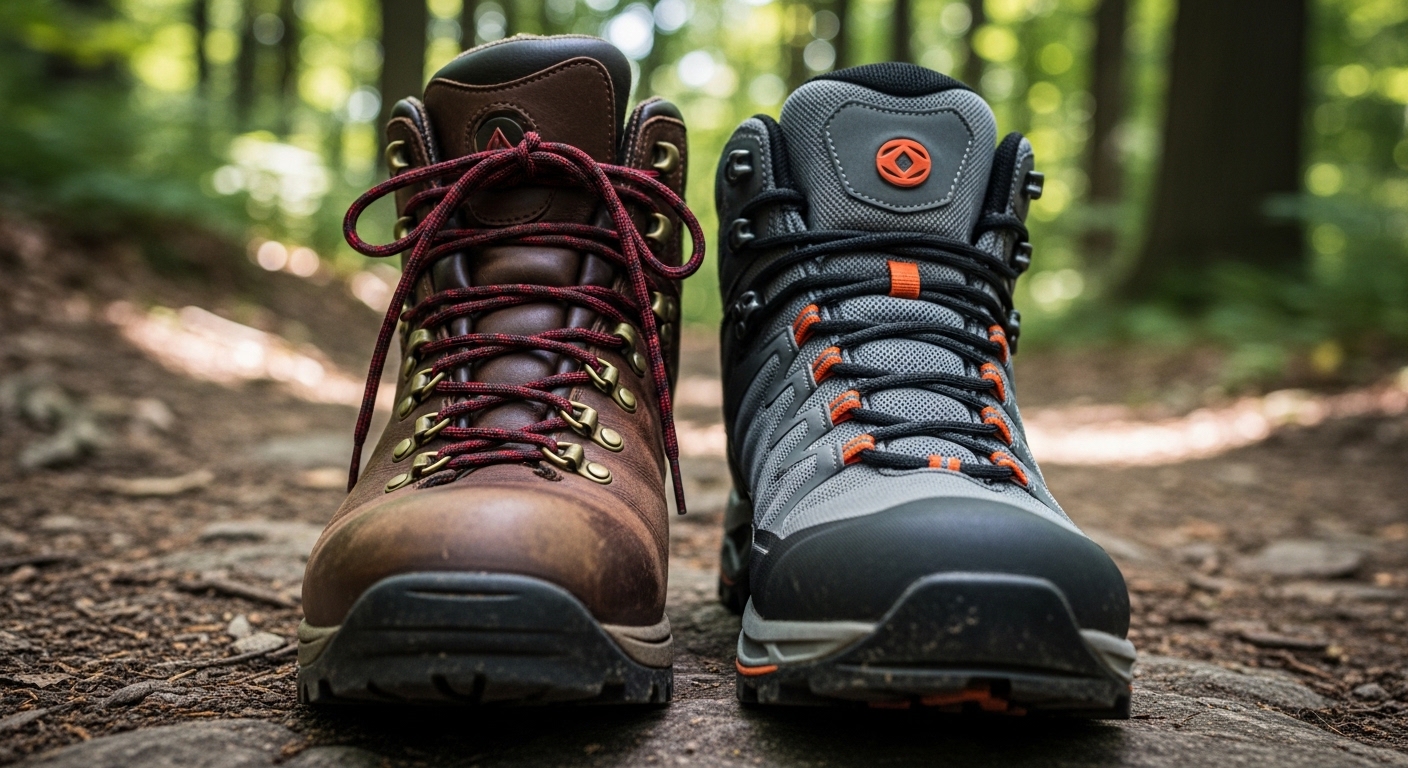
Full-Grain Leather Boots
Break-in: 4–8 weeks | Mileage: 50+ miles
Stiff and durable, leather boots mold slowly but offer unmatched support. They benefit from damp conditioning and manual flexing.
Use leather conditioner (Lexol, Neatsfoot Oil) every few weeks to soften fibers. Avoid soaking unless manufacturer-approved.
Wildland Firefighter Method (Use Cautiously): Soak boots with feet inside, then walk them dry. Effective for rapid molding—but risks glue separation if overdone.
Hybrid Leather-Synthetic Models
Break-in: 2–4 weeks | Mileage: 20–30 miles
These combine support with flexibility. Break in like leather boots but with less time needed. Focus on flex points: ankle collar, toe box, and heel cup.
Fast Break-In Tips (Use Carefully)
Sometimes time is short. These methods can safely accelerate break-in—but never replace gradual wear.
Wear Boots Daily
Use them for chores, dog walks, or commuting. More wear = faster adaptation. Just avoid extreme terrain until fully broken in.
Use Boot Stretchers
Insert adjustable shoe trees or boot stretchers into tight zones—especially the toe box or heel. Best for leather boots. Follow product instructions to avoid overstretching.
Try Heat Molding (If Approved)
Some brands (e.g., Salomon, La Sportiva) allow heat-moldable midsoles. Use a heat gun or oven only as directed. Excessive heat melts adhesives and ruins cushioning.
Wet Walk Method
Walk in light rain or damp grass, then hike 2–3 miles. Helps leather conform faster. Only for water-resistant boots—never soak non-waterproof models.
❌ Avoid These “Hacks”:
– Baking boots in an oven
– Soaking overnight
– Hammering stiff areas
These damage materials, void warranties, and compromise safety.
Signs Your Boots Are Fully Broken In
You’ve succeeded when:
- ❖ No blisters or hotspots after 5+ mile hikes
- ❖ Boots flex naturally with your stride
- ❖ Fit feels snug but not tight—no heel lift or toe jamming
- ❖ Comfortable on uphills, downhills, and uneven ground
- ❖ You forget you’re wearing them
When your boots move with your feet instead of against them, you’ve reached trail-ready status.
Common Problems & Fixes

Even with proper break-in, issues arise. Here’s how to solve them fast.
Heel Blisters
Cause: Friction from heel lift or loose lacing
Fix: Use heel lock lacing, wear liner socks, apply blister pads or moleskin
Toe Pain
Cause: Tight toe box or boots too short
Fix: Try wider or longer size, use thin socks, or get professional stretching
Side or Ankle Rubbing
Cause: Stiff upper material or poor fit
Fix: Adjust lacing pattern, wear boot gaiters, or visit a cobbler for stretching
Sore Arch
Cause: Inadequate insole support
Fix: Replace stock insole with high-arch orthotic or custom insert
Swollen Feet
Cause: Blood pooling during long hikes
Fix: Loosen laces slightly at rest breaks; ensure boot has room for swelling
Nurse-Approved Tip: Wear Injinji toe socks—they eliminate inter-toe friction and reduce blister risk dramatically.
Expert-Backed Pro Tips
- One foot is often larger: Many hikers find their right foot wider or longer. If one foot fits perfectly and the other is tight, size up or wear a thicker sock on the smaller foot.
- Liner socks work: Thin polypropylene or synthetic liners under wool socks create a friction barrier between layers—not your skin.
- Visit an outdoor retailer: Stores like REI offer free boot fitting and lacing clinics. A specialist can spot fit issues you might miss.
- Test early and often: Hike 5 miles immediately after purchase. Return if uncomfortable—don’t gamble on “it’ll get better.”
When No Break-In Is Needed
Some boots are ready to wear straight from the box:
- Lightweight hiking shoes (e.g., Vivobarefoot, Altra)
- Flexible synthetic models with pre-broken midsoles
- Trail runners designed for immediate use
User Experience: “My Vivobarefoot boots felt natural within hours. My leather Danners took over 50 miles to soften.”
What NOT to Do
Avoid these common mistakes:
❌ Soak boots overnight – Weakens glue, causes delamination
❌ Bake in oven – Melts adhesives, destroys waterproof membranes
❌ Hammer stiff spots – Damages cushioning and structure
❌ Hike 10+ miles on day one – Guaranteed blisters
❌ Ignore persistent pain – A hurting boot likely doesn’t fit
Expert Warning: “There’s no fast way to break in boots—only the right way.”
Final Trail Readiness Checklist
Before your big hike, confirm:
✅ Worn indoors for 3–7 days
✅ Completed 3–5 short outdoor walks (1–3 miles each)
✅ Tested on varied terrain with loaded daypack
✅ Survived a 5–8 mile validation hike
✅ No blisters, hotspots, or discomfort
✅ Fit remains consistent when feet swell
✅ Waterproofing tested (if applicable)
If all boxes are checked, your boots are trail-ready.
Final Note: The best way to break in hiking boots is patient, progressive, and personalized. Rushing leads to pain; preparing leads to freedom. Start the process at least 2–3 weeks before your trip—longer for leather models. Invest the time now, and your feet will thank you mile after mile. When done right, your boots become more than gear—they become trusted companions on every adventure.