
A dim or cracked headlight creates a dangerous driving situation that demands immediate attention. Learning how to change headlamp assemblies yourself saves money and restores your night vision quickly.
This guide provides a clear path to replacing your lights without electrical errors. You will discover the exact tools needed and the safe steps to install a new unit perfectly.
Gather Essential Tools for Headlamp Replacement
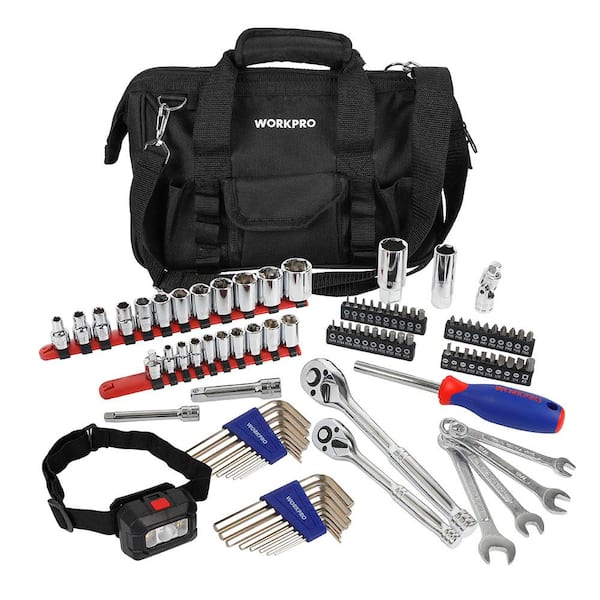
Success starts with having the right equipment ready before you lift the hood. Missing a single tool can turn a simple job into a frustrating ordeal.
Required Equipment List
- Socket wrench set: Removes mounting bolts securely without stripping heads
- Screwdrivers: Handles both flathead and Phillips screws on trim pieces
- Plastic trim removal tools: Pries covers without scratching paint or cracking plastic
- Gloves: Prevents skin oils from damaging the new bulb or lens
- Flashlight: Illuminates dark engine bays so you see connectors clearly
You must also ensure your replacement headlight matches your specific vehicle make and model. Using an incorrect part leads to fitment issues and poor light patterns.
Disconnect Battery to Prevent Electrical Shorts
Safety is the absolute priority when working with vehicle electrical systems. A live circuit can cause sparks or damage sensitive control modules.
Why Power-Off Is Critical
Turn off your engine and wait ten minutes for hot components to cool down. Locate the negative battery terminal and loosen it with your socket wrench.
Removing this connection stops electricity from flowing to the headlights. This simple step prevents accidental short circuits while you handle wiring harnesses.
Access the Headlight Housing Safely
Open your hood and identify the back of the headlight assembly behind the grille. Many vehicles have plastic dust covers or splash shields protecting the unit.
Remove Trim and Covers
Use your plastic pry tool to gently release clips holding protective covers in place. Never force metal tools against plastic as they crack easily under pressure.
Set all removed clips and covers in a safe spot so they do not get lost. These pieces keep moisture and road debris out of your engine bay later.
Unplug the Electrical Connector

Locate the main wiring plug at the rear of the headlight housing. It is typically a black plastic block with a small release tab on top.
Disconnect Wiring Correctly
Press the release tab firmly and pull the connector straight back without twisting. If it feels stuck, wiggle it slightly side to side while pulling gently.
Inspect the metal pins inside the plug for any green corrosion or bending. Clean any dirty contacts with electrical cleaner to ensure a strong connection.
Remove Mounting Bolts Securing the Assembly
Most headlight units stay in place with two to four bolts around the frame. These fasteners are often 8mm or 10mm in size but vary by manufacturer.
Loosen Fasteners Holding the Unit
Select the correct socket and turn counter-clockwise to remove each bolt completely. Keep these bolts organized since some may be different lengths.
Support the headlight with one hand as you remove the final bolt. The assembly will become loose and could drop if you do not hold it.
Extract the Old Headlight Assembly
Pull the headlight straight forward toward the front of the car with steady pressure. The unit might feel snug due to weather sealing or tight fitment.
Pull Out Without Damage
Wiggle the assembly gently if it resists but never force it against the fender. Check for hidden tabs or wires that might be catching on the frame.
Place the removed headlight on a soft towel to prevent scratching the lens. Inspect the old unit for cracks or melted areas that indicate previous issues.
Prepare the New Headlight for Installation
Compare your new headlight side by side with the old one to verify they match. Check that mounting points and bulb sockets align perfectly before proceeding.
Check Fit and Bulb Type
Keep the protective film on the lens until the very end of the process. Install new bulbs using gloves to avoid transferring skin oils to the glass.
Touching the bulb surface creates hot spots that cause premature failure in halogen lamps. Ensure all bulbs are seated firmly in their respective sockets.
Install the New Headlight Unit
Slide the new assembly into the engine bay following the same path as the old one. Align the mounting tabs with the holes in the vehicle frame carefully.
Align and Secure the Assembly
Push the unit until it sits flush against the body with no visible gaps. Reinsert the mounting bolts and tighten them until they are snug but not overtightened.
Over-tightening plastic housings can crack the frame or strip the threads permanently. Use a thread locker on the bolts if they appear rusty or loose.
Reconnect Electrical Plug Securely
Push the main wiring connector onto the back of the new headlight until you hear a click. This sound confirms the locking tab has engaged properly.
Secure Wiring to Prevent Failure
Tug lightly on the plug to ensure it will not pull out during driving vibrations. Connect any separate plugs for turn signals or daytime running lights as well.
A loose connection causes flickering lights or total failure of the headlight system. Double-check that no wires are pinched between the housing and the car body.
Reattach Covers and Trim Pieces
Replace all dust covers, rubber boots, and plastic trim you removed earlier. Snap each piece back into place until you feel them lock securely.
Restore Protection and Sealing
These covers prevent water, dirt, and bugs from entering the headlight housing. Verify that no wires are trapped under the seals where they could fray.
Ensure every clip is fully engaged to avoid rattles while driving down the road. A proper seal keeps your new investment safe from the elements.
Reconnect Battery and Test Lights
Reattach the negative battery terminal and tighten it with your wrench firmly. Turn on your headlight switch to verify operation immediately.
Verify Operation Immediately
Walk to the front of the car and check that both low and high beams work. Confirm that turn signals flash correctly if they are integrated into the unit.
If a light does not turn on, reseat the electrical connector and check the fuse. A blown fuse is a common reason for a new bulb failing to light up.
Adjust Beam Alignment Properly
Park your vehicle on level ground about 25 feet away from a flat wall. Use the adjustment screws on the back of the housing to aim the beams.
Prevent Glare for Oncoming Traffic
Adjust the vertical screw until the top of the light pattern is slightly below center. Never aim your headlights too high as this blinds other drivers on the road.
Proper alignment ensures you see the road clearly without causing accidents. Local laws often specify exact height requirements for headlight beams.
Final Inspection Steps
Run your hand around the edge of the new headlight to feel for gaps. Wipe the lens with a microfiber cloth to remove any fingerprints or smudges.
Seal, Clean, and Confirm
Look inside the housing to confirm no debris entered during the installation process. Drive the car at night to observe the beam pattern and symmetry.
If you notice fogging inside the lens, the seal may be compromised. Persistent moisture indicates a damaged housing that needs professional attention.
Avoid Common Mistakes During Replacement
Many DIYers make simple errors that lead to early bulb failure or electrical issues. Awareness of these pitfalls ensures your repair lasts longer.
Critical Errors That Cause Failure
- Touching the bulb glass: Skin oils create weak spots that burn out quickly
- Skipping battery disconnect: Risks short circuits and blown fuses
- Forcing mounting bolts: Strips threads and cracks plastic housings
- Ignoring alignment: Creates dangerous glare for other drivers on the road
Take your time with each step to avoid having to redo the entire job. Patience pays off with a safe and professional-looking result.
When to Replace Both Headlamps
Consider replacing both headlights even if only one has failed completely. Older bulbs lose brightness over time and look yellow compared to new ones.
Match Brightness and Lifespan
Installing a pair ensures balanced light output and consistent color temperature. This approach saves you from repeating the labor-intensive process soon after.
Replacing both units at once is often more cost-effective in the long run. It guarantees your vehicle has maximum visibility for safe night driving.
Choose the Right Replacement Part
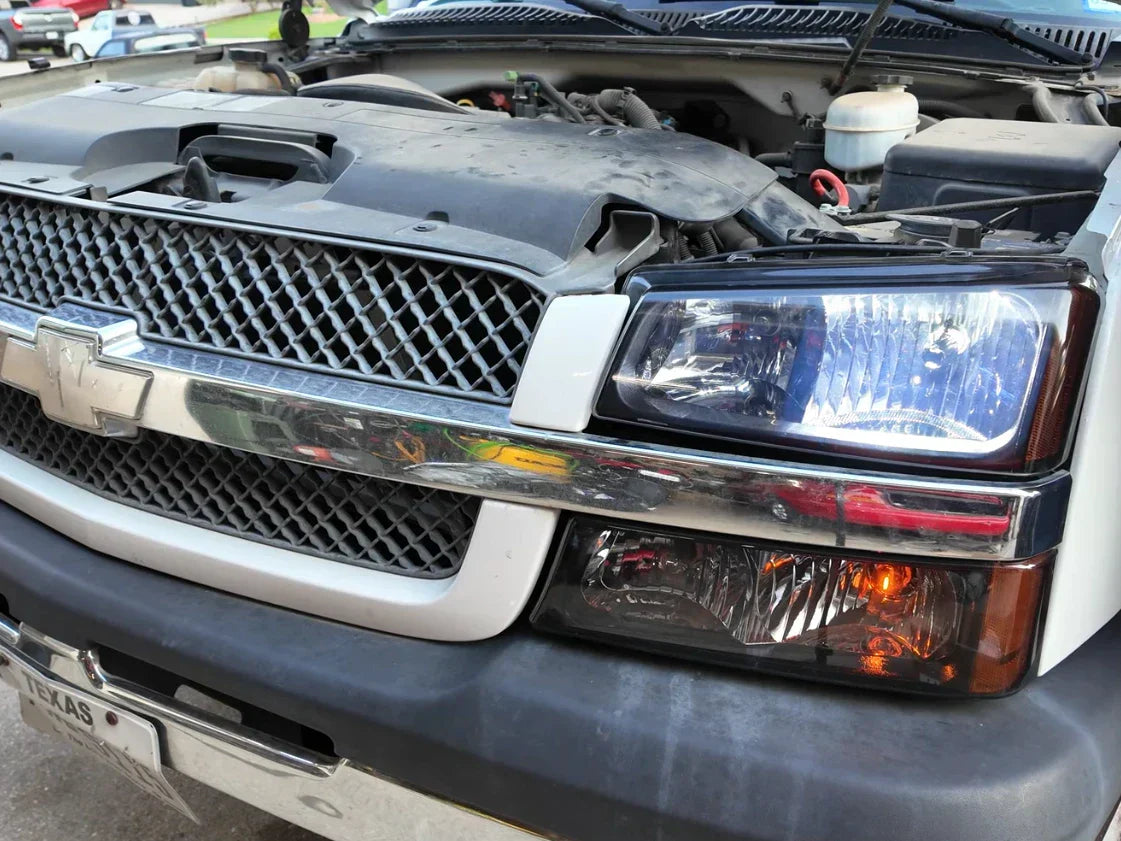
Select between Original Equipment Manufacturer (OEM) parts or high-quality aftermarket options. The right choice depends on your budget and performance needs.
OEM vs Aftermarket Quality
- OEM Parts: Exact fit and best durability but higher cost
- Aftermarket Brands: Often cheaper with varying quality levels
- Certification: Look for DOT or SAE stamps for safety compliance
Avoid extremely cheap units from unknown brands as they often fail early. Poor seals and weak plastics lead to water damage and broken tabs.
Troubleshoot Post-Installation Issues
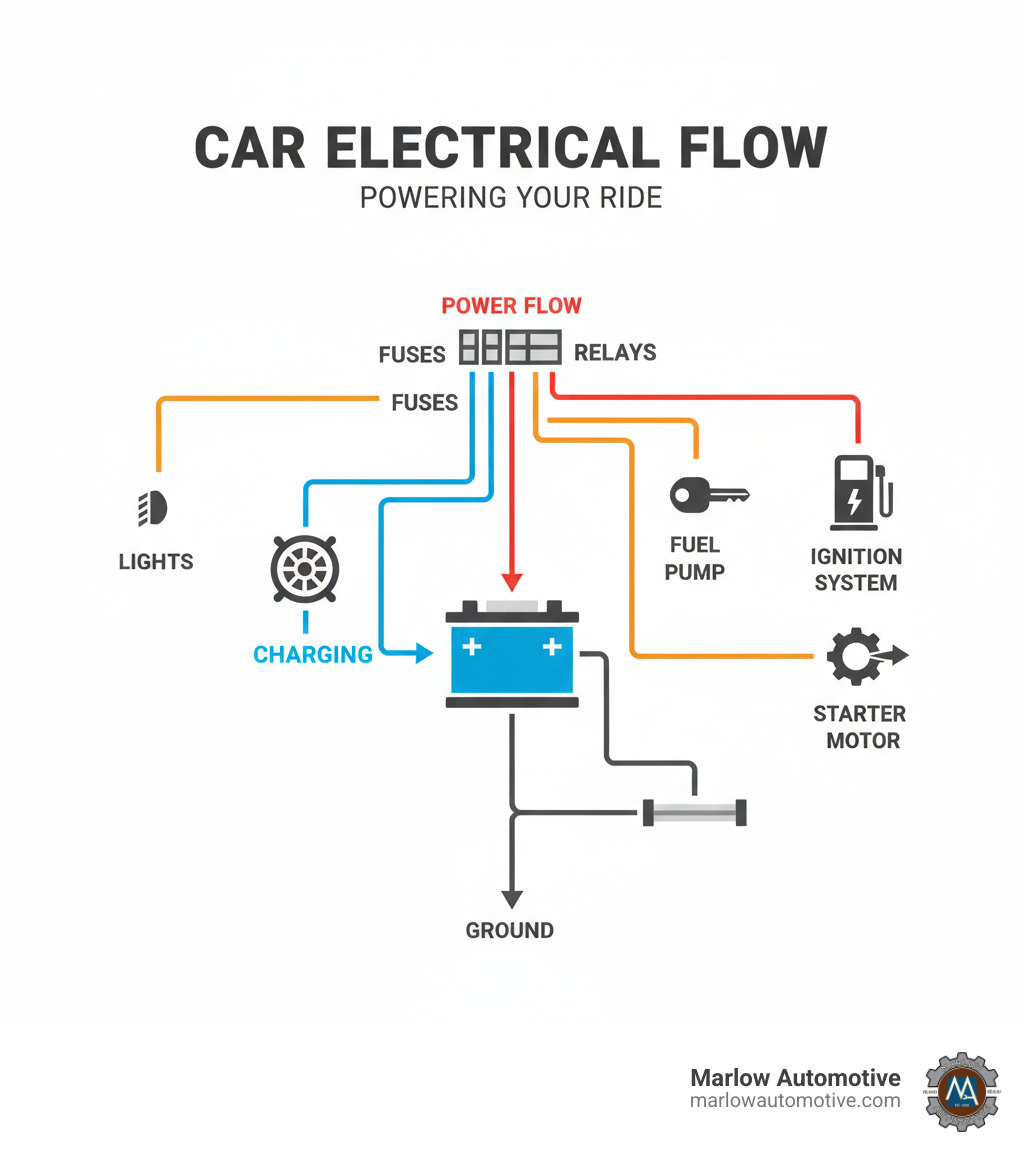
Some problems may arise after installation that require quick diagnosis and fixes. Addressing these issues immediately prevents further complications.
Fix Problems Fast
- Light won’t turn on: Check the fuse and reseat the connector firmly
- Flickering beam: Inspect wiring for frays or clean corroded pins
- Scattered light pattern: Adjust alignment screws or check seating
If issues persist despite these checks, consult a professional mechanic for help. Complex electrical faults may require specialized diagnostic tools.
Maintain Your New Headlamps
Regular maintenance extends the life of your new headlights and keeps them bright. Simple habits prevent yellowing and cloudiness over time.
Extend Lifespan and Clarity
- Clean lenses monthly: Use automotive glass cleaner and soft cloths
- Apply UV protectant: Stops polycarbonate lenses from turning yellow
- Inspect seals yearly: Look for cracks or softening rubber gaskets
Avoid aiming high-pressure water directly at the headlight seams during washes. Water intrusion leads to internal fogging and electrical shorts.
Know When to Seek Professional Help

While most replacements are simple, some situations need expert intervention. Recognizing these signs saves you time and prevents damage.
Signs You Need a Mechanic
- Water inside housing: Indicates a failed seal requiring professional resealing
- Electrical faults: Burnt fuses or melted wires suggest deeper issues
- Complex access: Some modern cars require bumper removal for access
Vehicles with adaptive LED systems often need computer calibration after replacement. A certified technician has the tools to reset these advanced features correctly.
Frequently Asked Questions About Headlamp Replacement
How long does it take to change a headlamp?
Most vehicles allow completion within 30 to 60 minutes if you have the right tools. Complex cars requiring bumper removal may take longer for beginners.
Can I replace just one headlight bulb?
You can replace one bulb, but replacing both ensures matching brightness and color. Old bulbs dim over time, creating uneven lighting on the road.
Why did my new headlight fail immediately?
Check the fuse first, as a surge may have blown it during installation. Also ensure the electrical connector is pushed in until it clicks securely.
Do I need to aim my headlights after replacing them?
Yes, always check and adjust the beam angle to prevent blinding other drivers. Use the adjustment screws on the back of the housing for this task.
Is it safe to touch the headlight bulb with my hands?
No, skin oils create hot spots on halogen bulbs that cause premature failure. Always wear gloves or use a clean cloth when handling bulbs.
Key Takeaways for Changing Your Headlamp
Replacing a headlight is a manageable task that restores safety and visibility to your vehicle. Following the correct steps ensures a secure fit and proper electrical function.
Remember to disconnect the battery, handle bulbs with gloves, and aim your beams correctly. These simple actions prevent common failures and keep you safe on the road.
Gather your tools and follow this guide to complete your repair with confidence today. Your car deserves bright, reliable lights for every journey you take.