
If your Atomic Beam headlamp not working despite fresh batteries, the issue is likely internal corrosion rather than a dead bulb. This specific model often suffers from broken copper traces on its circuit board caused by battery leakage, leading to sudden power loss or flickering lights.
You can restore functionality by diagnosing these hidden breaks and soldering a simple wire bypass to reconnect the power path. This guide details how to identify failure symptoms, test your circuit board, and perform repairs to get your light working again.
Identify Specific Failure Symptoms in Your Headlamp
Pinpointing the exact behavior of your malfunctioning light helps determine if a simple cleaning or a complex repair is needed. Different symptoms point to specific locations where the electrical path has failed inside the unit.
No Power After Battery Change
The LED shows zero response when you press the button even with brand new cells. This indicates a complete break in the circuit, usually a corroded trace on the internal board. Do not assume the batteries are bad if the light worked recently.
Flashes Once Then Dies
The light emits a brief flash but refuses to stay on or cycle through modes. This symptom suggests a partial connection where residual capacitance allows a momentary spark. The corrosion has likely created a gap that cannot sustain continuous current flow.
Dim or Flickering Light Output
The beam appears weak or unstable during operation. This often results from dirty contacts or low quality power sources rather than a broken board.
* Check for depleted or cheap batteries
* Inspect metal contacts for grime
* Ensure the battery cap is screwed on tightly
Diagnose Internal Circuit Damage From Leakage
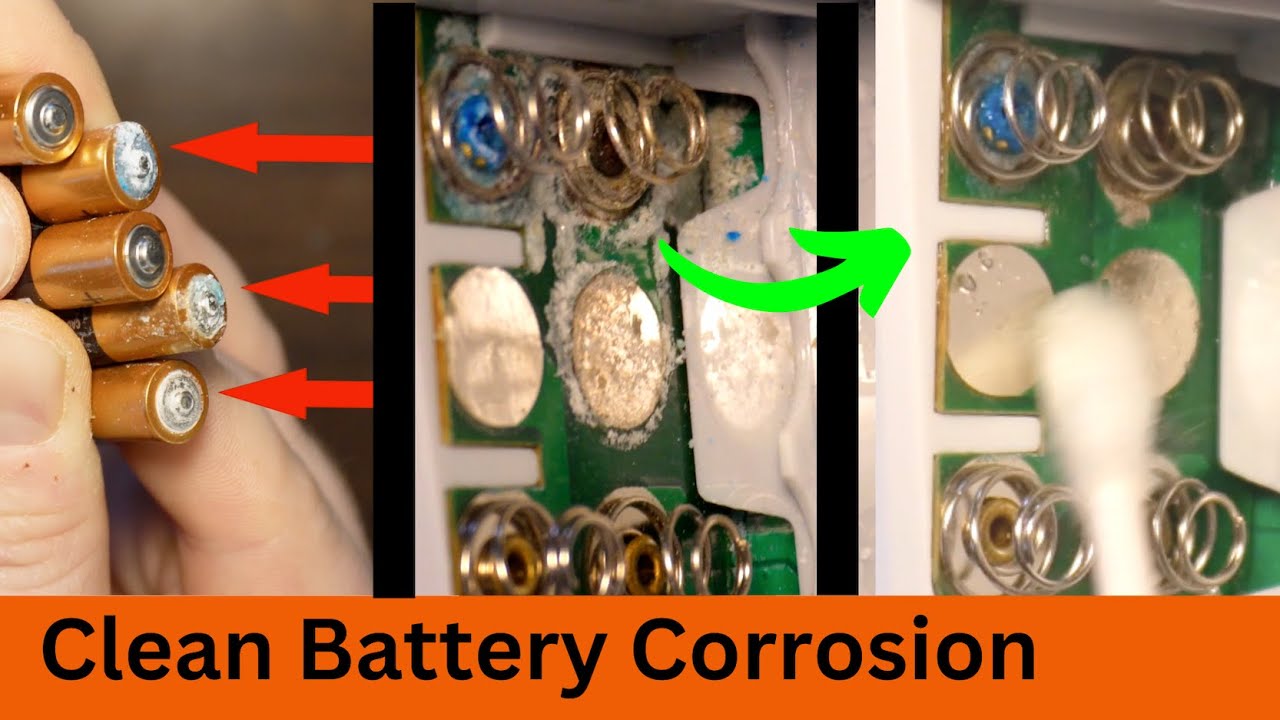
The primary reason an Atomic Beam headlamp stops working is corrosion eating through the printed circuit board. Old batteries leak electrolytes that destroy copper pathways, often without any visible warning signs on the surface.
Inspect for Hidden Corrosion Residue
Open the battery compartment and look closely at the metal springs and surrounding areas. You may see white powder or green crust indicating chemical leakage. Even if the area looks clean, the damage might be internal to the copper trace itself.
Test Trace Continuity With Multimeter
A multimeter is required to confirm if the electrical path is broken.
1. Set your device to continuity mode to hear an audible beep.
2. Place one probe on the battery spring terminal inside the housing.
3. Touch the second probe to the copper trace leading toward the control chip.
4. Slide the probe along the trace, paying attention to any bends.
If the beeping stops at a specific point, you have located the break. These fractures are often microscopic and invisible to the naked eye.
Repair Broken Circuit Traces With Solder
Restoring power requires bridging the gap created by corrosion. You can bypass the damaged section of the board using basic soldering tools and a small piece of wire.
Solder a Wire Bypass
This process reconnects the power flow to the LED and control chip.
* Cut a small piece of fine copper wire about 0.3mm thick.
* Tin both ends of the wire with a small amount of solder.
* Solder one end to the trace before the break point.
* Solder the other end to the trace after the break point.
* Verify the connection by testing continuity across your new wire.
Pro Tip: Keep the wire flat against the board to ensure the housing closes properly without crushing the repair.
Seal Against Future Corrosion
Protect your repair work from moisture and future leaks. Apply a tiny drop of RTV silicone or conformal coating over the soldered wire. Let it cure completely before reassembling the headlamp to ensure a watertight seal.
Fix Stiff or Sticky Focus Mechanism
The sliding bezel used to adjust the beam often becomes difficult to move due to factory grease or debris. A stuck focus ring prevents you from changing between spot and flood modes effectively.
Clean the Sliding Mechanism
Gently pull and push the lens housing to feel where resistance occurs. Wipe the seam with a dry cloth to remove surface dirt. Work the mechanism slowly back and forth to distribute or loosen built up grease inside the track.
Prevent Accidental Beam Shifts
The sliding design is prone to changing focus if bumped against a wall. Avoid brushing the front of the light against objects while wearing it. If the beam shifts during critical tasks, reset it manually or consider securing the bezel with a small piece of tape.
Prevent Future Failures With Proper Care
Extending the life of your Atomic Beam headlamp requires proactive maintenance to stop battery leakage before it destroys the electronics.
Remove Batteries After Use
Always take the batteries out if you plan to store the light for more than a few days. Leaving cells inside is the number one cause of circuit board destruction. Store the batteries separately in a cool, dry location to prevent chemical leaks.
Clean Contacts Regularly
Wipe down the metal springs and terminals every few months. Use a dry cotton swab to remove any developing residue. A clean contact point ensures maximum power delivery and reduces the risk of intermittent connections.
Store Properly
Keep your headlamp in an environment with stable temperatures. Avoid storing it in hot garages or damp sheds where humidity accelerates corrosion. Proper storage protects both the electronics and the battery integrity.
Upgrade or Replace With Better Alternatives
Given the design flaws inherent in this model, many users find it more efficient to switch to a more reliable brand. The oversized battery housing and sliding focus create unnecessary points of failure.
Why This Design Fails
- Oversized housing: Holds six AAA cells but only uses three, adding bulk.
- Sliding focus: Easily bumped, causing accidental beam changes.
- Poor quality control: New units often arrive with internal grease or smudges.
Top Reliable Alternatives
| Model | Output | Key Advantages |
|---|---|---|
| Petzl Tikkina | 300 lumens | Rotating focus, durable build, long lifespan |
| Harbor Freight Quantum | 65 lumens | Focused beam, high reliability, low cost |
| Generic Li-ion Headlamp | 500+ lumens | Rechargeable, slim profile, multiple modes |
These models avoid the common pitfalls of the Atomic Beam and offer better long term value.
Troubleshoot Without Tools
If you lack a multimeter or soldering iron, try these basic steps to rule out simple issues. These methods address the most common user errors before assuming hardware failure.
Test With Fresh Alkaline Batteries
Use name brand alkaline cells like Duracell or Energizer for testing. Avoid rechargeable NiMH batteries during diagnosis as their lower voltage may not trigger the circuit if it is already weak.
Check Battery Polarity
Ensure every battery is inserted with the correct orientation. The positive end must face the spring while the negative end touches the flat contact. A single reversed battery will prevent the entire circuit from functioning.
Tap the Housing
Gently tap the body of the light while pressing the power button. If the light flickers or turns on briefly, you likely have a loose connection or a partial trace break. This confirms that internal repair is needed.
Understand the 5000 Lux Myth
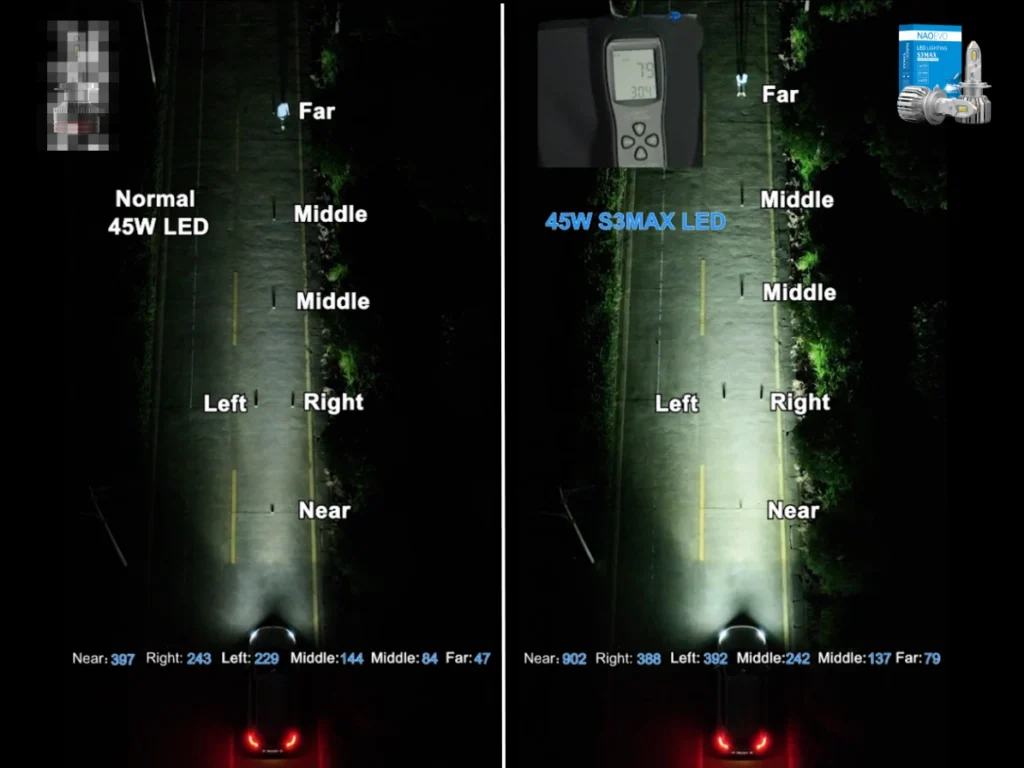
Marketing materials claim this headlamp produces 5000 Lux, but this metric is often misleading regarding actual brightness. Lux measures illuminance at a specific distance rather than total light output.
Marketing Tactics Explained
Manufacturers can inflate Lux numbers by narrowing the beam angle significantly. The actual total output is approximately 350 lumens, which is respectable but not industry leading. Competitors often provide higher lumen counts with more durable designs at similar price points.
When to Repair vs. Replace
Decide your next step based on your technical skills and the severity of the damage. Some situations warrant a quick fix while others suggest buying a new unit.
| Situation | Recommended Action |
|---|---|
| Broken trace, skilled with soldering | Repair with wire bypass |
| No tools or soldering experience | Replace unit |
| Frequent failures despite care | Switch to a more reliable brand |
| Need rechargeable or longer runtime | Upgrade to Li-ion headlamp |
Repairing the circuit trace can extend the life of your device significantly if done correctly.
Frequently Asked Questions About Atomic Beam Headlamp Not Working
Why does my Atomic Beam headlamp flash once and then turn off?
This indicates a broken copper trace on the internal circuit board caused by battery corrosion. The brief flash comes from residual power, but the broken path prevents sustained current flow needed to keep the light on.
Can I fix the Atomic Beam headlamp not working issue without soldering?
No, if the copper trace is broken, you must solder a wire bypass to restore the connection. Cleaning contacts or changing batteries will not fix a physically broken circuit path inside the housing.
Is the 5000 Lux claim accurate for this headlamp?
No, the 5000 Lux figure is a marketing metric based on a narrow beam angle at a specific distance. Real world testing shows the total output is closer to 350 lumens, which is standard but not exceptional.
How do I prevent my Atomic Beam headlamp from failing again?
Always remove the batteries when storing the light for more than a few days. Battery leakage is the primary cause of failure, and removing cells prevents corrosive chemicals from damaging the internal circuit board.
What type of batteries should I use for testing?
Use fresh, name-brand alkaline AAA batteries for testing. Rechargeable batteries often have lower voltage that may not activate the circuit if there is any existing resistance or minor damage.
Key Takeaways for Fixing Your Atomic Beam Headlamp
The Atomic Beam headlamp not working is almost always caused by battery leakage corroding the internal circuit traces. You can repair this damage by identifying the break with a multimeter and soldering a wire bypass across the gap. However, the sliding focus design and oversized battery compartment make this unit prone to recurring issues.
For long term reliability, consider removing batteries immediately after use or upgrading to a headlamp with a rotating focus and better build quality. If you choose to repair, ensure you seal the soldered area to prevent future corrosion from moisture.