
Folding a spray tan tent can feel like wrestling a stubborn pop-up book the first few times. The frame bounces, the fabric flaps, and you wonder if it’s broken. The good news is that learning how to fold a spray tan tent properly turns that chaos into a 60-second routine you can do almost anywhere.
Below, you’ll find three proven folding methods used by mobile spray tan professionals, plus prep steps, storage tips, and troubleshooting advice. Whether you’re a beginner or a seasoned tech, these techniques will save you time, protect your gear, and keep your appointments running smoothly.
Prepare Before Folding Your Spray Tan Tent
Skipping prep is the number one reason folding feels harder than it should. A few quick steps beforehand make the collapse smooth and safe.
Clear Out All Equipment
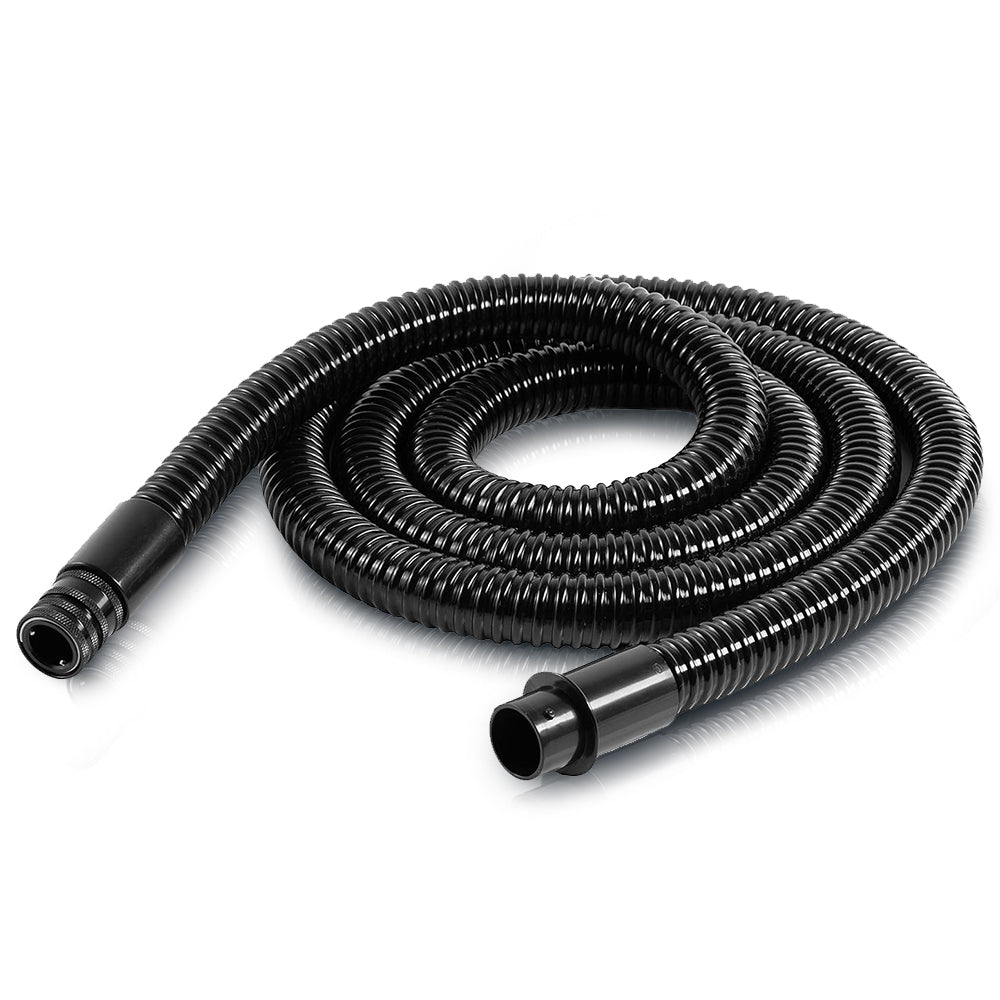
Remove your spray gun, hose, power cord, and any accessories from inside the tent before folding. Leaving gear inside can trap cords between collapsing panels, stretch the fabric, or bend the frame. Coil hoses and cords neatly using Velcro straps or cable ties to prevent tangles during your next setup.
Set Up a Clean, Dry Workspace
Work on a clean, dry surface whenever possible. Moisture, dust, or debris can stain the tent’s interior or weaken the fabric over time. If you’re folding at a client’s location, wipe down the floor first. A tidy space leads to a safer, smoother fold.
Check Zippers, Snaps, and the Storage Bag
Make sure all zippers are closed and snaps are fastened before you start. This keeps the structure stable during collapse and prevents fabric from snagging. Also, confirm your carry bag is clean, dry, and within reach so you can pack immediately after folding.
Use the Foot-Assisted Collapse Method
This is the most beginner-friendly way to fold a spray tan tent. It’s reliable, fast, and works on nearly all popup models.
Step Into One Side of the Tent
Stand inside the tent and step into either the left or right side. Right-handed users often prefer starting on the right for better control. Position your foot near the center of the base on the side you’re folding first.
Push the Frame Inward With Your Foot
Using your foot, gently push the side panel inward. Apply steady pressure until the spring-loaded frame begins to collapse. Keep pushing until the entire side folds flat. The frame should snap inward with a soft pop. Don’t force it, but don’t hesitate either. These tents are built to handle this motion.
Bring the Opposite Side Over
Once one side is fully collapsed, grab the opposite side and pull it over to meet the folded half. The two sides should now stack neatly on top of each other, forming a flat, double-layered rectangle.
Tuck and Roll the Fabric Tightly
Place your foot on the bottom edge to hold the tent in place. With both hands, grab the top edge and begin tucking the fabric downward. Roll or fold it tightly toward the base, compressing the material as you go. This creates a compact bundle that fits easily into the carry bag.
Pack Into the Storage Bag
Lift the folded tent and place it into the carry bag. Smooth out any wrinkles before zipping it shut. Make sure no fabric is caught in the zipper. A well-packed tent zips closed without strain.
Master the Corner-Grip Figure-Eight Technique
This professional method is faster and more compact, though it takes practice to learn. Once mastered, it becomes the go-to move for mobile tanners who need speed and precision.
Grip the Top Corners Firmly
Stand in front of the open tent. Grasp the top two corners, just beside the small window openings. Your hands should be at shoulder width, holding the frame securely. This grip gives you full control over the structure.
Position Your Feet for the Kick
Place your left foot in the center of the front base, close to your body. Use your right foot to kick the opposite back corner diagonally outward. This action splits the tent into two leaves or panels that open like a book.
Fold the Two Leaves Into One Panel
Bring the two leaves together by folding one over the other. Press them flat with your hands to align the edges. You now have a single, thick panel that is half the size of the original tent.
Tuck in the Excess Tarp Material
Gather any loose tarp material around the base and fold it inward. Tuck it neatly into the main body of the tent. This prevents flapping fabric from getting caught and ensures a clean fold.
Perform the Figure-Eight Fold
Hold the folded panel with both hands. Now for the key move: take your right hand and pass it underneath your left hand. Twist your wrist to form a figure-eight shape with the tent. Then, press the folded mass firmly onto the ground. The frame will fully collapse into a tight, circular bundle, ready for the bag.
Pro Tip: This step feels awkward at first. Practice it slowly in a dry, open area. Like riding a bike, once you get it, you’ll never forget.
Try the Section-by-Section Fold for Beginners

If the other methods feel too fast or complex, use this controlled, step-by-step approach instead.
Fold From Top to Bottom in 12-Inch Sections
Start at the top edge of the tent and fold it down about 12 inches. Apply even pressure to compress the frame. Continue folding in 12-inch sections until you reach the base. This method avoids jamming and gives you full control.
Keep Each Panel Aligned
Ensure every fold is straight and even. Misaligned folds can cause the frame to twist or resist collapsing. Smooth out wrinkles as you go to prevent creases in the fabric.
Compress the Bundle Before Packing
Once fully folded, press down firmly with your hands or knees to compact the bundle. This makes it easier to fit into the storage bag and reduces stress on the zipper.
Avoid Common Folding Mistakes
Even experienced users slip up on these. Don’t let them cost you time or damage your gear.
Forgetting to Remove the Hose
Leaving the hose inside traps it between collapsing panels, which can stretch the fabric or bend the frame. Always double-check before folding.
Rushing the Figure-Eight Fold
Trying to speed through the figure-eight motion leads to incomplete collapses. Take your time. Control beats speed until muscle memory kicks in.
Forcing a Stuck Frame
If the tent resists folding, don’t yank it. Recheck zippers, snaps, and obstructions. The frame should collapse smoothly with proper technique. If it doesn’t, something is misaligned.
Store Your Spray Tan Tent the Right Way
How you store your tent matters just as much as how you fold it.
Use a Clean Storage Bag Every Time
Always ensure the carry bag is dry and free of debris. Dirt or moisture inside the bag can lead to mold, odors, or fabric degradation over time.
Secure All Closures Fully
After packing, zip the bag completely and fasten any Velcro or buckles. This keeps dust out and prevents accidental spills during transport.
Keep Accessories Together and Accessible
Store the spray gun, hose, and cords in a separate compartment or attach them to the outside of the bag. Many pros use a small mesh pouch or carabiner clip for quick access.
Extend the Lifespan of Your Spray Tan Tent
A well-maintained tent can last for years, even with daily use. These habits protect your investment.
Clean the Interior After Every Use
Wipe down the interior with a disinfectant wipe after each client. Sweat, lotion, and spray residue can break down fabric over time.
Air It Out Weekly
Once a week, unfold the tent and let it air out for 15 to 30 minutes. This prevents musty smells and keeps the material fresh.
Avoid Over-Packing the Bag
Don’t cram heavy items on top of the folded tent in your car. Excessive pressure can bend the frame or damage the storage bag.
Why Mastering How to Fold a Spray Tan Tent Matters
Knowing how to fold a spray tan tent isn’t just about convenience. It’s a professional necessity that affects your time, image, and bottom line.
Save Time Between Appointments
With a solid technique, you can pack up in under 60 seconds. That leaves more time for client prep, travel, or even a quick break.
Maintain a Clean, Professional Image
A neatly folded tent stored in a clean bag shows clients you care about hygiene and detail. It builds trust and reinforces your brand.
Prevent Costly Replacements
Improper folding leads to torn fabric, broken joints, or warped frames, costing hundreds in replacements. Proper technique protects your gear year after year.
Build Confidence and Workflow
The more you practice, the smoother your setup and breakdown become. You’ll move through appointments with ease, reducing stress and boosting efficiency.
Frequently Asked Questions About Folding a Spray Tan Tent
How long does it take to fold a spray tan tent once you’ve practiced?
With consistent practice, most professionals can fully fold and pack a spray tan tent in under 60 seconds. Beginners may need a few minutes at first, but the motion becomes second nature quickly.
Can folding a spray tan tent damage the frame?
It is nearly impossible to break a spray tan tent using the proper folding techniques described above. The popup frame is specifically designed to collapse repeatedly with these methods. Forcing the frame or ignoring obstructions, however, can cause damage over time.
Which folding method is best for beginners?
The foot-assisted collapse method is the most beginner-friendly option. It uses simple, controlled motions and works on nearly all popup tent models. Once you build confidence, you can graduate to the faster figure-eight technique.
Do I need to clean the tent before folding it?
You should at least wipe down the interior after each client and make sure the tent is dry before folding. Moisture trapped inside the storage bag can lead to mold, odors, or fabric degradation over time.
Where should I store my spray tan tent when not in use?
Store the folded tent in its carry bag in a clean, dry location. Avoid placing heavy items on top of the bag, as excess pressure can bend the frame or damage the storage bag over time.
Final Thoughts on How to Fold a Spray Tan Tent
Folding your spray tan tent doesn’t have to be a struggle. The three methods covered here (foot-assisted collapse, corner-grip figure-eight, and section-by-section folding) give you options for every skill level. The foot-assisted method is ideal for beginners, while the figure-eight technique rewards practice with unmatched speed.
Your next step is simple: pick one method and practice it five times in a clean, open space before your next client appointment. Once the motion clicks, you’ll pack up faster, protect your equipment, and keep your mobile business running like clockwork.