
You finish a long day on the trail, and it’s time to break camp. The tent comes down fast, but how you pack it matters just as much as how you pitched it. Knowing how to pack a backpacking tent correctly saves space, protects your gear, and makes setup smoother at the next stop. A poorly packed tent adds bulk, throws off your pack’s balance, and can lead to fabric tears or lost stakes.
This guide breaks down the proven method experienced backpackers use to pack any tent, from 1-person shelters to 4-person family models. You’ll learn how to fold, roll, and secure your tent to match your backpack’s shape, keep components organized, and extend your gear’s life. Whether you hike on weekends or thru-hike long-distance trails, mastering this skill makes every trip easier.
Disassemble Your Tent Before Packing
Never toss your tent into your pack as it comes out of the original storage bag. That bag is designed for long-term home storage, not trail use. Packing everything in one bulky bundle creates an uneven load and risks damage.
Remove Poles First
Start by taking out all poles, whether you use dedicated tent poles or trekking poles. For freestanding tents, unclip the pole sleeves or press-fit joints. For trekking pole tents, gently lift the pole tips from the grommets.
Poles are rigid and long. If packed inside your tent bundle, they can puncture fabric or compress soft gear like sleeping bags. Keeping them separate protects everything else in your pack.
Pull Stakes and Store Them Safely
Remove all stakes and place them in their dedicated stake bag. Shake off dirt and check for bends or breaks before storing.
Keep stakes in the main compartment of your pack, not in outer mesh pockets. This prevents loss and stops sharp ends from poking through fabric over time.
Shake Out Debris
Before folding, give the tent body and rainfly a good shake. Remove leaves, pine needles, sand, and moisture. Even small grit particles can wear down fabric coatings during repeated abrasion.
Lay the Tent Flat with Corners Staked
Keep Corners Taut
After disassembly, leave the four corners staked temporarily. This holds the tent fabric flat and taut, which makes folding easier and more precise.
A taut tent shows its true footprint. You can see exactly where the edges fall, which prevents bunching or uneven folds. If stakes won’t hold in rocky ground, use rocks or trekking poles to pin the corners down.
Place the Rainfly Inside the Tent Body
Apex-First Insertion
Take the rainfly and place it inside the tent body, starting with the apex (the top peak) first. Slide it in so the fly lies flat against the inner canopy.
This method prevents the rainfly from snagging on clips or guy lines. It also keeps both layers aligned during rolling, which reduces bulk.
Smooth Out Wrinkles
Run your hands over the fabric to remove air pockets and wrinkles. A smooth layer rolls tighter and stays more compact in your pack.
Fold the Tent to Match Your Backpack’s Width
Measure Your Pack First
Use a tape measure or estimate the width of your backpack’s main compartment. Most internal-frame packs run between 8 and 12 inches wide.
Aim for a fold slightly narrower than your pack’s interior. This ensures the tent slips in without forcing or bulging.
Fold Lengthwise
Fold both sides of the tent inward toward the center, like folding a letter. Don’t fold into strict quarters. Aim for a rectangle that matches your pack’s shape.
Fold the side with fewer clips or zippers first. This reduces lumps and creates a smoother roll.
Use the Half-Fold Technique
Roll One End Back Before You Start Rolling
Before rolling, fold one end of the tent in half, over itself, about 6 to 8 inches deep. This is the “magic fold.”
This fold locks corners, clips, and webbing into place. It prevents unraveling and creates a stable base for the rest of the roll. After this fold, the end looks like a thick flap, and you should start rolling from that side.
Roll Tightly and Tuck Loose Straps
Begin Rolling from the Folded End
Start rolling from the half-folded end, applying steady pressure with your palms. Keep the roll straight and tight throughout the process.
Think “tight sausage,” not “loose burrito.” A compact roll saves space and stays secure during movement.
Tuck in Loose Parts
As you roll, tuck in guy lines, webbing, and zipper pulls. Don’t let straps hang out, because they will snag on branches and loosen the roll.
After a few turns, roll the final end back into the roll itself. This hides the last edge and creates a clean, compact cylinder.
Secure the Roll with a Velcro Strap
Wrap and Lock
Place the rolled tent between your knees to hold it steady. Wrap a Velcro strap or small cord around the roll and secure it firmly.
Velcro is reusable, won’t stretch, and holds tight without damaging fabric. Avoid rubber bands, because they degrade in UV light and snap without warning.
For frequent backpackers, a dedicated tent compression strap with a buckle offers extra durability.
Pack the Tent Horizontally in Your Main Compartment

Optimal Placement
Slide the tent into your backpack’s main compartment, lying horizontally (side to side), not vertically.
Horizontal placement fills empty side spaces, stabilizes the load, and keeps the center of gravity close to your back. Avoid stuffing the tent at the bottom under heavy gear, because the fabric can tear under weight.
Store Poles and Stakes Separately
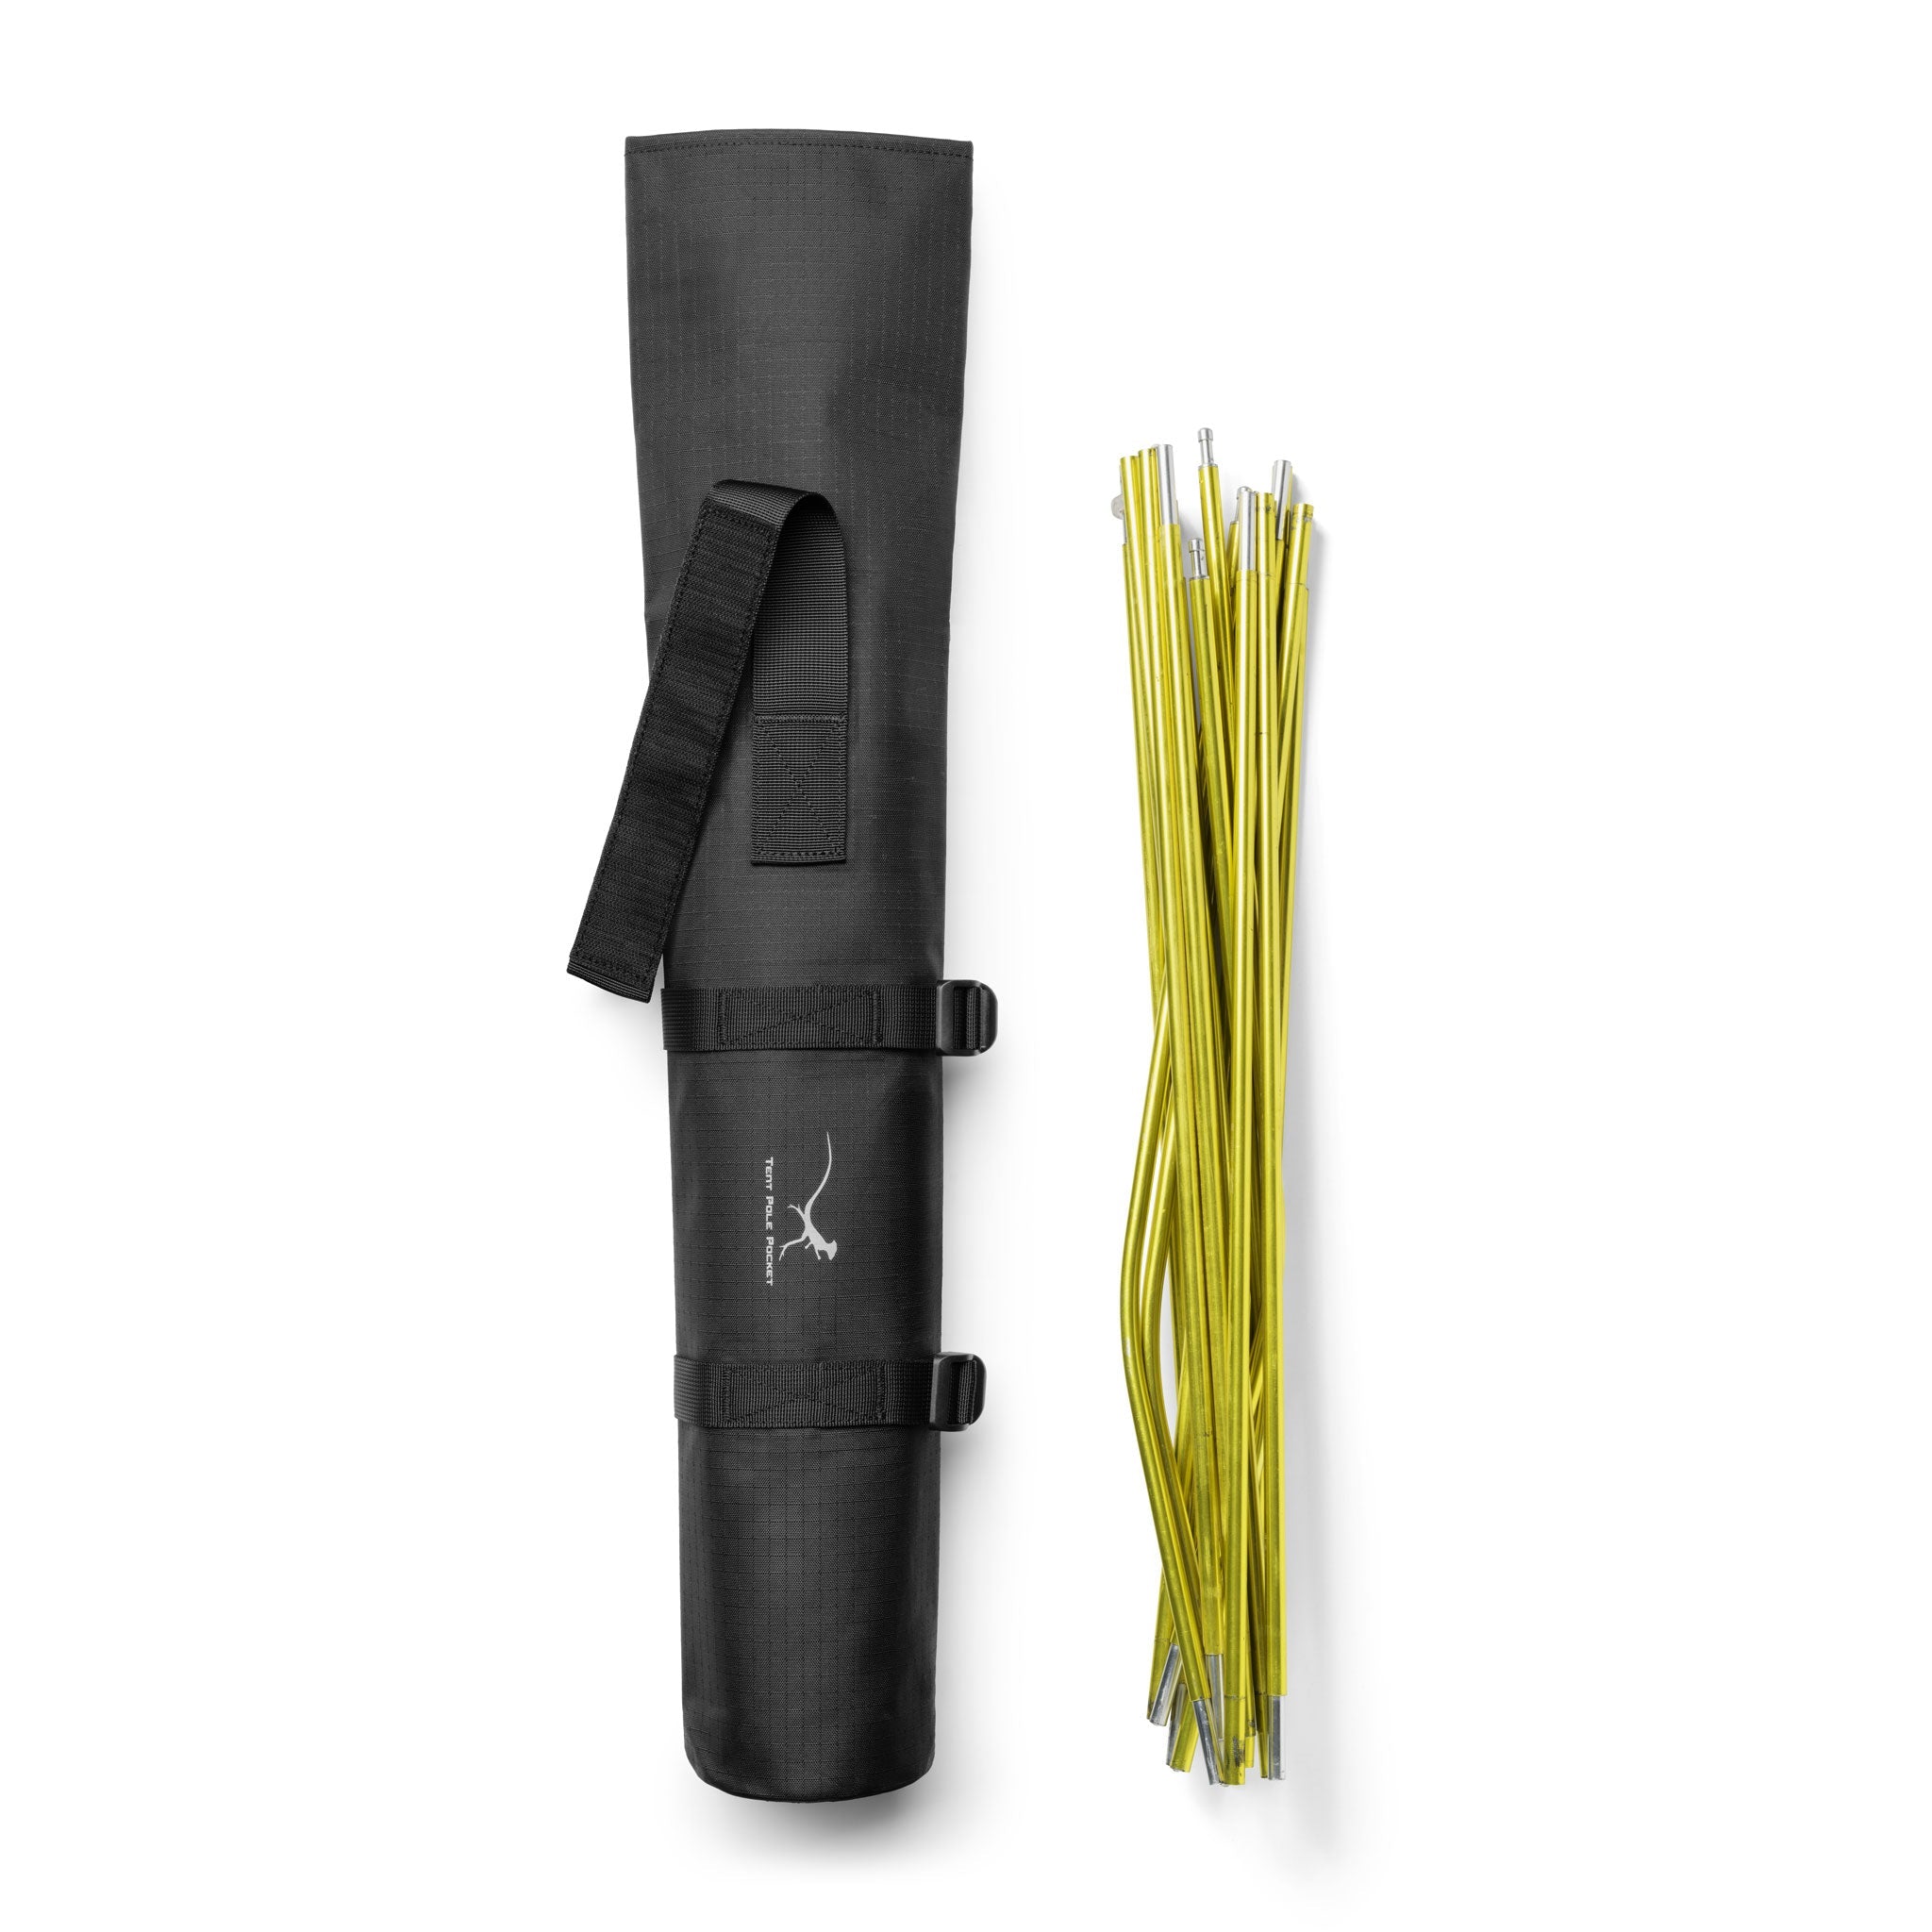
Pack Poles Externally
Place pole sections in a side pocket or secure them with external compression straps on the outside of your pack. Align them from top to bottom along the side of your pack to prevent swaying.
Poles are long and stiff. Internal packing wastes space and risks punctures to other gear.
Keep Stakes Inside
Put the stake bag in the main compartment, near the top or middle of your pack. This protects your pack’s lining and keeps stakes accessible when you set up camp.
Never pack loose stakes directly against tent fabric. They can pierce through during movement on rough trails.
Prevent Mold and Mildew with Dryness
Never Pack a Wet Tent
Always ensure your tent and rainfly are completely dry before packing. Even damp fabric can develop mold in as little as 24 hours.
If you must pack a damp tent, shake it out at lunch or hang it on your pack during the hike. Unpack and dry it fully when you stop for the day.
Use a Dry Sack for Extra Protection
For rainy climates, store the packed tent in a dry sack. This adds a waterproof layer and keeps moisture out.
A dry sack won’t fix a wet tent. It traps humidity inside. Dry the tent first, then sack it.
Optimize Packing for Any Tent Size
Works for All Capacities
This method scales to any tent size:
- 1-person tents produce a smaller roll with the same technique
- 2-person tents are the most common size and fit most packs
- 3 to 4-person tents may require two rolls or a larger pack
For larger tents, divide the fabric into thirds instead of halves when folding.
Compatible with All Tent Types
Whether you use freestanding tents, trekking pole tents, or tunnel designs, the process remains the same: disassemble, fold, roll, secure.
Maintain Your Gear for Long-Term Use
Clean Before Storing
After your trip, unpack and air out your tent at home. Shake out debris and wipe down any muddy spots with a damp cloth.
Never store your tent compressed. Loosen the straps and keep it in a cool, dry place, ideally in a cotton or mesh storage sack that allows airflow.
Inspect After Each Use
Check for torn fabric, bent stakes, stiff or broken pole segments, and stuck zippers. Fix small issues early, and replace parts before they fail on the trail.
Choose the Right Packing Method for Your Trip

Method 1: Integrated Roll (Recommended)
Best for most backpackers and all tent sizes:
- Rainfly packed inside tent body
- One compact roll
- Faster setup and breakdown
- Saves space
This method works well for fast-moving trips, ultralight backpackers, and solo hikers.
Method 2: Component Separation
Best for wet conditions, base camping, and gear organization:
- Tent body, rainfly, and poles packed separately
- Each component in its own dry sack
- Easier to dry parts individually
This approach adds setup time but offers better protection in damp environments.
Frequently Asked Questions About Packing a Backpacking Tent
Should I fold my tent the same way every time?
Yes. Folding the same way every time builds muscle memory and speeds up camp routines. Real wear comes from UV exposure, abrasion, and weather, not from consistent folding. Don’t stress over minor creases.
Can I pack poles inside my backpack instead of outside?
You can, but external placement saves space and prevents punctures to other gear. Poles are long and rigid, so they waste interior space and can damage soft items like sleeping bags.
How do I pack a wet tent in the field?
Shake it out to remove excess water, then hang it on your pack or a tree branch during the hike. Unpack and dry it fully when you stop for the day. Packing a wet tent risks mold growth within 24 hours.
Does a compression sack damage tent fabric?
Compression sacks are fine for trail use, but avoid over-compressing. For long-term storage, use a loose cotton or mesh bag to allow airflow and prevent coating damage.
What is the best way to keep stakes organized?
Use a small pouch stored near the top of your main compartment. Attach a carabiner to the bag and clip it to your pack’s haul loop during the day to prevent loss.
Final Takeaways for Packing a Backpacking Tent
How you pack your tent affects comfort, speed, and gear life on every trip. By disassembling components, folding to fit your pack, using the half-fold, and rolling tightly, you create a compact system that works in any condition. Keep poles external, stakes internal, and always pack dry.
Master this method once, and you’ll never fight with a tangled tent again. Start practicing on your next campout, and build the muscle memory that makes every future trip smoother.