
You arrive at your campsite just before sunset, ready to pitch your shelter, but the tangled poles and confusing instructions bring your excitement to a halt. This is a common frustration among campers who want to learn how to set up Ozark Trail tent models quickly and correctly. Whether you’re using a compact 3-person dome or a spacious 10-person family cabin, the right setup technique saves time and keeps you dry when weather changes.
This guide covers setup for every major Ozark Trail tent model, with clear instructions tailored to each design. You’ll learn model-specific steps, avoid common mistakes, and master efficient packing for long-term use.
Identify Your Ozark Trail Tent Model First
Ozark Trail makes several tent styles, each with a unique setup process. Confirming your model before starting prevents wasted effort and confusion.
- 3-Person Dome Tent with traditional pole-and-sleeve design
- Instant Cabin 6 with foldable frame and telescoping poles
- OZARK Instant Camping Tent with umbrella-style pop-up mechanism
- 10-Person Three-Room Family Tent with room dividers and tension keys
- 6-Person Standard Tent with classic A-frame and color-coded poles
Knowing your exact model ensures you follow the correct procedure for poles, rainfly, and staking.
Set Up the Ozark Trail 3-Person Dome Tent
This lightweight tent is beginner-friendly and assembles in under 10 minutes using a simple cross-pole design.
Lay Out and Stake the Base
Unpack the tent on a flat, clear surface. Align the front label with your desired entrance. Stake each corner through the four corner loops, driving stakes at a 45-degree angle toward the tent for maximum hold. This prevents shifting during wind or rain.
Insert the Cross Poles
Connect the two sectioned poles by snapping them together. Slide the first pole through the sleeve from one corner to the opposite diagonal. Repeat with the second pole across the remaining diagonal. The dome shape rises automatically as the poles lock into the fabric sleeves. Ensure both ends seat securely in the corner grommets.
Attach the Upper Canopy and Front Brace
Drape the mesh upper canopy over the roof. Stretch the rubber band corners over the bottom edge loops to secure it. This mesh layer improves airflow and visibility while shielding from light rain. Next, slide the front brace through the entrance opening to create a small overhang that blocks rain and adds structural support to the doorway.
Assemble the Ozark Trail Instant Cabin 6 Tent
This model uses a foldable frame that unfolds like an accordion, allowing tool-free setup in under 10 minutes.
Unfold the Frame Smoothly
Remove the tent from the carry bag, starting as a flat square. Gently lift each elbow joint at the four corners to begin unfolding. Avoid forcing the poles; lifting joints slightly helps them extend with less resistance. Once unfolded, position the single door facing your preferred direction.
Extend and Lock the Telescoping Poles
Grasp each telescoping pole at the elbow joint and lift upward. As the pole extends, listen for a click and watch for the red locking button to pop out, confirming a secure lock. If a pole resists, lift the joint higher to realign the inner sections. Repeat for all four poles; the last one may require slight adjustments across multiple joints.
Attach Rainfly and Stake Everything
Drape the rainfly over the tent by grabbing one corner and walking around to pull it taut. Attach shock cord hooks to the fabric loops at each corner. Position the plastic skylights at the front and back with the logo facing forward. Fasten the four Velcro strips underneath the rainfly to the nearest poles to prevent flapping.
Zip the door closed, then stake all corners. Secure the pre-attached guy lines with tensioners. Don’t forget to stake the back ground vent to improve airflow and reduce condensation.
Deploy the OZARK Instant Camping Tent (Umbrella-Style)
This 6-person tent sets up in minutes with zero assembly, ideal for spontaneous trips or solo campers.
Pop Open the Frame Instantly
Lay the compressed tent on the ground. Extend the legs smoothly outward, and the frame will automatically pop into place like an umbrella. No poles to connect, no sleeves to thread. The structure locks into position with a satisfying snap.
Locate the Door and Stake for Stability
The main door sits on the opposite side from the initial opening. Check both ends before staking. Drive stakes through the corner loops at a 45-degree angle, using a mallet if the ground is hard. This ensures stability during wind and prevents unwanted shifting.
Install the Rainfly
Slide the rainfly over the top until it fits snugly. It provides full coverage from rain and sun while allowing integrated ventilation. The entire process from unpacking to full setup takes just minutes, making this the fastest Ozark Trail model to deploy.
Build the Ozark Trail 10-Person Three-Room Family Tent
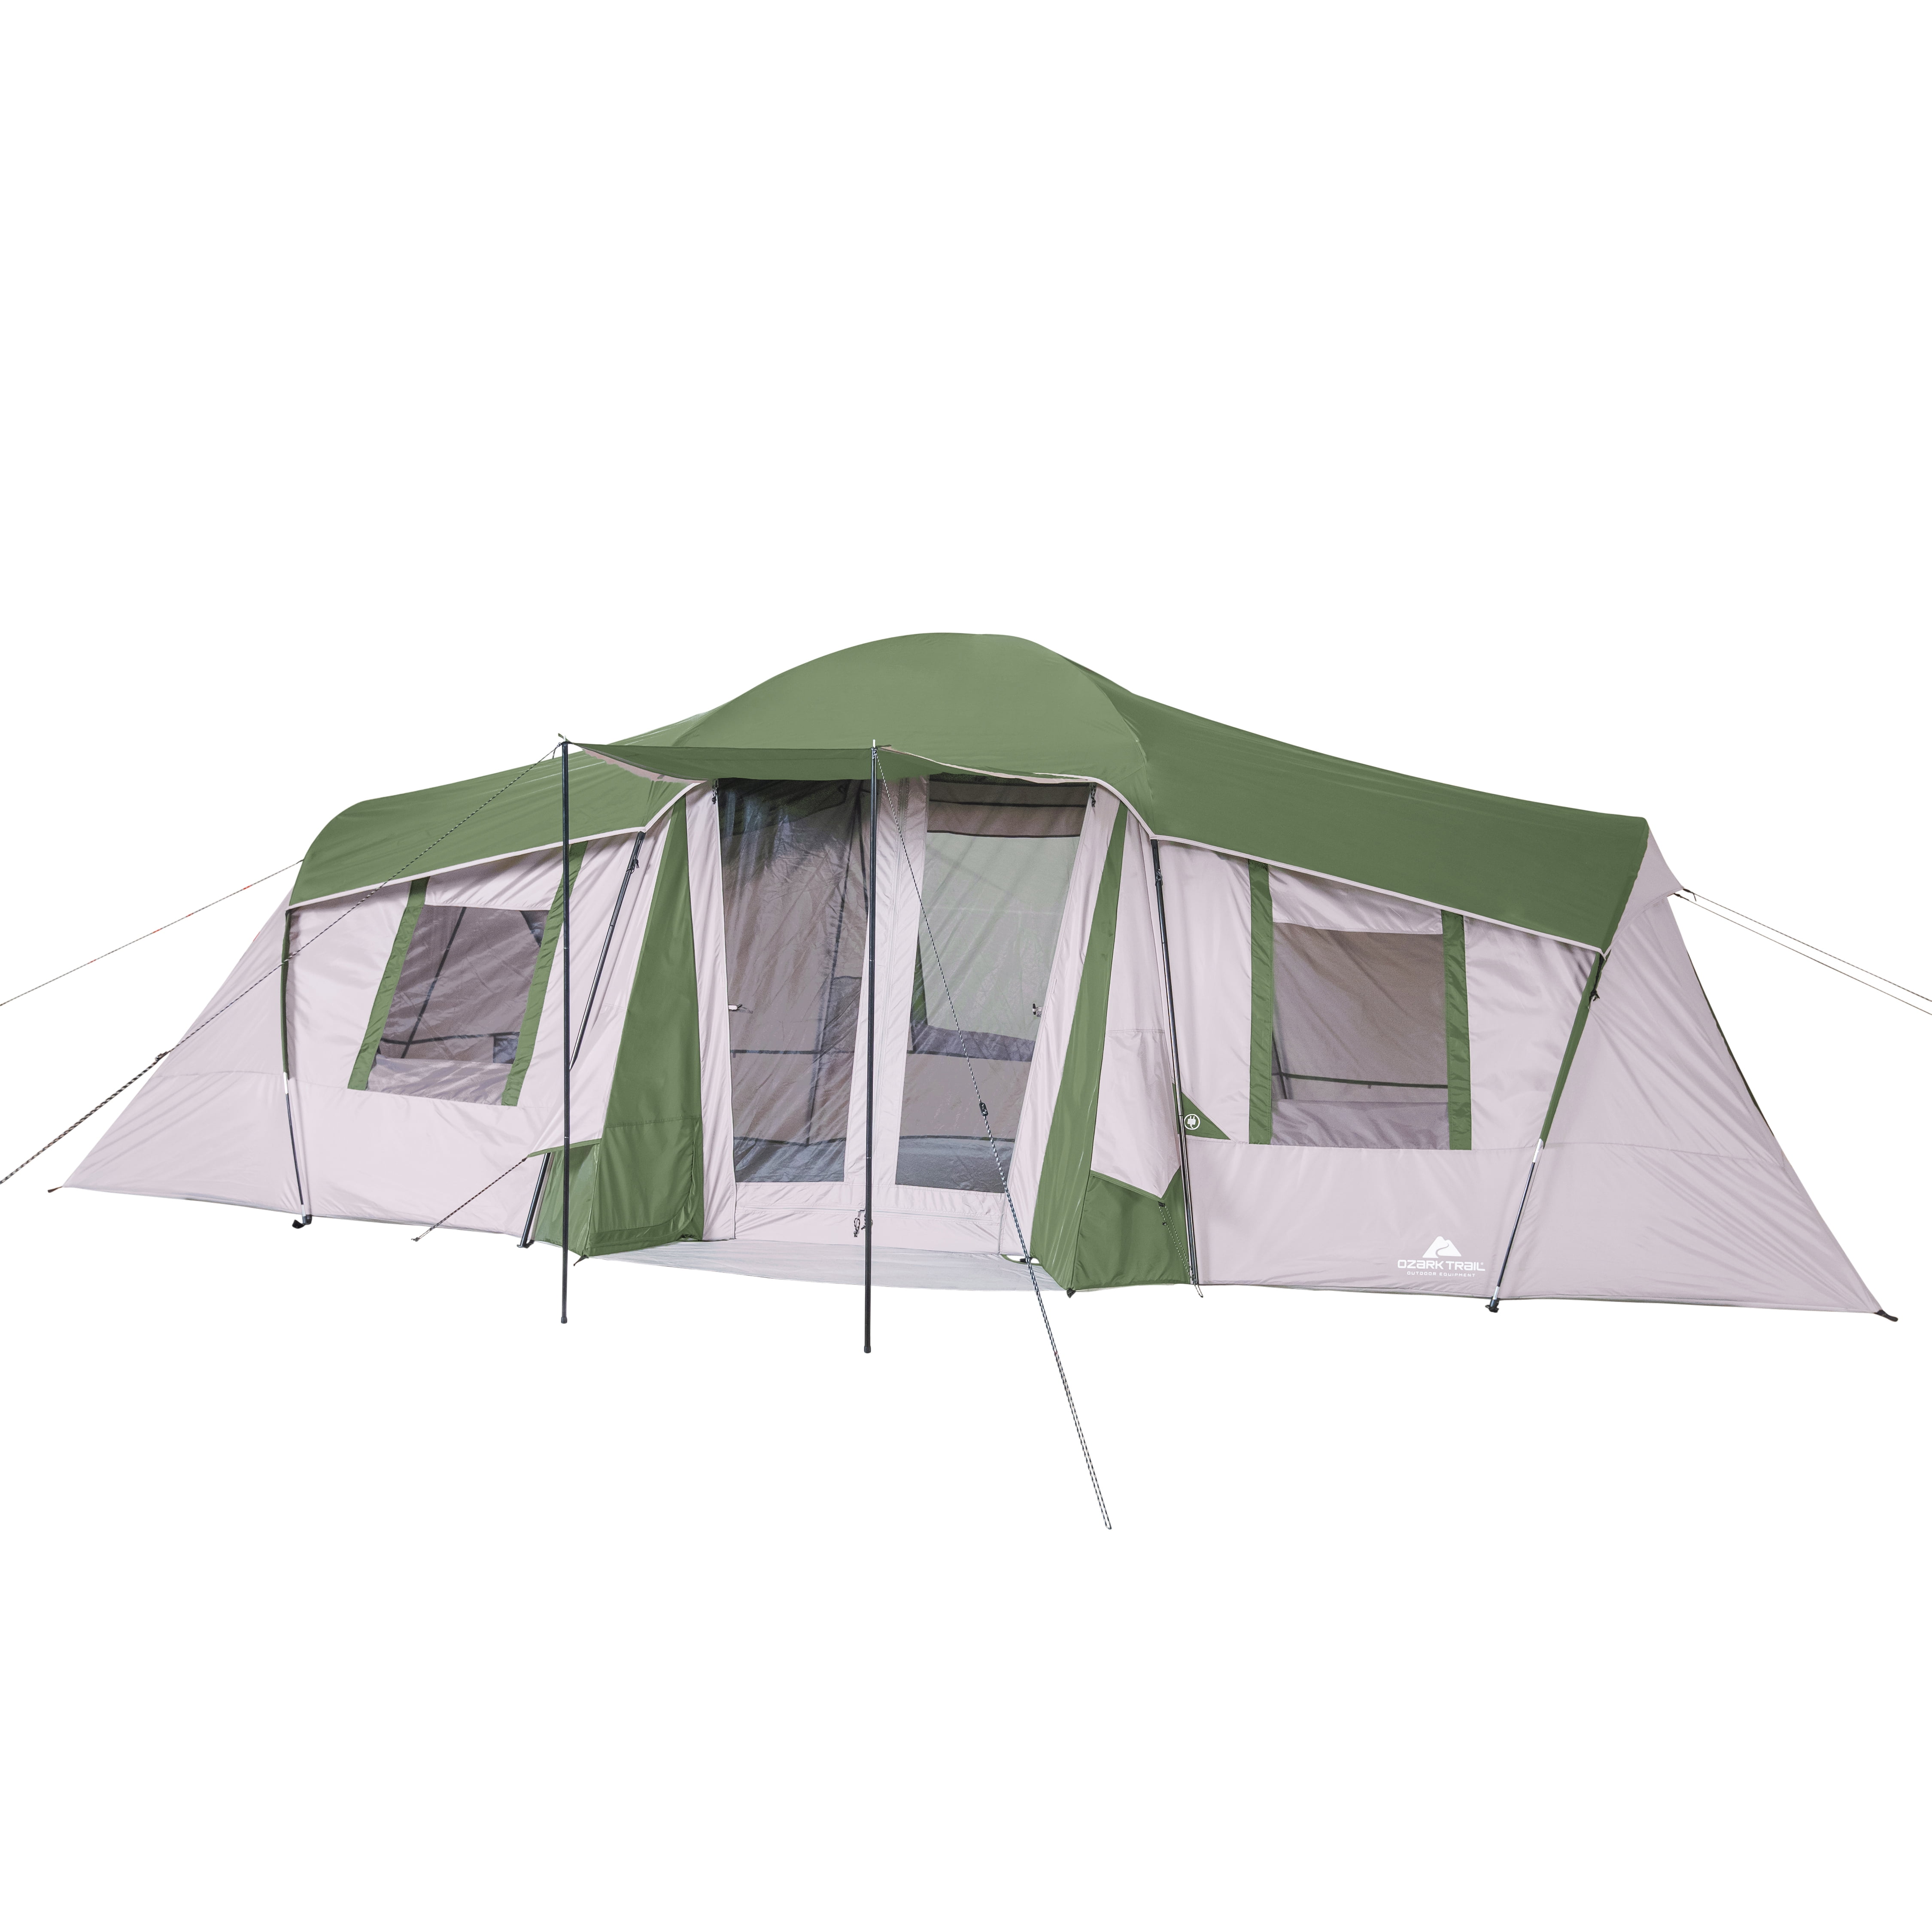
This large tent features room dividers and a screened porch, ideal for families needing space and privacy.
Connect and Align the Poles
Assemble the pre-attached pole sections by sliding each end into the silver sleeves. Ensure the bent end fully aligns with the connector hole. If a joint feels loose, double-check alignment; this is a common cause of instability. Misaligned poles won’t support the structure properly.
Insert Tension Keys for Critical Stability
Once poles are connected, lift the tent and clip them into the corner and center clips. Insert the tension keys (small plastic or metal inserts) into the pole ends. This step is critical; without these keys, the tent collapses. Once inserted, the frame locks rigid and the tent pops up firmly.
Expand the Screened Porch
Center the screened-in porch and secure the side snaps down. Insert the tension key into the bottom of the porch pole first. Then pull the rope handles; the porch expands with a satisfying pop, creating a bug-free outdoor living space.
Stake and Finalize the Setup
Stake all corners and attach guy lines at a 45-degree angle away from the tent. Add the rain fly for weather protection or remove it for stargazing. This tent allows standing height, fits up to three queen air mattresses, and includes a wall-mounted media case perfect for keeping kids entertained.
Pitch the Ozark Trail 6-Person Standard Tent
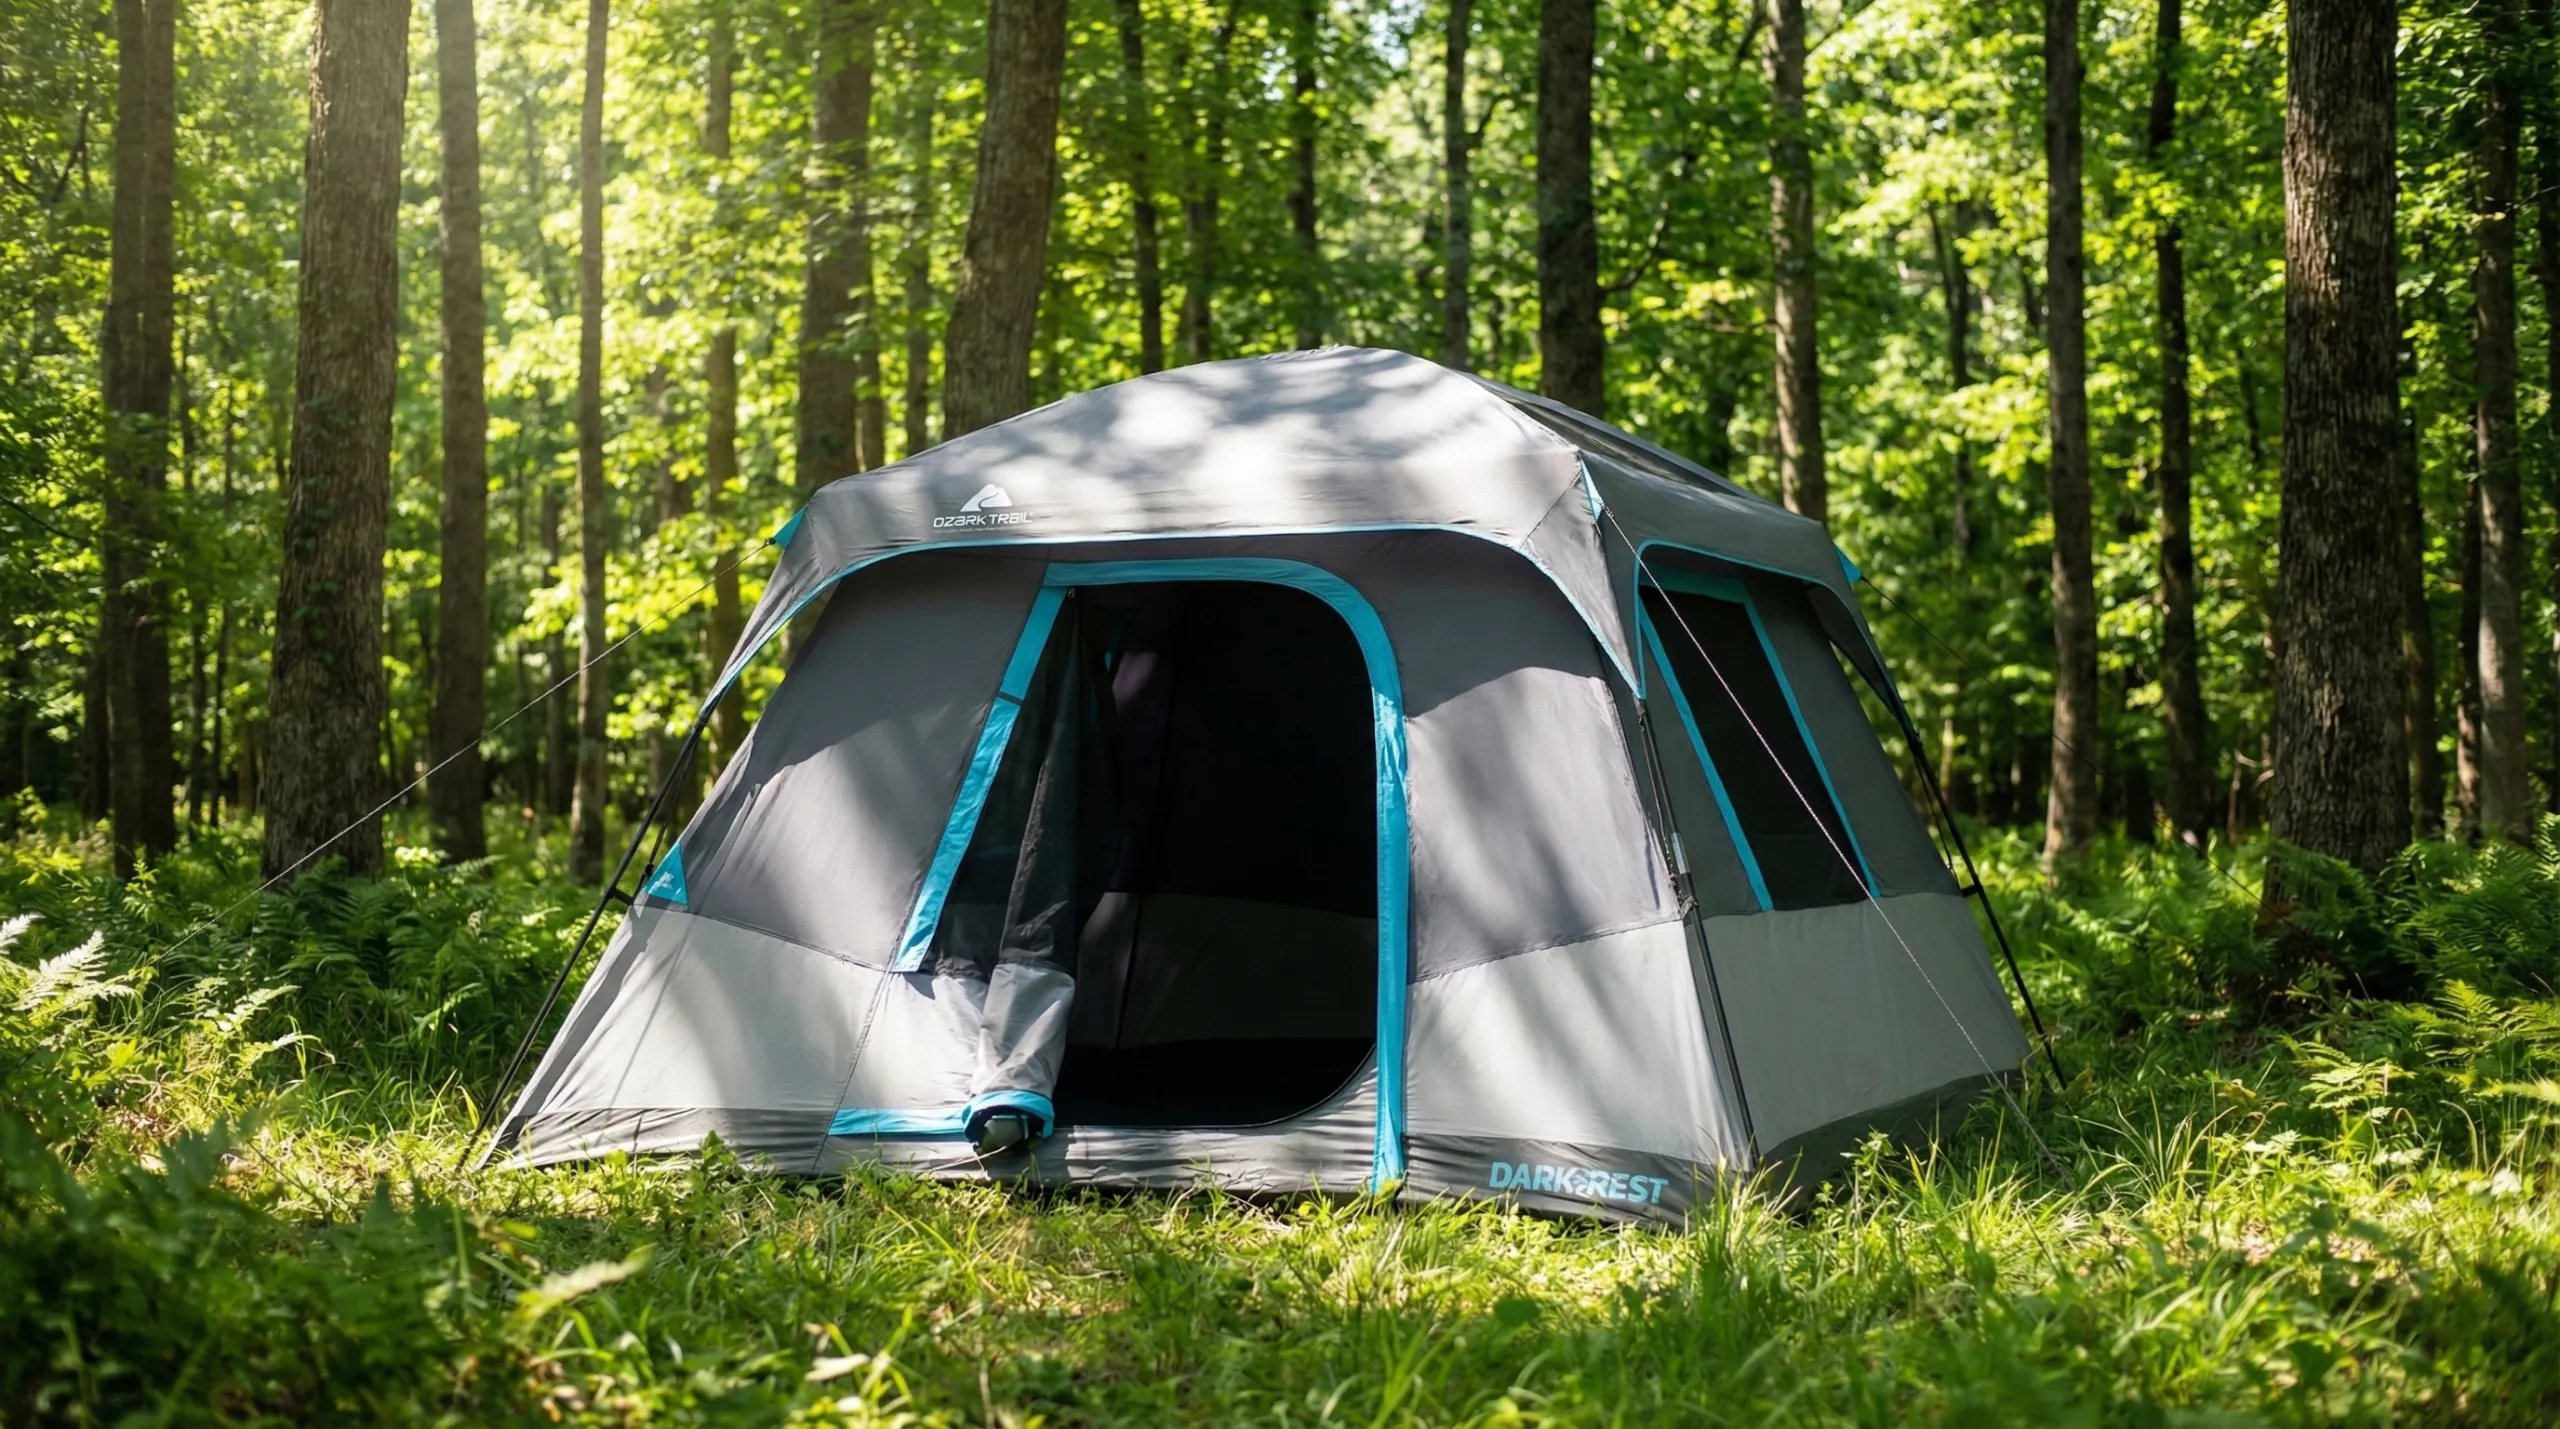
This traditional family tent uses a reliable A-frame design with color-coded poles for confusion-free assembly.
Prepare the Campsite
Choose a flat, dry area free of rocks and sticks. Clear debris and lay down a ground tarp that’s slightly smaller than the tent footprint. If the tarp extends beyond the tent, rain can pool underneath and seep in.
Assemble and Insert the Poles
Connect the color-coded or numbered pole sections, then slide them into the corresponding sleeves or clips on the tent body. Lift the frame upright, forming an A-frame roof. Make sure poles are fully seated in the corner grommets to prevent slippage.
Attach the Rainfly and Guy Lines
Drape the rainfly over the tent, aligning door and window openings. Secure it with clips or Velcro straps to the poles. Attach guy lines from the rainfly corners and stake them at a 45-degree angle away from the tent for wind resistance.
Perform a Final Security Check
Stake all tent corners at a 45-degree angle toward the tent. Tighten guy lines until the rainfly is firm but not overstretched. Test zippers, confirm full rainfly coverage, and verify the tarp sits entirely under the tent.
Solve Common Ozark Trail Tent Setup Problems

Even with clear instructions, issues can arise. Here are fast fixes for the most frequent problems.
Pole Won’t Extend on Instant Cabin 6
If a telescoping pole resists, lift the elbow joint higher before pushing. This realigns the inner sections and reduces friction. A proper lock produces a click sound and a visible red button popping out.
Tent Collapses on 10-Person Model
This usually means tension keys are missing or not fully inserted. Recheck all pole ends and push the keys in until they click. The tent should stabilize immediately.
Rainfly Flaps in the Wind
On the Instant Cabin 6, ensure all four Velcro strips are attached to the poles underneath. Tighten guy lines and re-stake if needed. A loose rainfly wears out quickly with constant flapping.
Water Pools Under the Tent
This is caused by a ground tarp extending beyond the tent edges. Trim or reposition the tarp so it sits entirely under the tent. This prevents rain from collecting underneath and wicking into the floor.
Pack Your Ozark Trail Tent Efficiently After Use
Proper packing extends your tent’s life and makes future setups smoother.
Clean and Dry Before Storing
Remove dirt, leaves, and moisture before folding. Never store a damp tent; this leads to mold and mildew. If needed, air it out at home before final packing.
Fold or Roll the Tent Tightly
For the Instant Cabin 6, press the red locking buttons and slide poles down. Fold corners inward using the elbow joints. Roll the fabric tightly while pushing out trapped air. Use the included straps or upgrade to compression straps for a tighter bundle.
Store Accessories in the Right Section
Place the rainfly, stakes, and organizer pockets in the less bulky section of the carry bag. Use your legs to grip the bag while zipping shut; this gives extra pressure for a snug fit.
Maximize the Lifespan of Your Ozark Trail Tent
Follow these best practices to keep your tent performing well for years.
Always Stake Down the Tent
Even on calm days, stake all corners and guy lines. This prevents shifting, improves airflow, and protects against sudden wind gusts.
Match the Tent to the Weather Conditions
The 3-person dome is best for mild conditions, not heavy rain or strong winds. Larger models like the 10-person tent handle varied weather better when properly staked and guyed.
Inspect Before Every Trip
Check for torn seams, broken zippers, or bent poles. Replace damaged parts early. A quick pre-trip inspection prevents failures in the field.
Consider Smart Upgrades
Compression straps make packing easier than the included straps. A mallet speeds up staking on hard ground. These small upgrades save time and effort on every trip.
Frequently Asked Questions About Ozark Trail Tents
How long does it take to set up an Ozark Trail tent?
Setup time depends on the model. The OZARK Instant Tent and Instant Cabin 6 both assemble in under 10 minutes. Traditional models like the 3-Person Dome also take under 10 minutes. Larger tents with tension keys may take longer due to additional steps.
Can one person set up an Ozark Trail tent?
Yes. The OZARK Instant Tent is specifically designed for one-person operation. The Instant Cabin 6 can also be set up solo, though extra hands help. The 10-Person Three-Room model is easier with two people but manageable for one.
Do all Ozark Trail tents come with a rainfly?
The majority of models include a rainfly, including the 3-Person Dome, Instant Cabin 6, OZARK Instant Tent, 10-Person Three-Room, and 6-Person Standard. Always confirm inclusion when purchasing.
What is the purpose of the red button on Instant Cabin 6 poles?
The red button is a locking indicator. When the telescoping pole extends fully, the button pops out and you hear a click, confirming the pole is secured. Press the button to collapse the pole when packing.
Why does my 10-person tent keep collapsing?
The most common cause is missing or loose tension keys. These small inserts are essential for structural stability. Verify all pole ends have keys fully inserted and the bent ends are aligned with the connectors.
Can Ozark Trail tents handle heavy rain?
When properly staked with a fully attached rainfly, most Ozark Trail models handle moderate rain well. The 3-Person Dome is designed for mild conditions and isn’t recommended for heavy storms. A tarp smaller than the tent footprint prevents water pooling underneath.
Key Takeaways for Setting Up Your Ozark Trail Tent
Learning how to set up Ozark Trail tent models comes down to three core principles: identify your model, follow the correct sequence, and secure everything properly. Always stake corners at a 45-degree angle, ensure tension keys are inserted on the 10-person model, and attach rainflies with all provided mechanisms. Cleaning and drying your tent before storage prevents mold and extends its lifespan significantly.
Your next step: Before your next trip, lay out all components at home and practice the setup once. Knowing the sequence before arriving at your campsite makes the real thing faster, easier, and far less stressful.