
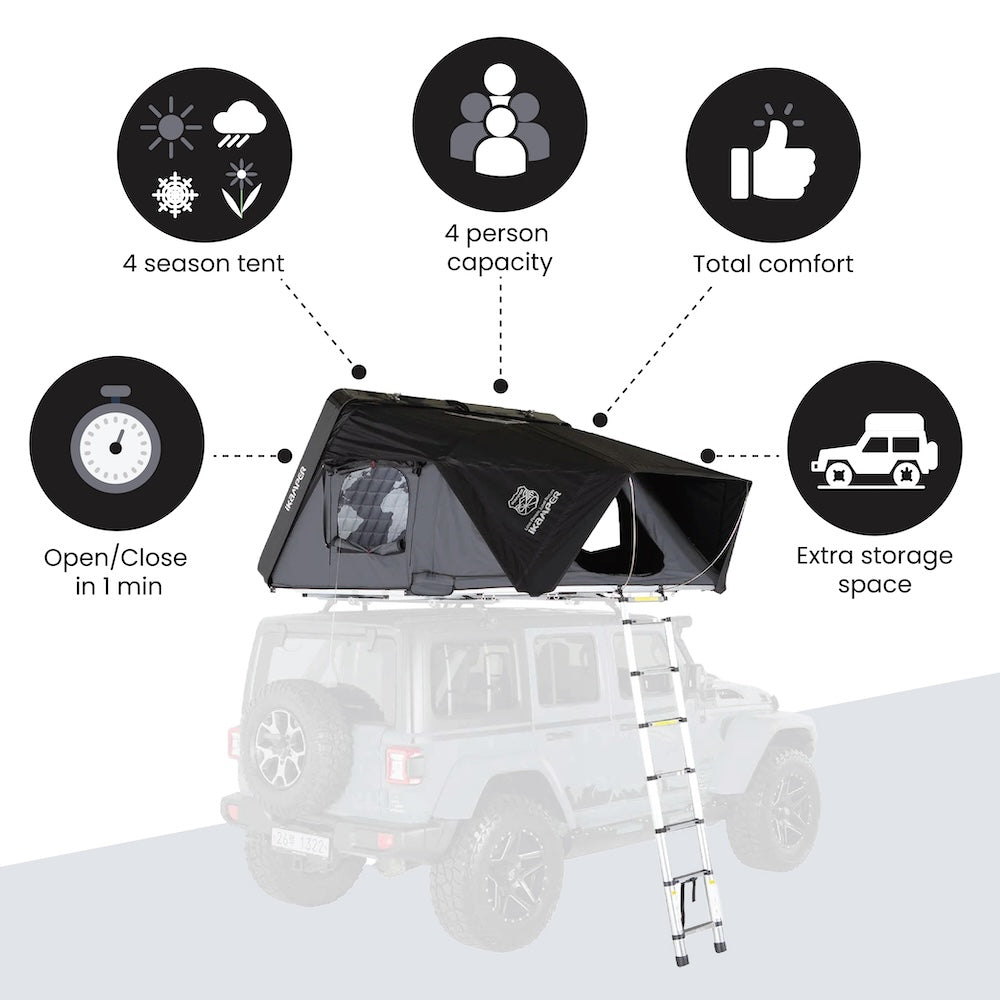
Leaving a 125 lb rooftop tent on your vehicle year-round is a common mistake among adventure enthusiasts. Beyond the weight penalty, keeping it mounted constantly exposes your gear to wind damage at highway speeds. iKamper recommends a maximum of 70 mph, yet many drivers routinely hit 75–80 mph, creating real wear and tear risks. The tent also blocks year-round use of your roof rack for other activities like snowboards, cargo boxes, or bikes.
The good news is that smart rooftop tent storage solutions exist for nearly every space and budget. Whether you have a spacious garage with exposed joists or a compact driveway with no overhead clearance, you can protect your investment, extend your tent’s lifespan, and make setup effortless. This guide covers ceiling hoists, DIY mobile racks, alternative storage methods, and safety upgrades drawn from real installation experience.
Install a Ceiling-Mounted Hoist System

A ceiling-mounted hoist is the premier rooftop tent storage option for garages with adequate structural support. It lifts your tent overhead, freeing up your vehicle for year-round use. The 8-to-1 block and tackle system makes a 125 lb tent feel nearly weightless, allowing one person to raise and lower it without assistance.
Choose the Right Hoist Capacity
Hoists come in 145 lb and 200 lb capacities. While 145 lbs might seem sufficient for a 125 lb tent, upgrading to the 200 lb model provides a critical safety margin. This is especially important if you store gear inside the tent, and it reduces strain on the system during repeated lifts.
Confirm Structural Support Before Drilling
Your ceiling must support the load safely. You need at least three rafters or joists for secure mounting. Rafters support the roof, while joists support the ceiling. Most garages have four accessible joists running left to right. Use a stud finder to locate each joist’s center, then drill 7/32″ pilot holes through the ceiling to mark positions.
Pro Tip: Place painter’s tape along the mounting board’s length. After drilling, press the tape over the holes, trace the marks, and transfer them precisely to your board. This eliminates guesswork during alignment.
Mount the Hoist Step by Step
Cut a 2×6 lumber board to span the joists. Drill 5/16″ holes in the board, slightly larger than the pilot holes, to allow smooth insertion without splitting. Secure with eight lag bolts and washers.
Install the four included pigtail lag bolts (threaded inserts) into the joists. Screw them in by hand until they stop, then finish with a screwdriver in the hex drive. Never drive past the top thread, as exceeding this point compromises the bolt’s strength significantly.
Set Up the Riser and Rope Organizer
Install a riser board on the wall to align the rope path from the pulley to the hoist. This ensures smooth operation and provides a full 6 ft of drop to reach your vehicle’s roof. Use a 1/2″ drill bit to recess the lag bolt head if needed for flush mounting. Attach the rope organizer to the riser, but avoid overtightening, as it must allow the pulley to rotate freely.
Attach the Welded Screw Eye and Shackle
At the top plate, where rafters meet wall studs, install a second pigtail lag bolt and attach the welded screw eye. Connect the shackle from the kit, securing it with the pin and a key ring to prevent accidental disengagement during use.
Assemble the Block and Tackle System
Run the black rope through the rope organizer with the short end going over the pulley and the long end toward the hoist. Tie a double figure-8 knot at the bottom using 24″ of rope, positioning it close to the tent strap to avoid pulley interference.
Add a 30″ safety knot (not included in the manual) for redundancy. Let the rope tail hang on the side away from the hoist to prevent tangles when pulling.
Operate and Maintain the System
To raise the tent, pull the rope. To lock it in place, pull straight down to engage the cleat. To lower, release the cleat and lower slowly. Once the tent touches the car, you cannot unclip the strap until you lift it slightly first.
Warning: A screw-based lowering mechanism (not included) would improve control and eliminate the need to lift before unclipping.
Build a DIY Mobile Storage Rack
Not every garage accommodates a ceiling hoist. If you cannot back your truck in, have low clearance, or lack accessible joists, a mobile storage rack offers a practical alternative. This DIY solution uses basic materials and caster wheels to let one person slide the tent on and off without lifting.
Gather Materials and Tools
You will need:
- 13 pieces of 2×4 × 8 lumber
- 2.5″ and 1.25″ deck screws
- 800+ lb heavy-duty caster wheels (upgrade from 600+ lb for added safety)
- Steel strapping and corner braces for reinforcement
Essential tools include a saw, drill, level, measuring tape, and wrench.
Design for Easy Access and Stability
Build the rack to 71.5 inches high and 53 inches long. Make it slightly wider than your tent’s mounting width to allow smooth sliding without binding. The height accounts for garage door clearance, including the caster wheels.
Critical Tip: Bolt the caster wheels after assembling the base. If you attach uprights first, you will not be able to reach the mounting holes underneath.
Assemble the Frame Step by Step
- Build the base with 2x4s, secured with 2.5″ screws.
- Attach uprights, ensuring they are plumb and square.
- Bolt on the caster wheels for durability, since screws may loosen over time.
- Add corner braces and steel strapping at joints.
- Test-fit with your tent before finalizing.
Test One-Person Operation
Roll the rack behind your truck. Slide the tent backward onto the rack, a process one person can complete smoothly. Secure it with straps to the bumper to prevent rolling. When it is time to reattach, roll the rack into position, push the tent forward, and it aligns perfectly with your roof mounts.
Upgrade for Safety and Durability
Consider these improvements:
- Add diagonal bracing to prevent wobbling.
- Use locking casters to stop accidental movement.
- Install a wall-mounted anchor to secure the rack when stored.
Explore Alternative Storage Options
When a garage is unavailable, several rooftop tent storage alternatives provide flexibility and protection.
Wall-Mounted Garage Rack
Mount a custom rack to your garage wall to store the tent flat. Include padding to protect the fabric from abrasion. This method keeps the tent off the floor, saves roof space, and shields it from moisture and dust.
Portable Weatherproof Container
A 2m-long wheeled container from a local supplier can store your tent and gear. It is weatherproof, mobile, and easy to roll out when needed. Keep zippers lubricated and ensure ventilation to prevent mold growth.
Backyard Shed Storage
Build a shelf in a dedicated shed and store your tent there. Detach the roof rack and store it separately. This permanent, dry solution works well for long-term use in mild climates.
Trailer with Custom Cradle
For maximum protection, use a trailer with a custom cradle. Load the tent and rack together, then store the trailer in your driveway. It is not cheap, but it offers peace of mind and mobility.
Covered Garage Storage
If you must leave the tent on the rack, use a large tarp and foam pads underneath to prevent wear. This is not ideal, but better than leaving the tent exposed outside.
Off-Site Climate-Controlled Storage
For infrequent users, off-grid storage facilities offer secure, climate-controlled units. It is a bit pricey, but worth it for long-term protection, especially in humid or freezing environments.
Prevent Safety Risks and System Failures
Even the best rooftop tent storage systems have weak points that require attention.
Address the Single Screw Eye Weakness
The welded screw eye is a single point of failure. If it fails, the entire load drops. Add a backup safety cable or bracket, such as a steel loop anchored to a second joist, to catch the load if the primary fails.
Upgrade the Rope System
The included red and black rope tangles easily. Replace it with smooth, braided rope for cleaner operation. Alternatively, install a boat cleat on the wall to anchor the tail and reduce twist during use.
Improve Lowering Control
The current system requires you to lift the tent slightly to unclip the strap after lowering. A screw-based lowering mechanism, like a winch, would give you precise control and eliminate this awkward step.
Reinforce the Mobile Rack
Without diagonal bracing, the DIY rack can wobble under load. Add X-bracing with steel straps or wood to lock the frame in place and prevent shifting during transport and storage.
Compare Storage Methods for Your Needs
Choosing the right rooftop tent storage solution depends on your space, budget, and usage patterns.
| Feature | Ceiling Hoist | Mobile Rack | Off-Site Storage |
|---|---|---|---|
| Best For | Garages with joists | Small, low-ceiling garages | No garage access |
| Installation | Complex | Simple | None |
| Portability | Fixed | Mobile | Mobile |
| Cost | High | Low | High |
| Single-Person Use | Yes | Yes | Yes |
| Structural Needs | 3+ joists | Floor space only | None |
Permanent solutions include ceiling hoists, wall racks, and sheds. Portable solutions include mobile racks, trailers, and storage containers. Off-site storage serves as a hybrid, offering a fixed location with temporary use.
Optimize for Long-Term Tent Care
Proper rooftop tent storage extends beyond space management to protecting your investment.
Protect the Fabric
Use padding on wall racks or foam under garage-stored tents. Avoid direct contact with concrete floors. In humid areas, add silica gel packs or a dehumidifier to prevent mildew.
Maintain the System
- Inspect lag bolts every 6 months.
- Check rope for fraying and replace if worn.
- Lubricate pulleys annually.
- Tighten caster bolts on mobile racks.
Store Seasonally
If you camp only a few times per year, remove the tent off-season. This protects your vehicle, improves fuel economy, and prevents UV and wind damage from accumulating over time.
Frequently Asked Questions About Rooftop Tent Storage
What is the best way to store a rooftop tent in a garage with low ceilings?
A DIY mobile storage rack with caster wheels is the best option for low-ceiling garages. At 71.5 inches high, it fits most garage doors and lets one person slide the tent on and off without lifting. This eliminates the need for overhead clearance or accessible joists.
How much weight can a ceiling hoist hold for rooftop tent storage?
Standard hoist systems come in 145 lb and 200 lb capacities. For a 125 lb tent, the 200 lb model is recommended because it provides a safety margin for stored gear and reduces strain on the block and tackle mechanism during lifting and lowering.
Can one person install and use a rooftop tent storage system?
Yes. Both ceiling hoists and mobile racks support single-person operation. The 8-to-1 block and tackle on a hoist makes a 125 lb tent feel nearly weightless. A mobile rack allows you to slide the tent on and off using caster wheels without any lifting.
How do I prevent my rooftop tent from being damaged while stored?
Use padding on wall-mounted racks or foam pads underneath garage-stored tents. In humid environments, add silica gel packs or a dehumidifier. Inspect mounting hardware twice yearly, check rope for wear, and lubricate pulleys annually to maintain system integrity.
Is it safe to leave a rooftop tent on my vehicle year-round?
iKamper recommends a maximum speed of 70 mph with the tent mounted, but drivers often exceed this at 75–80 mph, increasing wind damage risk. Year-round mounting also reduces fuel efficiency and prevents using your roof rack for other gear. Seasonal removal with proper storage is the safer long-term approach.
What is the cheapest way to store a rooftop tent?
A DIY mobile rack built from 2×4 lumber and caster wheels is the most affordable rooftop tent storage solution. Materials typically cost around $200, and the design requires no structural modifications to your garage. It is ideal for single-person households and small spaces.
Key Takeaways for Smart Rooftop Tent Storage
Storing your rooftop tent does not have to be complicated or expensive. Whether you invest in a 200 lb Harken hoist or build a mobile rack for around $200, the goal is the same: protect your gear, save space, and make adventures easier.
The most important decisions involve matching your storage method to your space. Garages with three or more accessible joists benefit from ceiling hoists, while low-ceiling or awkward layouts call for mobile racks. No garage at all? Portable containers, trailer cradles, or off-site climate-controlled units all work well.
Before settling on a system, inspect your garage structure, measure your vehicle clearance, and consider how often you camp. Adding safety upgrades like backup cables and braided rope transforms any system into a reliable, long-term solution. With the right rooftop tent storage setup, you will spend less time wrestling with heavy gear and more time enjoying the outdoors.