
Foggy, yellowed headlights make your car look old and dangerously reduce your nighttime visibility. Most drivers do not realize that modern “headlamp glass repair” actually involves restoring polycarbonate plastic lenses that have oxidized due to sun exposure.
You can fix this haze without buying expensive new parts or visiting a dealership. This guide explains how to diagnose damage, the step-by-step restoration process, exact costs, and how to maintain clear lenses for years.
Assess Headlight Damage Before You Start
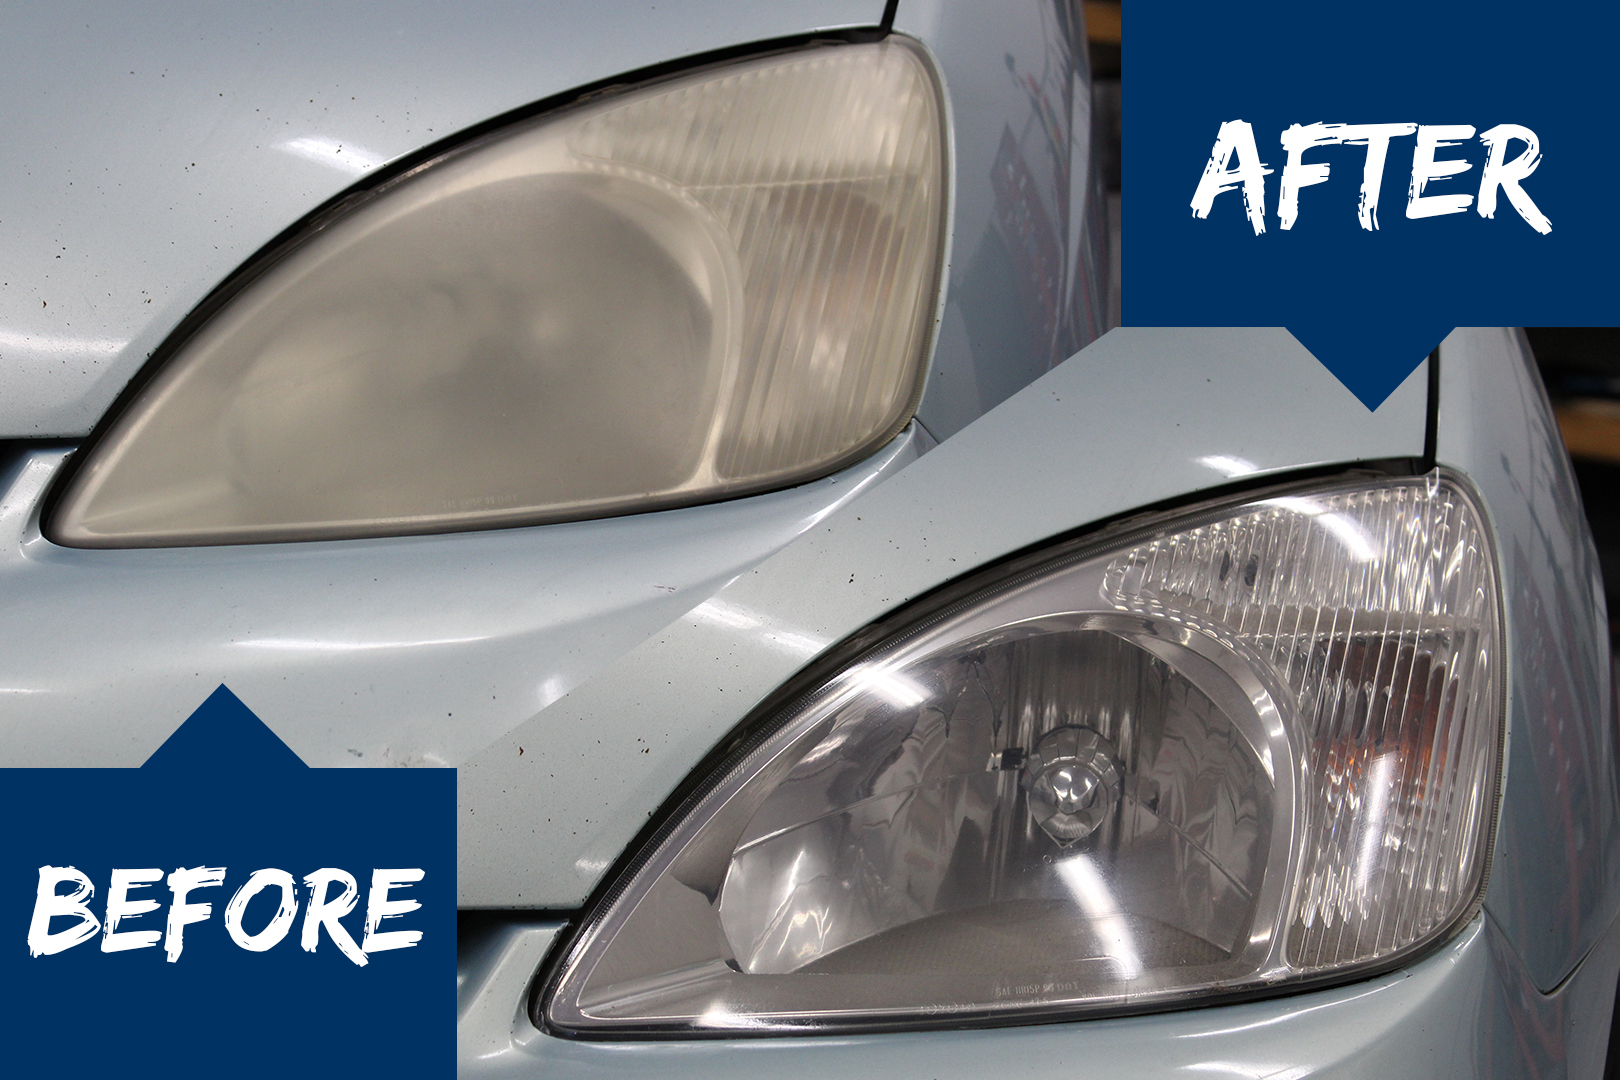
Not every damaged headlight can be saved with simple polishing. You must determine if the issue is surface-level oxidation or deep structural failure before attempting any repair.
Identify Repairable Surface Issues
- Hazing or yellowing: Caused by UV exposure and fully restorable.
- Surface scratches: Light marks from wipers or debris that buff out easily.
- Chalky texture: A clear sign of oxidation that responds well to treatment.
- Minor cloudiness: Common in older vehicles and usually fixes quickly.
Know When Replacement Is Required
- Deep structural cracks: These compromise safety and cannot be sealed by polishing.
- Internal moisture: Water pooling inside indicates broken seals that restoration cannot fix.
- Severe impact damage: Warped or shattered housings need full unit replacement.
- Excessive thinning: Too many prior restorations make the plastic too fragile to work on.
Pro Tip: If light passes through the lens clearly and no water sits inside, restoration is likely your best and most affordable option.
Execute the Headlamp Glass Repair Process
Restoration is the industry standard for fixing oxidized lenses. It involves removing the damaged top layer of plastic and sealing it against future UV damage.
Why Polycarbonate Lenses Degrade
Modern headlights use polycarbonate because it resists shattering better than glass. However, this material is vulnerable to UV rays. Factory UV sealants wear away over time due to sun, road grime, and chemicals. Once this layer disappears, the plastic oxidizes, turns yellow, and scatters light instead of projecting it.
Step-by-Step Restoration Procedure
- Clean and Prep: Remove all dirt and oils with a degreaser. Tape off surrounding paint to prevent damage.
- Wet Sand Imperfections: Use 800–1200 grit sandpaper to level deep scratches while keeping the surface wet.
- Apply Polishing Compound: Use a specialized non-abrasive plastic polish with a dual-action buffer to remove oxidation.
- Final Buffing: Switch to a finer 3000+ grit equivalent polish for a crystal-clear finish.
- Seal Against UV Rays: Apply a high-quality UV-blocking sealant. This step is critical to prevent yellowing from returning.
Time Estimate: Professional technicians typically complete this entire process in 90 minutes to 1.5 hours.
Fix Scratches Without Replacing Lenses
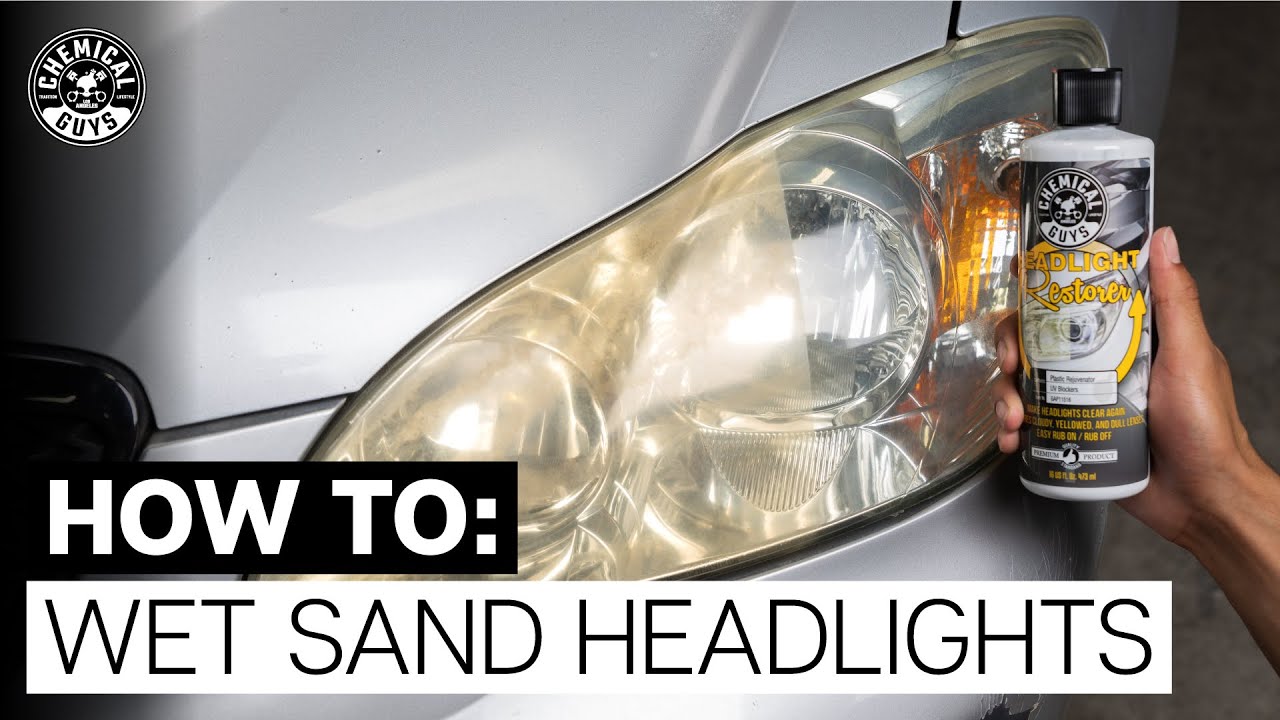
Scratched headlights often look worse than they are. You can repair many of these imperfections without the high cost of new units.
Types of Scratches You Can Fix
- Fine swirl marks: Removed easily with standard polish.
- Light surface scratches: Fade completely with wet sanding and buffing.
- Road debris marks: Shallow chips from stones usually polish out effectively.
Protocol for Deeper Scratches
For deeper imperfections, you must remove material carefully:
* Start with 600–800 grit wet sandpaper to smooth the scratch depth.
* Progress through 1000, 1500, then 2000 grit to refine the surface texture.
* Finish with plastic polish to restore full clarity and gloss.
Visual Cue: Run your fingernail over the scratch after sanding. If it feels smooth, you are ready to polish. If it catches, continue sanding gently.
Warning: Avoid over-sanding. Polycarbonate is only a few millimeters thick. Removing too much material weakens the lens and risks cracking.
Replace Bulbs to Maximize Brightness
Restoring the lens is useless if the bulb inside is dim or burned out. Check your lighting components during the repair process.
When to Inspect or Replace Bulbs
- One headlight appears significantly dimmer than the other.
- You notice intermittent flickering or total failure.
- Your vehicle is over 3 years old, as halogen bulbs degrade naturally.
Common Bulb Lifespans
| Bulb Type | Average Lifespan | Notes |
|---|---|---|
| Halogen | 1–2 years | Affordable and widely used |
| HID (Xenon) | 2–5 years | Produces brighter, bluer light |
| LED | 5–10+ years | Most efficient option |
Expert Note: Always replace bulbs in pairs. Mixing a new bulb with an old one creates uneven lighting patterns and poor visibility.
Some modern vehicles require module programming after bulb replacement. If your dashboard displays a warning light, have a technician reset the system.
Choose Between Mobile or In-Shop Service
You do not need to visit a physical shop to get professional headlamp glass repair. Mobile services offer distinct advantages for busy vehicle owners.
Benefits of Mobile Headlight Repair
- Service at your location: Technicians come to your home, office, or parking garage.
- Time savings: No need for drop-offs or waiting rooms.
- Fast scheduling: Same-day appointments are often available with 24-hour notice.
- Fleet friendly: Ideal for repairing multiple vehicles at once.
Technicians bring all necessary equipment, including buffers, sealants, and protective tape, to your location.
Advantages of In-Shop Service
- Climate-controlled environments ensure ideal sealant curing conditions.
- Access to advanced inspection lighting and heavy-duty tools.
- Often bundled with other detailing services like paint correction.
Travel Fees: Services outside primary zones may charge approximately $2 per mile plus tolls.
Compare Repair vs. Replacement Costs
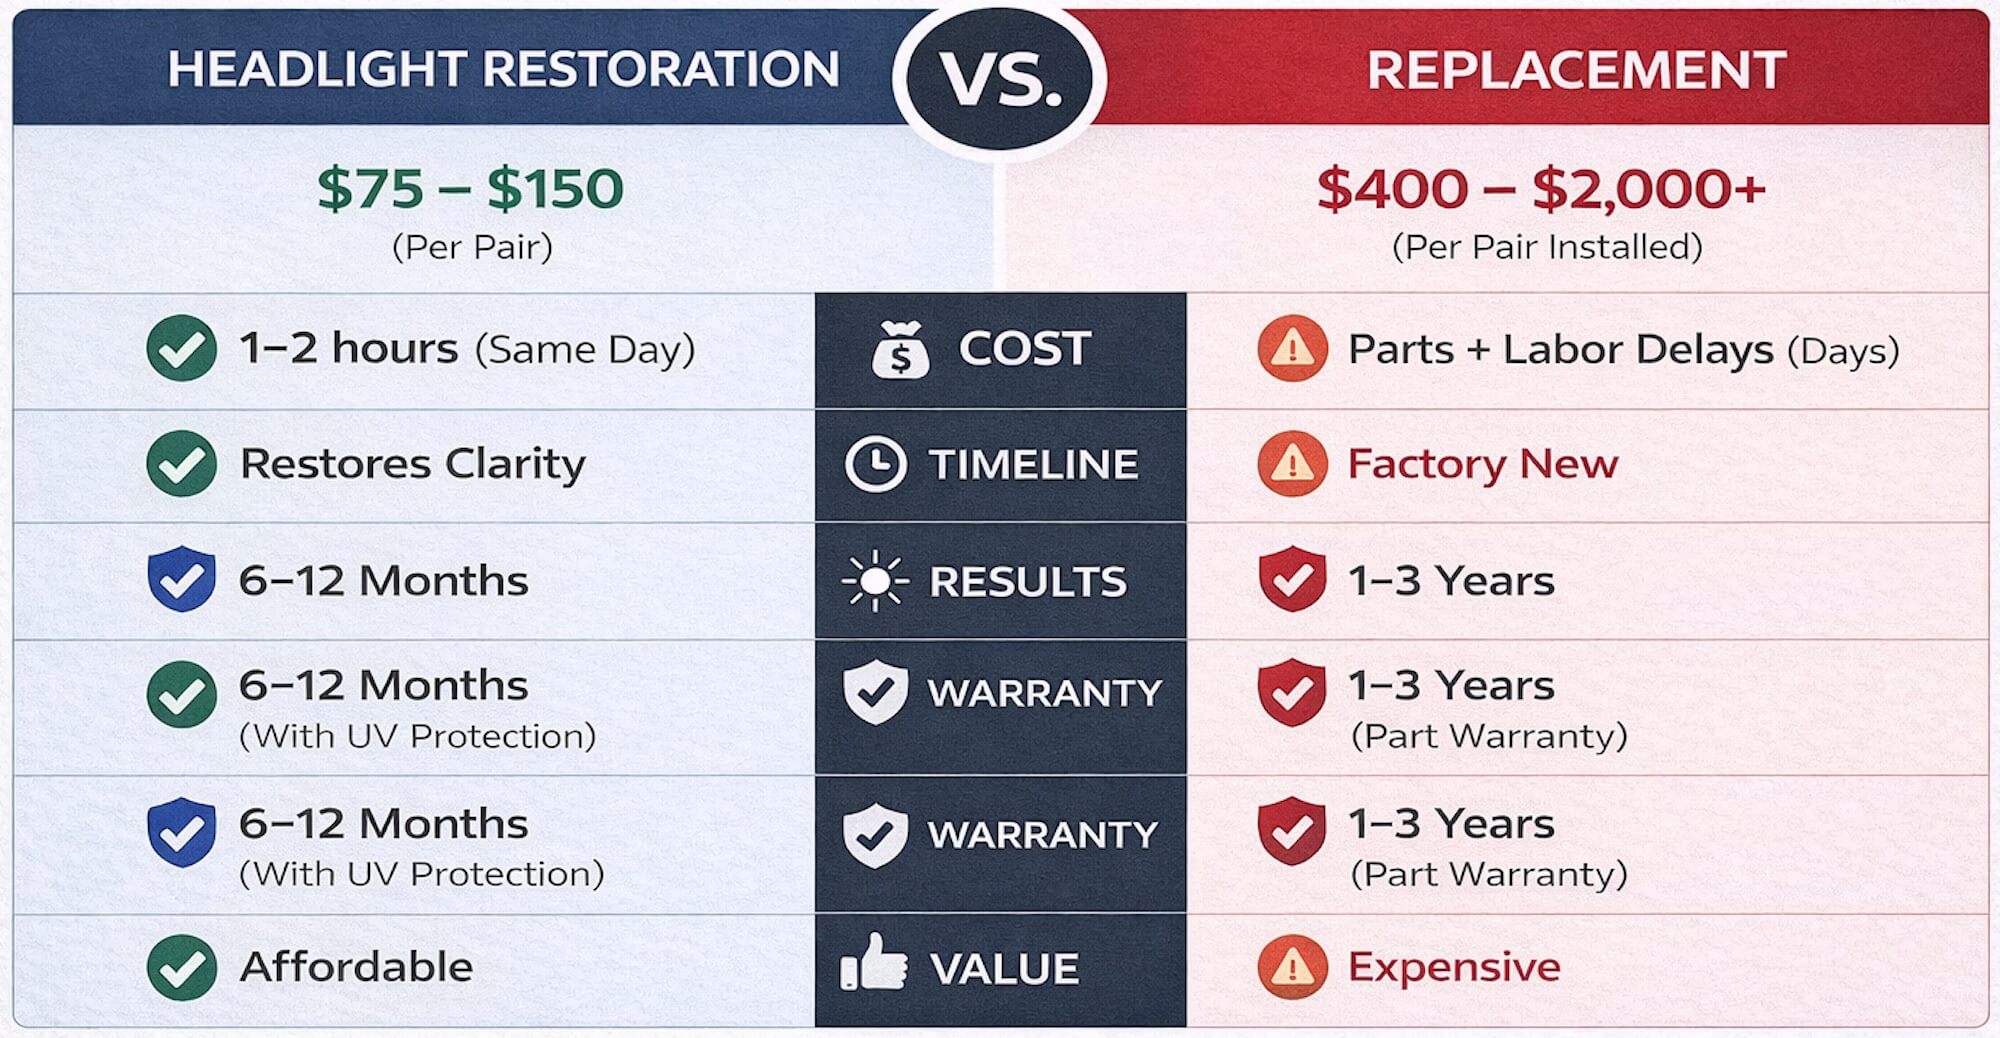
Cost is a major factor in your decision. Restoration offers significant savings compared to buying new assemblies.
| Service Type | Average Cost |
|---|---|
| Headlight Restoration (Pair) | $180 |
| Headlight Restoration (Single) | $100 |
| Headlight Replacement (Per Unit) | $100–$300 |
| Sensor Recalibration | $600+ |
Why Restoration Saves More Than Money
- No sensor disruption: Modern cars use headlights for adaptive cruise and lane assist. Replacement often triggers expensive recalibration.
- Preserved factory seals: Replacing a headlight breaks the original seal, risking future moisture leaks.
- Eco-friendly impact: Repair avoids sending large plastic assemblies to landfills.
Real-World Math: Restoring both headlights costs $180. Replacing one unit could cost $250+, plus $600+ for sensor calibration, totaling over $850.
Understand Warranty Coverage Details
Reputable providers offer strong warranties. You should know exactly what is covered before booking service.
What Warranties Typically Include
- Free re-service: If headlights yellow again within the warranty period.
- Lifetime ownership guarantee: Some providers cover you as long as you own the car.
- Satisfaction promise: No charge if results do not meet expectations.
Common Warranty Exclusions
- Cracks or impact damage: Any physical damage occurring after service voids coverage.
- Improper cleaning: Scratches from harsh brushes or chemicals are not covered.
- Non-transferable status: The warranty applies only to the original customer.
Key Point: Warranties cover re-service, not part replacement. The technician will re-polish and reseal the lens at no cost.
Avoid Common Restoration Mistakes
Even DIY kits can fail if you make critical errors during the process.
Top Errors to Avoid
- Skipping the sealant: Without UV protection, oxidation returns within weeks.
- Using car wax: Wax does not block UV rays and washes off quickly.
- Dry sanding: This causes heat buildup that can crack polycarbonate.
- Using aggressive compounds: These create swirl marks or uneven surfaces.
- Polishing too often: Limit restoration to every 2–3 years to avoid thinning the lens.
Pro Tip: After restoration, clean your lenses with pH-neutral soap and avoid automatic car washes with strong solvents.
Maintain Clear Headlights Long-Term
A restored headlight can last for years with proper care and maintenance.
Maintenance Checklist
- Wash weekly using mild soap and water.
- Apply UV protectant spray every 3–6 months.
- Inspect regularly for new scratches after highway drives.
- Avoid pressure washers aimed directly at lens edges.
- Park in shade whenever possible to reduce UV exposure.
When to Re-Polish
- First signs of haze returning.
- Noticeable reduction in nighttime visibility.
- Sealant no longer beads water on the surface.
Most lenses only need repolishing every 3–5 years, depending on your local climate and driving habits.
Restore for Increased Resale Value
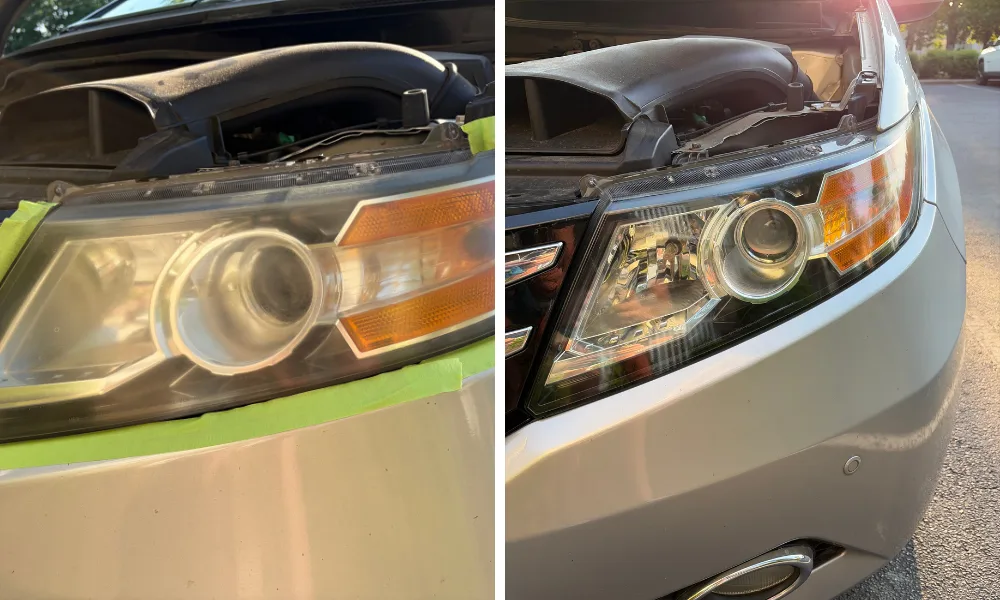
A simple headlight fix can significantly boost your car’s appeal before selling or trading it in.
Why It Matters for Sellers
- First impressions count: Buyers notice dull headlights immediately upon approach.
- Perception of neglect: Yellowed lenses make a car look older and poorly maintained.
- Cost-effective upgrade: A $180 restoration can add $500+ in perceived value.
Real-World Feedback: Customers report that restored headlights made their 2009 models look “brand new” to potential buyers.
Dealerships often charge $300+ for this same service. Doing it yourself or hiring a mobile pro pays off instantly.
Trust Certified Technicians
Look for credentials that ensure quality workmanship and technical knowledge.
Recognized Certifications
- Delta Kits Certified: Indicates training in professional restoration methods.
- Glasweld Certified: Shows expertise in automotive plastics and glass repair.
- ROLAGS™ Standard: While for windshields, adherence shows technical rigor.
Customer Insight: Verified reviews highlight professionalism, speed, and results, especially for removing calcium deposits and deep scratches.
Mobile technicians often carry insurance and guarantee their work. Always ask about credentials before booking.
Frequently Asked Questions About Headlamp Glass Repair
Can headlamp glass repair fix cracked lenses?
No, repair services cannot fix deep structural cracks. If the housing is cracked or shattered, you must replace the entire unit to ensure safety and prevent water damage.
How long does a professional restoration take?
Most professional restorations take between 90 minutes and 1.5 hours. Mobile technicians can often complete the job in your driveway within this timeframe.
Why do my headlights turn yellow again so fast?
This happens if the technician skips the final UV sealant step. Without this protective layer, the polycarbonate oxidizes quickly when exposed to sunlight and road chemicals.
Is headlight restoration worth the cost compared to replacement?
Yes, restoration is highly cost-effective. It costs $100–$180 versus $100–$300+ per unit for replacement, plus it avoids potential $600+ sensor calibration fees.
How often should I restore my headlights?
With proper maintenance and UV protection, restored headlights typically last 3–5 years. You should re-polish only when haze returns or visibility decreases.
Will restoration void my vehicle warranty?
No, professional restoration does not void your vehicle warranty. It preserves the original factory seals and components, unlike replacement which alters the assembly.
Key Takeaways for Headlamp Glass Repair Success
Headlamp glass repair is a smart, cost-effective solution for foggy or yellowed headlights. By restoring the polycarbonate lens rather than replacing it, you save hundreds of dollars and avoid complex sensor recalibrations. The process removes oxidation, fixes minor scratches, and restores critical nighttime visibility.
Remember that the UV sealant application is the most important step for long-term results. Without it, your headlights will yellow again quickly. Proper maintenance and occasional re-polishing can keep your lenses clear for up to five years.
Take action today to improve your safety and your car’s appearance. Contact a certified technician to assess your headlights and schedule a restoration service.