
A loose headlamp bounces with every step, shifting your beam and ruining your night vision when you need it most. Knowing how to adjust headlamp strap components correctly ensures your light stays fixed, comfortable, and safe during any activity.
This guide details precise methods to tighten, loosen, and reassemble straps on popular models like the GearLight S500 and Sofirn HS10. You will learn to fix common orientation errors and maximize stability for hiking or mechanical work.
Tighten the Headband for a Secure Fit

A secure fit starts with correctly shortening the strap to retract excess material into the housing. A loose headlamp bounces with every step, so fixing that begins with proper retraction.
Locate Adjustment Clips
Find the two plastic clips on the middle section of the strap. These are the primary adjustment points for changing the headband circumference. They lock the strap in place and allow one-way feeding for tightening.
Release and Retract Strap
Pull one side of the clip outward to disengage the lock. Once released, feed the strap end into the headlamp housing. As you push it through, the band tightens around your head.
Pro Tip: For the tightest fit, fully retract the strap until no excess hangs out. This minimizes bulk and creates a snug profile ideal for fast-paced activities like trail running.
Lock and Test Fit
After adjusting, release the clip to re-engage the lock. Wear the headlamp and gently shake your head up and down. If the light stays put, you have a secure fit.
Loosen Strap for Larger Heads or Helmets
You may need more room if you are wearing a beanie, helmet, or balaclava. Lengthening the strap is simple but requires correct directionality to avoid jamming the mechanism.
Extract Stored Strap Material
Grasp the strap near the housing and pull outward to extend it. The material feeds smoothly when pulled in the correct direction, which is opposite of tightening.
Feed Through Clip in Reverse
If the strap will not budge, check the clip orientation. To lengthen, feed the strap out of the housing and through the adjustment clip in reverse. Do not force it if resistance is high.
Calibrate for Comfort
Try the headlamp on with your headgear before finalizing the fit. Adjust incrementally by pulling a little more and testing until the fit is snug but not constricting.
Warning: Never stretch the strap beyond its natural limit. Excessive pulling can damage the locking mechanism or fray the fabric permanently.
Orient Buckle Correctly for Safety

One of the most common mistakes users make is installing the buckle upside down. Correct orientation affects both comfort and the functionality of safety features.
Position Branded Side Up
On models like the Sofirn HS10, the buckle must be installed with the branded side facing up. This is not cosmetic, as it ensures the internal mechanism aligns properly with the strap.
Insert Strap from Bottom
Fold the strap end and thread it through the buckle from the bottom, not the top. This ensures the reflective strip ends up on the outside and the strap lies flat against your head.
Verify Reflective Strip Placement
Confirm the silver or yellow reflective section is facing outward after threading. If it is inside against your head, flip the strap and re-thread immediately for visibility.
Visual Cue: When done right, the reflective strip runs along the back of your head. This acts like a cat’s eye to make you visible to others behind you.
Thread Strap Through Mount Properly

Replacing a strap requires precise initial setup because incorrect routing leads to imbalance. Follow these steps to ensure a factory-like hold.
Identify Functional Strap Only
If using a Fenix AFH-02 replacement kit, note that the package includes a crown strap and a demonstration head. Only the head-wrapping strap is needed for actual use.
Center Strap in Mount
Slide the strap through the headlamp mounting bracket so it sits perfectly centered. Misalignment causes uneven weight distribution, leading to neck strain over time.
Route Base End Through Opening
Push one end of the strap through the wide slot at the base of the mount. Expect some resistance as the material compresses slightly, which is normal for a tight fit.
Secure Overlapping Section
Pinch the overlapping strap ends together and slide them into the locking slot. Pull both ends firmly to tighten until you see the fabric scrunch slightly.
Expert Note: If the strap will not feed, use a thin tool like a letter opener to push the tip through. Once it emerges, it will self-feed when pulled.
Balance Weight for Stability

A wobbling headlamp is unsafe and annoying during critical tasks. Proper strap alignment keeps the beam steady on your target.
Align Mount Close to Center
Ensure the headlamp body sits centered on your forehead. The strap attachment point should align with the center of the rubberized mounting surface to prevent tipping.
Test During Motion
Wear the light and simulate real use by shaking your head and nodding quickly. If the beam stays fixed, the weight is balanced correctly.
Pro Tip: For extended wear, position a rear-mounted battery pack so it balances the front weight. This reduces neck fatigue significantly.
Maintain Strap Longevity
Even the best adjustment fails if the strap degrades over time. Regular maintenance preserves performance and safety features.
Inspect for Wear Monthly
Check clip joints for cracks, pinch points for fraying, and the reflective strip for peeling. Replace the strap if any component shows signs of damage.
Clean After Heavy Use
Wipe down the strap with a damp cloth after exposure to sweat, mud, or salt. Avoid harsh chemicals as most straps are durable but not chemical-resistant.
Replace When Tension Fails
If the strap no longer holds its length or slips despite tightening, the locking mechanism is worn. Install a manufacturer-approved replacement to restore reliability.
Fix Common Assembly Errors
Many users assemble straps incorrectly due to missing subtle cues. Here is how to identify and fix the most frequent issues.
Reflective Strip Facing Inward
Problem: The safety reflector is hidden against your head.
Fix: Undo the buckle and re-thread the strap from the bottom, ensuring the reflective side faces out.
Strap Inserted from Top
Problem: The buckle jams or feels stiff during adjustment.
Fix: Remove the strap and reinsert from the bottom. Top insertion reverses the intended feed direction.
Using Wrong Strap Component
Problem: Installing the crown strap instead of the head-wrapping strap.
Fix: Double-check kit contents and use only the long, flexible head-wrapping strap.
Quick Diagnostic: If the light feels unbalanced, disassemble and verify all orientation rules before retrying.
Optimize Fit for Specific Activities
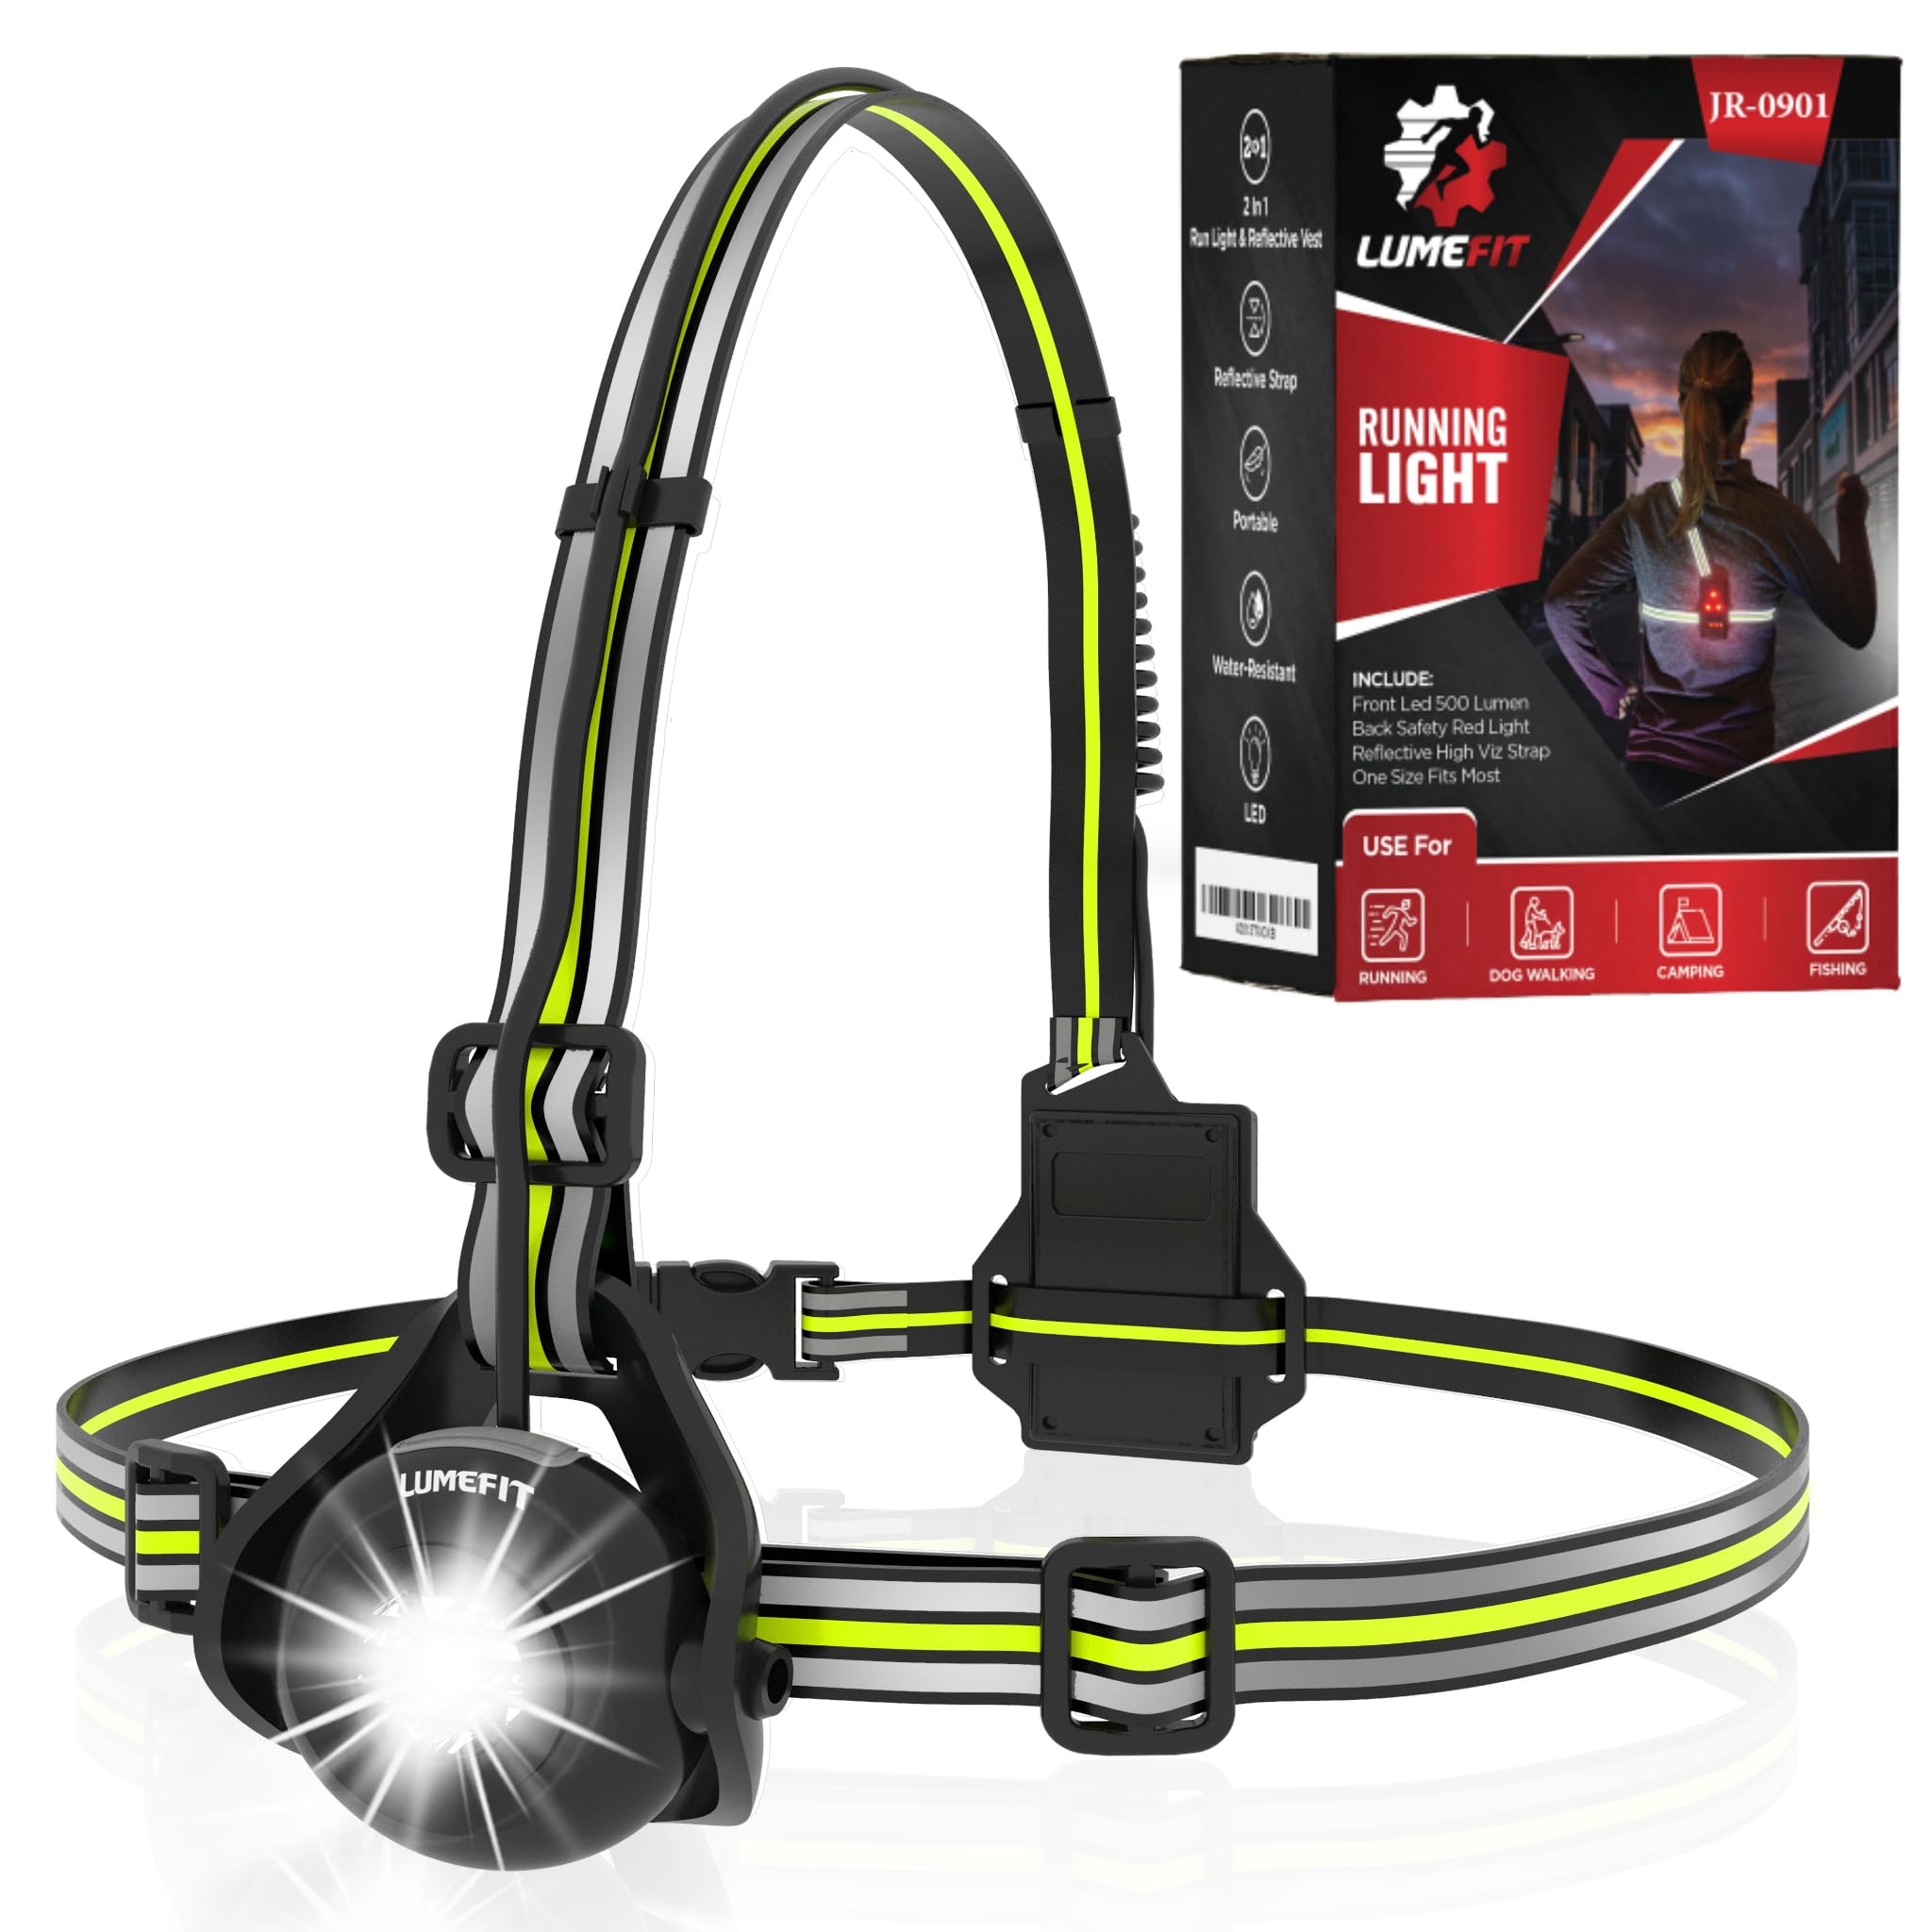
Tailor your strap setup based on how you use the headlamp for the best results. Different activities require different tension levels.
For Trail Running
- Tighten fully to prevent bounce
- Shorten excess to eliminate flapping
- Ensure reflectors are visible for night trail safety
For Cold Weather
- Loosen to fit over a beanie or hood
- Test with gear on before heading out
- Use glove-friendly clips to avoid frustration
For Mechanical Work
- Center beam precisely where your eyes look
- Balance weight to avoid neck strain under a car hood
- Secure all loose ends to prevent snagging on tools
Final Adjustments Before Use
Never skip pre-use calibration because a few seconds now prevent frustration later. A quick check ensures everything is ready.
Perform Stability Test
Wear the headlamp and shake your head vigorously. Nod forward and back, then tilt side to side to check for movement.
Confirm Beam Alignment
Look at a wall or ground target to verify the beam stays locked on the spot. If it drifts, check strap tension and mount position again.
Check Clip Security
Give both adjustment clips a firm tug to ensure they do not slide. If they do, re-engage the locking mechanism immediately.
Frequently Asked Questions About Headlamp Strap Adjustment
How do I stop my headlamp from bouncing while running?
You must shorten the strap fully by feeding excess material into the housing. Ensure the adjustment clips are locked tight and the mount is centered on your forehead to minimize movement.
Why is the reflective strip on my headlamp hidden?
This happens if the strap is threaded from the top of the buckle. Remove the strap and re-insert it from the bottom so the reflective side faces outward for safety.
Can I adjust the strap while wearing gloves?
Yes, most clips are designed for manual operation, but bulky gloves may make it difficult. It is best to calibrate the fit before putting on heavy winter gear.
What should I do if the strap won’t thread through the buckle?
Use a thin, rigid tool like a letter opener to push the strap tip through the resistance point. Once the tip emerges, the strap design allows it to self-feed.
How do I know if I need a new headlamp strap?
Replace the strap if it no longer holds tension after tightening or if the locking clips are cracked. A worn strap compromises safety and comfort during use.
Key Takeaways for Adjusting Your Headlamp Strap
Mastering how to adjust headlamp strap systems ensures your light remains stable and safe during any activity. Always orient the buckle with the branded side up and thread from the bottom to keep reflective strips visible.
Regularly inspect your gear for wear and perform stability tests before every use. Take a moment to center your mount and tighten the fit properly to transform your night vision experience.