
You’ve just unpacked your tent after a trip and noticed dark spots, a musty smell, or powdery streaks across the fabric. Mold on camping gear is more common than most outdoor enthusiasts realize. Left untreated, it can weaken fabric, strip waterproof coatings, and trigger allergy symptoms on your next adventure. The good news is that most tents can be rescued with the right cleaning method.
This guide covers exactly how to clean a moldy tent safely and effectively. You’ll learn how to spot early damage, choose fabric-safe cleaners, remove spores without harming coatings, and store your tent properly to prevent future outbreaks.
Spot Mold Before It Spreads
Recognize Early Warning Signs
Mold grows quietly, often starting where moisture hides the longest. Common early indicators include:
– Yellowish or grayish discoloration along fold lines and seams
– Thin, streaky lines where the tent was creased in storage
– A musty, earthy odor when opening the storage sack
– Powdery residue on the fabric surface
Check both interior walls and the rainfly. Pay close attention to zippers and mesh panels, since mold can compromise their function before you see visible damage.
Assess the Severity
Surface-level mold responds well to home cleaning. However, replace the tent or seek professional help if you notice:
– Large patches of black or green growth covering significant areas
– Fabric that feels brittle, thin, or weak to the touch
– A persistent odor even after airing out for 24–48 hours
Catching mold early gives you the best chance of restoring the tent fully.
Prepare Your Workspace and Tent
Fully Erect the Tent
Pitch the tent completely in a shaded, well-ventilated area before cleaning. This gives you access to every panel, seam, and fold. Open all doors, vents, and mesh windows so air circulates freely while you work.
Pick the Right Cleaning Spot
Choose a location that meets these conditions:
– Shaded to protect fabric from UV exposure during cleaning
– Well-ventilated, such as a breezy backyard or open garage
– Off the ground if possible, or use a clean tarp underneath
– Spacious enough to walk around all sides of the tent
Never clean in direct sunlight. Heat can set mold stains and degrade protective coatings before you finish.
Choose a Safe, Effective Cleaner
White Vinegar Solution (Best for Mold)
White vinegar is the most recommended cleaner because it tackles up to 80% of mold spores without harming tent fabric or waterproof coatings.
Mix the following in a bucket:
– 1 cup white vinegar
– 1 bucket of warm (not hot) water
Dip a soft cloth or sponge into the solution and gently wipe affected areas. The natural acidity breaks down organic growth safely.
Mild Soap for Light Cleaning
For routine maintenance or very mild discoloration, use a tent-specific cleaner or a few drops of mild dish soap in a bucket of water.
Avoid the following products at all costs:
– Bleach — destroys waterproofing and weakens fibers
– Abrasive scrubbers — scratch fabric and coatings
– Laundry detergents — strip durable water repellent (DWR) treatments
Clean the Tent Step by Step
Wipe Down All Surfaces
Soak a clean rag in your chosen solution and work methodically across the tent:
- Wipe every interior and exterior panel
- Focus on discolored spots, seams, and creases
- Expect mold to lift off as a powdery residue
Use light pressure only. Tent fabric is delicate, and aggressive scrubbing can damage the weave. Work section by section so no area is missed, and use a second clean cloth to wipe away loosened residue.
Treat Mold in Seams and Folds
Mold loves trapped moisture in folds. Pay extra attention to:
– Where the tent was creased during storage
– Along all seam lines and stitching
– Inside pockets, vestibules, and corners
Dab the solution into creases using a cloth or soft brush. Let it sit for 5–10 minutes before wiping clean. This contact time helps the vinegar penetrate deeper growth.
Rinse If You Used Soap
Skip rinsing entirely if you used vinegar. However, if you used soap, rinse thoroughly with clean water to prevent residue buildup. A garden hose with a gentle spray setting works well, or use a damp cloth for spot rinsing. Avoid high-pressure water, which can damage coatings.
Fix and Protect the Zippers
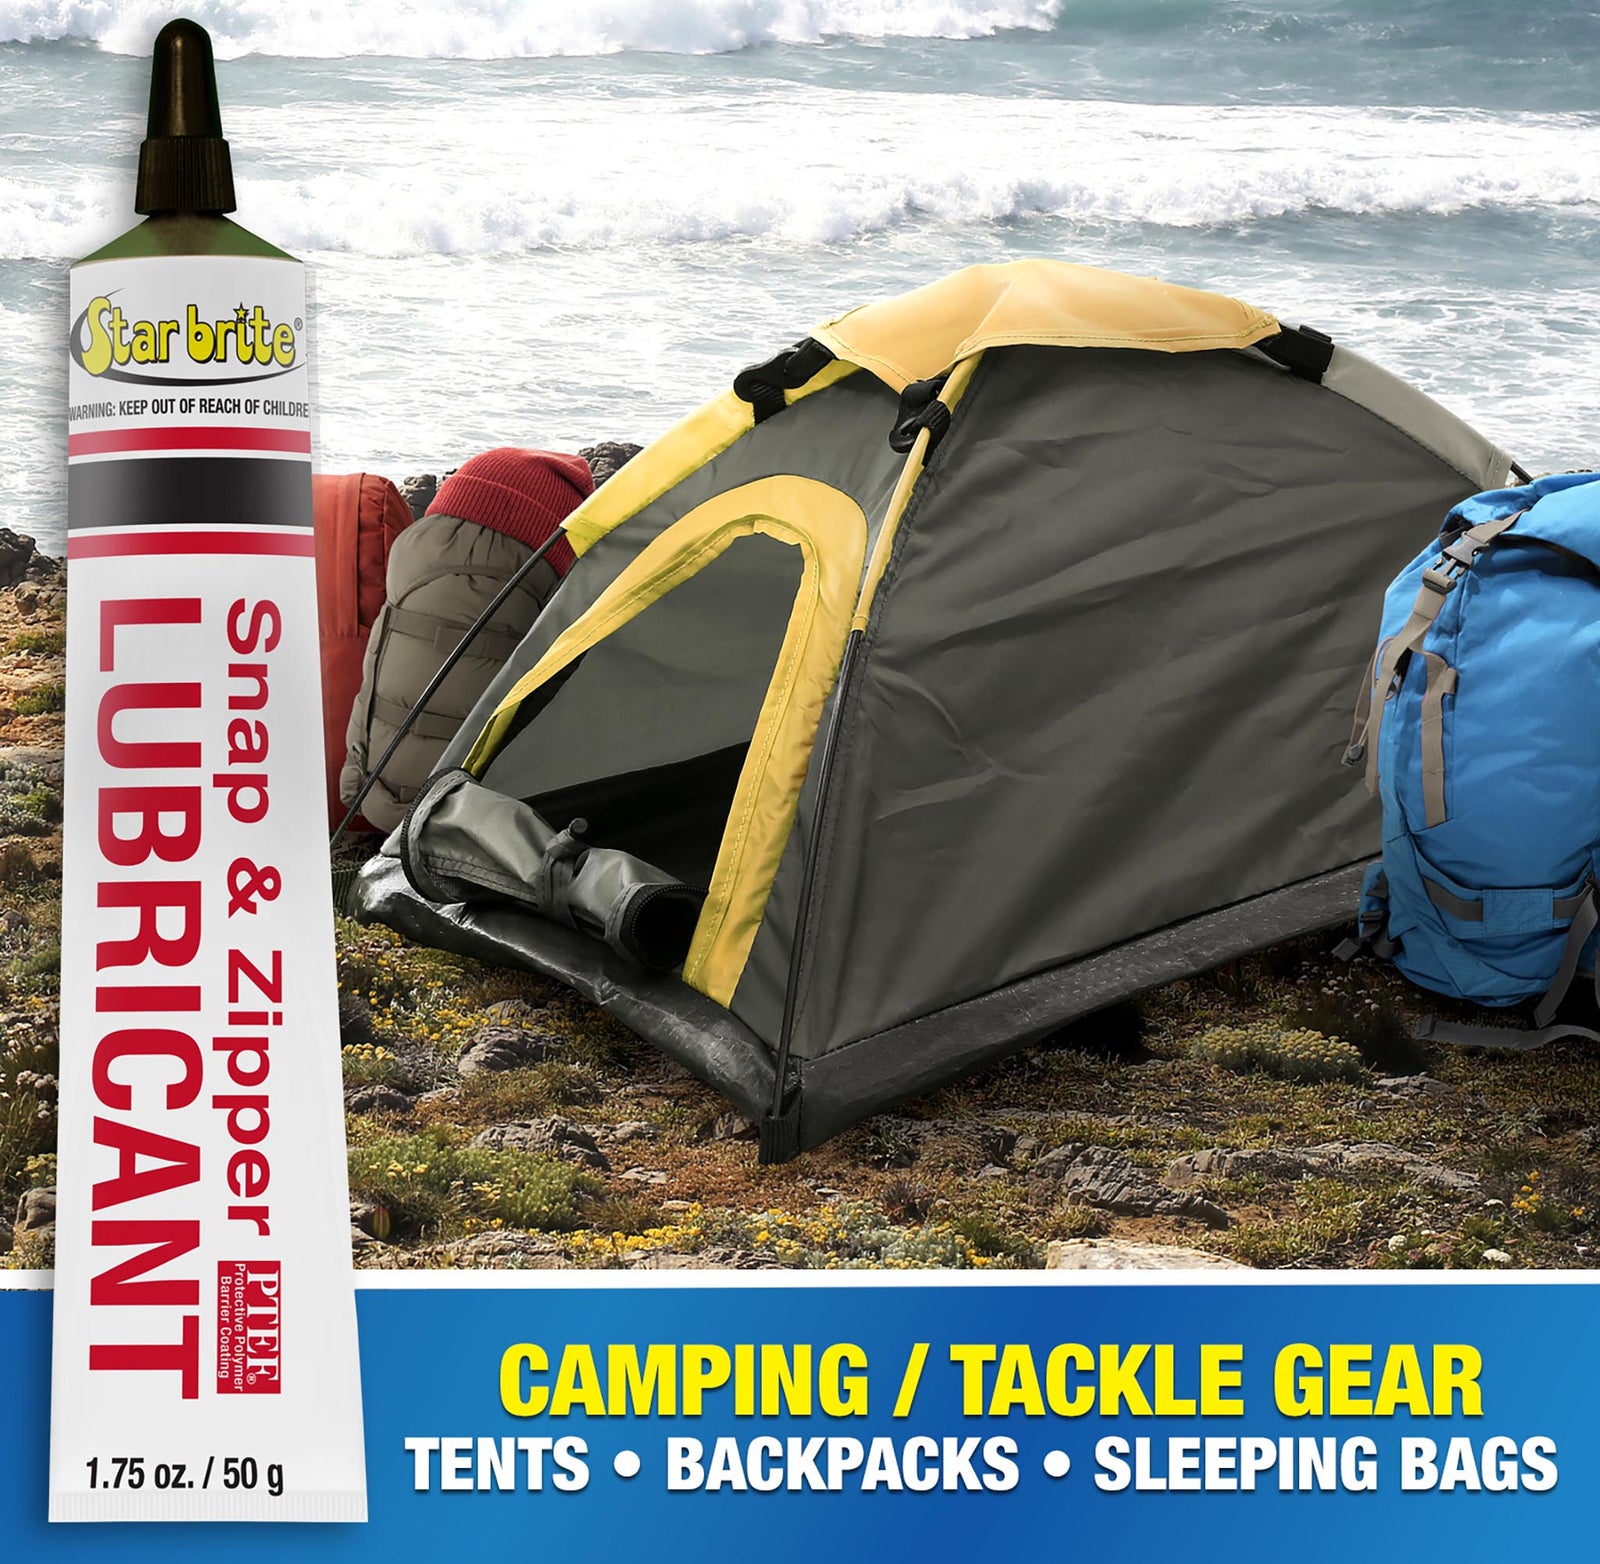
Loosen Stiff or Corroded Zippers
Long storage often leaves zippers sticky or hard to operate. Never force them. Instead:
- Apply a few drops of 3-in-1 oil directly to the zipper teeth
- Gently work the slider up and down to distribute the oil
- Rub a bar of mild soap along the zipper track for extra lubrication
This two-step process restores smooth movement and protects against future corrosion.
Prevent Future Zipper Mold
Once cleaned, run soap along both sides of the zipper tape, the seam edges near zippers, and the base of the tent where moisture collects. The soap creates a water barrier that helps prevent future mold growth.
Dry the Tent Completely

Sun-Dry for Final Disinfection
Drying is the most important step. Once cleaned, set up the tent in direct sunlight for 4–6 hours. Open every vent, door, and window to maximize airflow. UV rays kill remaining spores while heat and air evaporate hidden moisture. Sun drying also helps remove stubborn musty odors.
Air-Dry in Shade if Needed
If sun drying isn’t possible, hang the tent in a well-ventilated, shaded area for 24–48 hours. Use fans to boost airflow. This longer method works just as well if you have the time.
Check Hidden Areas Before Packing
Before considering the tent dry, test these often-missed spots by touch:
– Seams, folds, and stitching
– Floor and bathtub areas
– Inside pockets and mesh panels
– The rainfly and footprint
If anything feels even slightly damp, dry longer. Mold returns quickly when any moisture remains.
Restore Performance After Cleaning
Reapply Waterproofing if Needed
Cleaning can strip DWR coatings. Test water repellency by spraying a small area with water. If water beads up, the coating is intact. If it soaks in, apply a tent-safe waterproofing spray. Also inspect seams and reseal any that look cracked or worn.
Inspect and Lubricate Zippers Again
After drying, test every zipper for smooth operation. Reapply soap or oil if anything sticks, and replace damaged sliders or tapes before your next trip.
Store Smart to Prevent Mold

Use a Breathable Storage Sack
Never store your tent in a sealed plastic bag. Instead, choose:
– The original mesh storage sack that came with your tent
– A cotton pillowcase for smaller tents
– A ventilated gear duffel for larger setups
Breathable materials allow air circulation and prevent the moisture buildup that leads to mold.
Control Humidity in Storage
Store your tent in a cool, dry place away from basements, attics, or garages prone to dampness. For extra protection, place silica gel packs inside the storage sack or run a dehumidifier in the storage room. Check on stored tents every few months and air them out briefly to catch problems early.
Prevent Mold Before It Starts
Air Out Immediately After Every Trip
Even a quick 15-minute airing makes a difference. After camping:
– Pitch the tent at home or hang it up
– Wipe down any condensation with a dry cloth
– Let it dry fully before packing
Never pack a damp tent. This single habit prevents most mold problems.
Use a Tent Footprint
A groundsheet or footprint blocks moisture from seeping through the tent floor. Make sure it is slightly smaller than the tent base so it does not channel rainwater underneath.
Ventilate During Use
Reduce condensation while camping by opening vents and doors when conditions allow, using mesh panels for airflow, and avoiding cooking inside the tent. Better airflow means less moisture and lower mold risk.
Avoid Common Cleaning Mistakes
- Don’t use bleach. It ruins fabric and waterproofing even though it kills mold.
- Don’t machine wash. Agitation and harsh detergents damage coatings and seams.
- Don’t store damp or in plastic. Trapped moisture guarantees mold will return.
- Don’t ignore early signs. A small spot today becomes a major infestation tomorrow.
When to Seek Professional Help
Consider a professional cleaning service if:
– Mold covers more than 30% of the tent
– You have allergies or respiratory issues
– The fabric feels thin or compromised
– Home cleaning does not remove the smell
Professional services use industrial-grade, fabric-safe treatments and can reproof your tent for long-term protection.
Frequently Asked Questions About Cleaning a Moldy Tent
Can I use bleach to clean my tent?
No. Bleach damages tent fabric, weakens seams, and destroys waterproof coatings. Use white vinegar or a mild soap solution instead.
How long should I dry my tent before packing it away?
The tent must be 100% dry. This usually takes 4–6 hours in direct sun or 24–48 hours in a shaded, ventilated area. When in doubt, dry longer.
Can mold permanently ruin my tent?
Yes, if left untreated. Mold can weaken fabric, strip waterproof coatings, and cause permanent staining. Early intervention gives you the best chance of saving the tent.
Is it safe to sleep in a tent that had mold?
After thorough cleaning and complete drying, the tent is generally safe. However, people with allergies or respiratory issues should consider professional cleaning for heavily contaminated tents.
Can I machine wash my tent?
No. Machine washing can damage coatings, seams, and fabric. Always hand clean using gentle methods.
What is the best way to store a tent long-term?
Store the tent in a breathable mesh sack in a cool, dry place with good airflow. Avoid sealed plastic bags, and add silica gel packs to control humidity.
Key Takeaways for Cleaning a Moldy Tent
A moldy tent does not have to mean the end of its life. With prompt action, a safe vinegar-based cleaner, and careful drying, you can restore most tents to full usability. Always remember the three most important rules: clean early with fabric-safe solutions, dry completely before packing, and store in breathable materials in a low-humidity environment.
Start by inspecting your tent today. Even if you only spot a faint smell or a small discoloration, addressing it now will save you time, money, and frustration on your next camping trip.