
Setting up a beach tent should not be complicated, especially when you are juggling kids, coolers, and sunscreen. The Sun Ninja Beach Tent is built for fast, tool-free assembly right on the sand, giving you instant shade without the usual hassle. Weighing under 10 pounds and fitting eight people comfortably, this portable canopy uses a sand-pocket anchoring system instead of traditional stakes, making it a smart choice for any beach outing. With the right technique, you can have your Sun Ninja tent standing strong in under five minutes.
This guide walks you through every step from unboxing to final tensioning, so you can beat the sun and enjoy your day with confidence. The setup steps are even printed directly on the storage bag, so help is always within reach.
Unpack and Lay Out Components
A smooth setup starts with preparation. Get everything organized before you touch the sand.
Check All Included Parts
Remove every item from the storage bag and confirm you have the full kit. The Sun Ninja package includes a canopy with four built-in sand pockets, four adjustable poles, four drawstring sandbags, four ground stakes, a compact shovel, and a storage bag with printed instructions. If anything is missing, contact the manufacturer right away.
Lay Canopy in a Clean X Shape
Place the canopy flat on the sand and stretch each corner outward to form a clean X shape. This opens the structure evenly and aligns the pole sleeves for easier insertion. Avoid bunching or twisting the fabric, since uneven layout leads to lopsided tension later.
Pro Tip: Position the tent so the open sides face away from the wind. This reduces flapping and improves airflow through the canopy.
Prepare Ground and Fill Sand Pockets
Stability starts from the ground up. Proper sand anchoring prevents shifting and keeps your tent secure all day.
Dig Shallow Holes at Each Corner
Use the included shovel to dig four small holes about 6 inches deep, one at each canopy corner. These pockets hold the sandbags securely and stop lateral movement during use.
Visual Cue: Each hole should be just large enough to fully submerge a filled sandbag.
Fill Sand Pockets Based on Conditions
Each corner has a built-in pocket. Match your fill level to the day’s conditions:
- Calm day: Fill 25–30% for a lightweight setup that is easy to move
- Normal use: Fill 75% for the ideal balance of weight and stability
- Windy day: Fill 100% for maximum hold against gusts
Pack the sand tightly with the shovel after filling. Overfilling makes repositioning difficult, while underfilling risks a blowaway.
Bury and Secure the Pockets
Place each filled pocket into its corresponding hole and tamp down firmly. Fully buried pockets are less visible and far more effective than surface weights.
Common Mistake: Leaving sandbags on top of the sand. They shift easily. Always dig and bury them.
Assemble and Insert the Poles
The poles create the tent’s structure. Quick, correct assembly ensures full height and coverage.
Connect Poles Properly
Join each pole using the telescoping or snap-together design. Most models include internal elastic cords for easy threading. Make sure every segment clicks securely into place before moving to the next step.
Warning: Forcing a bent pole can cause breakage. Straighten it fully before insertion.
Insert Poles 6 Inches from the Seam
Locate the pole sleeves on the canopy and insert each pole 6 inches from the seam on each side. Start with the front corners, slide the pole under the fabric sleeve, then lift and arch the pole upward into position.
Lock the Fabric with Ball Caps
Once the pole is arched, pull the canopy fabric over the top and snap it into the ball cap at the pole’s peak. This locks the fabric in place and creates a taut, dome-like shade.
Pro Tip: Have a partner hold the pole base while you secure the cap. This prevents slipping and speeds up the process.
Adjust for Wind and Stability
Even a well-built tent can fail without wind-aware adjustments.
Face the Poles Into the Wind
In breezy conditions, rotate the tent so the poles face into the wind. This allows air to flow over the dome shape instead of catching underneath and lifting the canopy.
Add Ground Stakes for Extra Hold
Although sand pockets are the primary anchor, add ground stakes through the corner loops for additional security. Drive each stake at a 45° angle away from the tent.
Tighten the Drawstrings
Each pole connects to a drawstring from the canopy top. Pull these snug to eliminate sagging and reinforce the structure. Avoid over-tightening, which can distort the shape, and recheck after 10 minutes of sun exposure since the fabric expands in heat.
Do a Final Tension Check
A taut canopy lasts longer and performs better. Walk the perimeter before settling in.
Inspect All Four Corners
Verify that sand pockets are still buried, poles are upright and seated in ball caps, and the fabric is smooth without sagging. Repack sand or adjust pole depth as needed.
Test Stability with a Gentle Push
Apply light pressure to each pole. The structure should flex slightly and return to position. Excessive wobble means the sand pockets need more sand, the holes are too shallow, or the poles are not fully secured.
Fix Pole Sinking in Soft Sand
If poles begin sinking and reducing headroom, lift the pole slightly, place a flat rock or shell pad under the base, then re-secure and re-tension. A plastic disc like a jar lid also works well to distribute weight under each pole foot.
Tear Down and Pack Up Fast
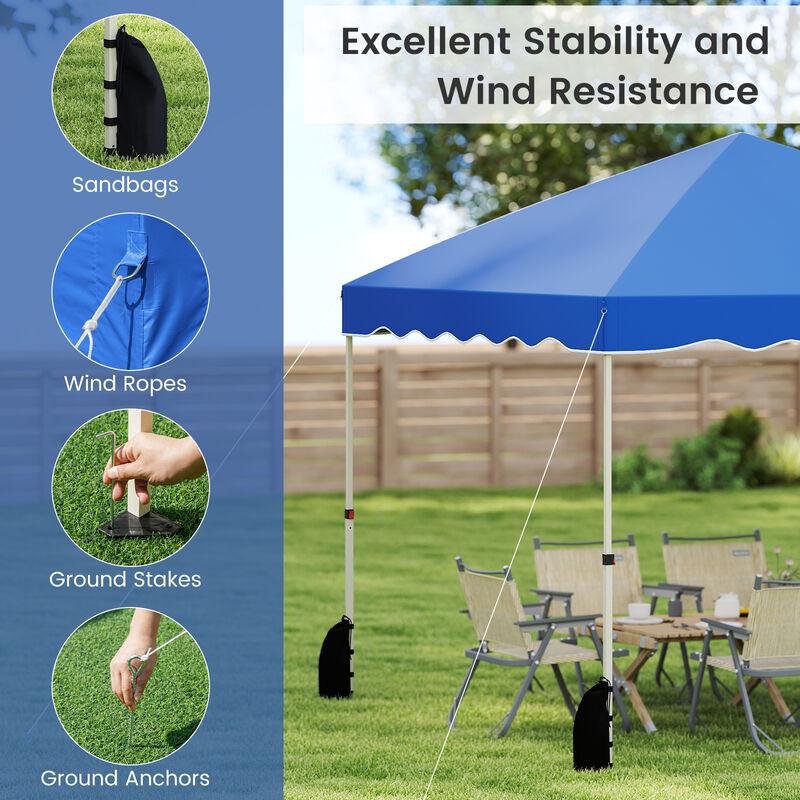
The Sun Ninja tent takes seconds to collapse when you follow the reverse process.
Remove Poles and Ball Caps
Unsnap each ball cap and gently lower the poles. Disassemble them into segments and store them in the bag.
Empty All Sand
Turn sand pockets inside out and shake thoroughly. Never pack wet or sandy components, since this causes mold and wear over time.
Fold and Roll the Canopy
Fold the canopy in half, then roll it tightly from one end. This saves space and prevents deep creases in the fabric.
Store Everything in the Bag
Place all parts, including poles, stakes, shovel, and canopy, into the storage bag. The compact design fits in most car trunks or under airplane seats.
Pro Tip: Wipe down poles and stakes with a damp cloth after use to remove salt and grit before storing.
Optimize Setup for Different Conditions
Tailor your approach to the environment for the best results.
Calm, Crowded Beach
Fill sand pockets 25–30%, skip stakes to avoid tripping hazards, and prioritize quick setup and mobility.
Windy, Open Shoreline
Fill pockets 100%, use all four stakes, face the poles into the wind, and recheck tension every hour.
Soft, Deep Sand
Pre-dig deeper holes at 8 inches, add a shell or rock base under each pole, and pack sand firmly around every pocket.
Maintain Your Tent for Long-Term Use
Keep your Sun Ninja tent in top shape for seasons to come.
Rinse After Saltwater Exposure
Salt degrades fabric and metal. Rinse the canopy and poles with fresh water after every beach outing.
Air Dry Before Storing
Never pack a damp tent. Hang it indoors or in the sun to dry completely to prevent mildew.
Inspect Poles Annually
Check for cracks, bends, or frayed elastic cords. Replace damaged poles to avoid mid-use failure on your next trip.
Store Flat or Rolled
Avoid sharp folds. Store the canopy rolled loosely in a cool, dry place.
Troubleshoot Common Setup Issues
Quick fixes for typical problems.
No Shade Due to Sagging
Loose tension or underfilled sand pockets are the usual cause. Tighten the drawstrings and add sand to the pockets.
Tent Blows Away
Shallow holes or empty pockets are to blame. Bury pockets fully and fill them to 75–100%.
Poles Won’t Stay in Ball Caps
A worn cap or misaligned fabric is the likely issue. Adjust the fabric position and snap firmly. If the cap is worn, contact support for a replacement.
Difficulty Inserting Poles
Twisted fabric or tight sleeves can block the pole. Lay the canopy perfectly flat and feed the pole in slowly.
Frequently Asked Questions About Sun Ninja Tent Setup
How long does it really take to set up a Sun Ninja tent?
With practice, most users complete setup in under 5 minutes. First-time setup may take closer to 10 minutes as you get familiar with the pole assembly and sand pocket positioning.
Do I need to use the stakes, or are sand pockets enough?
Sand pockets are the primary anchor and work well in calm conditions. For windy beaches or loose sand, adding all four stakes provides valuable extra stability.
Can one person set up the Sun Ninja tent alone?
Yes, though having a partner to hold the poles while you snap the ball caps makes the process noticeably faster and easier.
How much sand should I put in each pocket?
For typical use, fill each pocket about 75% full. Use 25–30% for calm days when you want lightweight mobility, or 100% for maximum wind resistance.
What should I do if the poles sink into soft sand?
Lift the pole, place a flat rock, shell, or plastic disc under the base, then re-secure and re-tension. Deeper pre-dug holes also help prevent sinking.
Is the Sun Ninja tent good in strong wind?
It performs well in typical beach breezes when sand pockets are fully filled and stakes are used. It is not recommended for extreme weather or severe storm conditions.
Final Takeaways for Setting Up Your Sun Ninja Tent
The Sun Ninja Beach Tent delivers fast, reliable shade when set up with the right technique. Focus on three essentials: lay the canopy in a clean X shape, fill sand pockets to match the day’s wind conditions, and insert poles exactly 6 inches from the seam for proper tension. These steps alone transform a frustrating setup into a smooth five-minute routine.
For your next beach outing, do a quick practice run at home so the first real setup feels effortless. Lay out the parts, rehearse the pole insertion, and review the printed instructions on the storage bag. With this small investment of time, you will walk onto the sand confident that your Sun Ninja tent will go up quickly and stay secure all day long.