
Cloudy or cracked headlights reduce night visibility by up to 80 percent and create a serious safety hazard for drivers. You do not need to replace the entire assembly to solve this problem effectively.
This guide explains how to choose between DIY cleaning and professional headlamp lens repair based on your specific damage type. Learn the exact steps to restore clarity or replace broken lenses while saving hundreds of dollars.
Diagnose Oxidation Versus Physical Damage
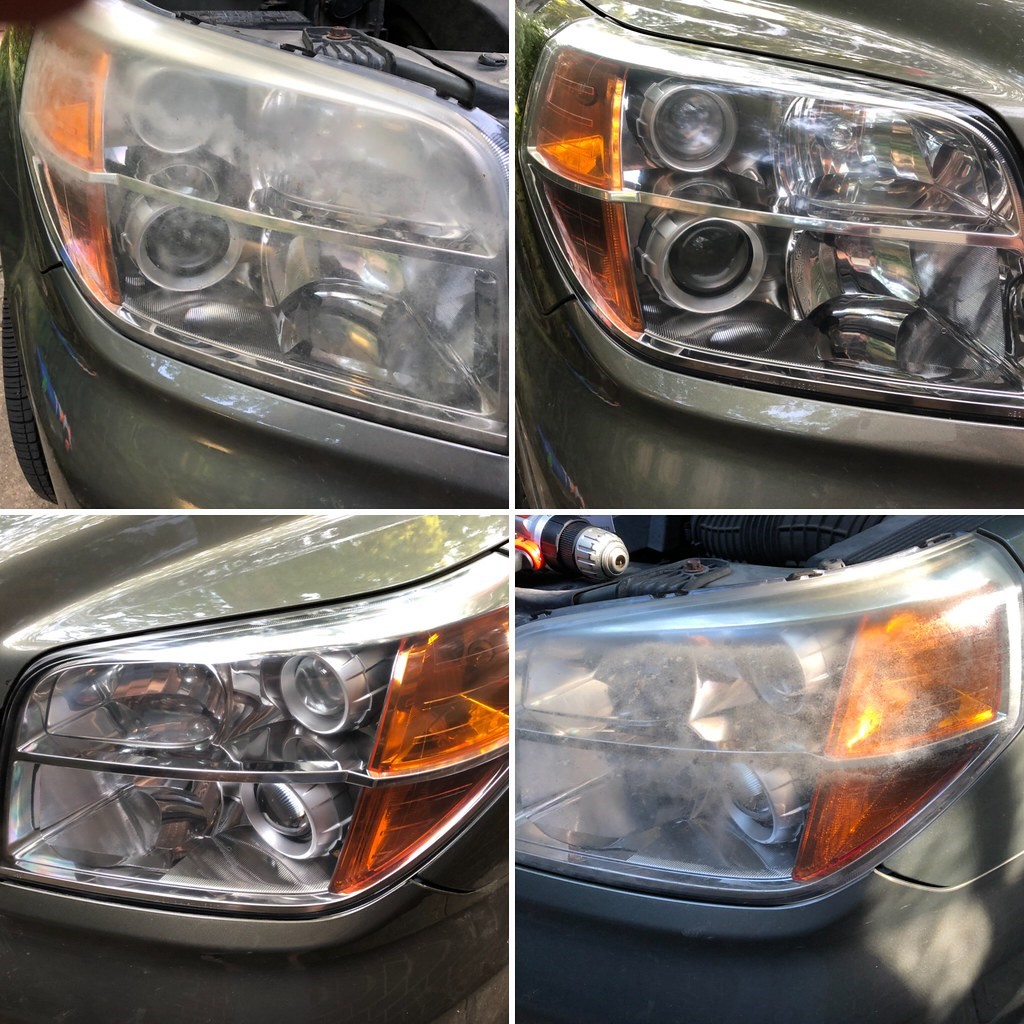
Identifying the root cause of your headlight issues determines whether you can polish them or must replace the lens entirely. Most drivers mistake deep structural cracks for simple surface haze, leading to wasted money on ineffective kits.
Identify UV Oxidation Symptoms
Yellowing and dullness occur when UV radiation destroys the factory protective coating on polycarbonate lenses. This chemical reaction creates a hazy layer that blocks light but leaves the plastic structurally sound.
* Look for a chalky white or yellow film on the surface.
* Check if the cloudiness feels smooth to the touch.
* Confirm there are no deep fissures or holes in the plastic.
Detect Structural Cracks and Breaks
Physical impacts from road debris cause cracks that compromise the internal seal of the headlight assembly. Polishing cannot fix these breaks because the structural integrity of the lens is lost.
* Inspect for visible lines running through the plastic thickness.
* Feel for sharp edges or deep grooves with your fingernail.
* Look for pieces of plastic that appear loose or shattered.
Check for Internal Water Intrusion
Moisture inside the housing indicates a broken seal that allows water to enter and damage internal electronics. Fogging that persists after driving usually means the lens must be opened and resealed professionally.
* Look for large water droplets clinging to the inside of the lens.
* Notice if condensation does not clear after the lights warm up.
* Check for corrosion on the bulb socket or wiring harness.
Restore Cloudy Headlights Without Sanding
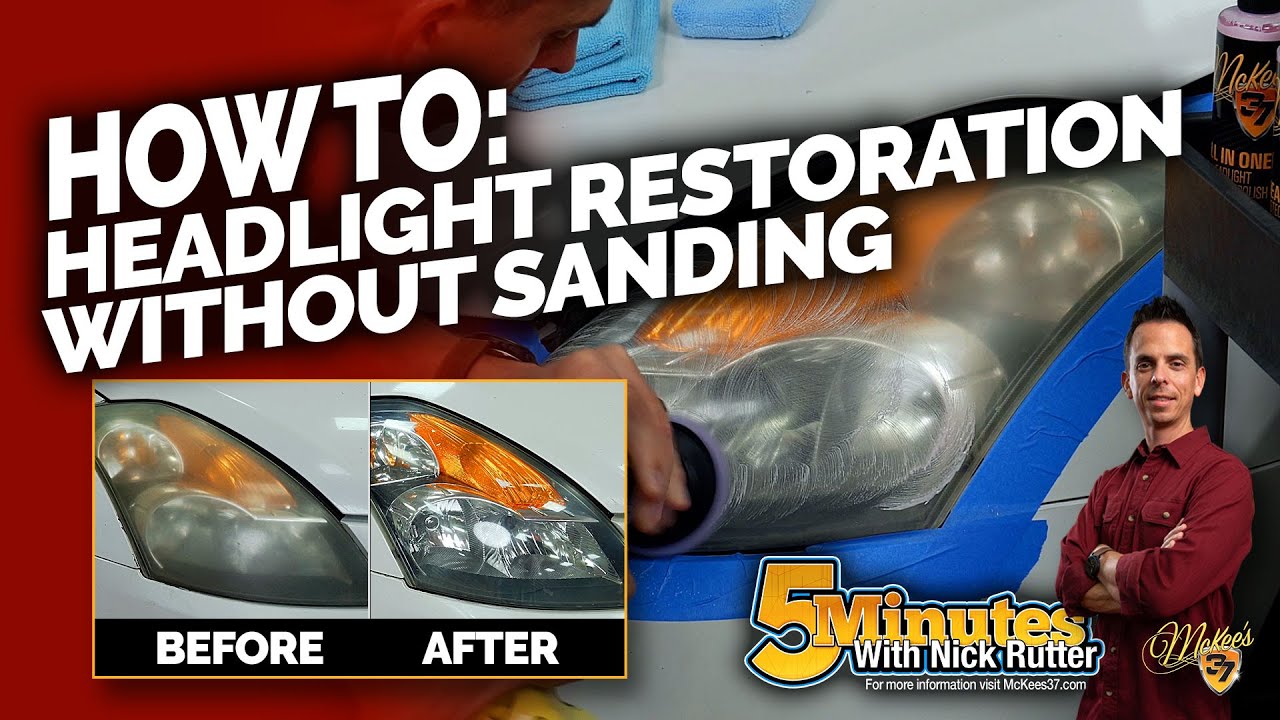
Surface oxidation can often be reversed using chemical polishes that dissolve the hazy layer without thinning the plastic. This method preserves the original lens thickness and avoids the swirl marks caused by aggressive sanding.
Apply Non-Sanding Restoration Kits
Modern kits use specialized compounds to chemically remove oxidation rather than grinding it away. These products are ideal for mild to moderate haze and typically take only 15 minutes to apply.
1. Wash the lens thoroughly with soap and water to remove dirt.
2. Apply the polishing compound using a clean microfiber pad.
3. Buff the surface in small circular motions until clarity returns.
4. Wipe away residue and immediately apply a UV sealant.
Use Baking Soda Paste Carefully
A mixture of baking soda and water can serve as a temporary fix for very light cloudiness if commercial kits are unavailable. This abrasive paste requires gentle application to avoid creating new micro-scratches on the lens.
* Mix baking soda with water until it forms a thick consistency.
* Rub gently onto the lens with a soft cloth for two minutes.
* Rinse completely with clean water and dry with a lint-free towel.
* Note: This method offers limited durability compared to professional sealants.
Seal the Surface Against UV Rays
Applying a UV-blocking sealant is the most critical step to prevent immediate re-oxidation after cleaning. Without this protective barrier, the exposed polycarbonate will turn yellow again within weeks.
* Choose a sealant designed specifically for polycarbonate headlights.
* Apply a thin, even coat using a lint-free applicator cloth.
* Allow the product to cure for at least 30 minutes before driving.
* Reapply the sealant every six to twelve months for best results.
Replace Cracked Lenses Professionally
When a lens is cracked or leaking, professional replacement involves opening the housing to swap the outer shell while keeping your original electronics. This process restores the factory seal and prevents costly internal water damage.
Open and Reseal the Assembly
Technicians use controlled heat to soften the adhesive holding the lens to the housing without damaging internal components. This precise method allows for the removal of the broken lens and installation of a new OEM-quality replacement.
1. Heat the perimeter of the headlight to soften the factory adhesive.
2. Carefully separate the damaged lens from the main housing body.
3. Clean the flange area to ensure a perfect bond for the new seal.
4. Install the new lens and apply high-grade adhesive for a watertight fit.
5. Test the unit for leaks before returning it to the vehicle.
Utilize Mail-In Replacement Services
Many specialized shops offer mail-in services where you ship your headlights for repair and receive them back within days. This option is often more affordable than buying new assemblies and retains your original projectors.
* Package the headlights securely in double-boxed containers with padding.
* Include tracking information and order details with your shipment.
* Photograph the units before shipping to document their pre-service condition.
* Expect a turnaround time of one to three business days plus shipping.
Avoid Costly Full Assembly Replacement
Replacing the entire headlight unit is rarely necessary unless internal electronics are also destroyed. A new OEM assembly can cost thousands, whereas lens replacement uses your existing functional parts.
* New assemblies range from $800 to over $5,000 per side.
* Lens replacement typically costs a fraction of the price of a new unit.
* Retaining original housings ensures compatibility with your vehicle’s fitment.
Prevent Future Lens Degradation
Regular maintenance extends the life of your restored or replaced headlights by protecting them from environmental hazards. Simple habits can double the lifespan of your headlamp lens repair investment.
Wash Headlights Weekly
Dirt, road salt, and chemical residues accelerate the breakdown of the UV coating if left on the surface. Regular washing removes these contaminants before they can eat through the protective layer.
* Use mild car soap and water to clean the lens surface.
* Avoid high-pressure washers directly on the lens seams.
* Dry the area thoroughly with a soft microfiber towel.
Reapply UV Protection Annually
Even the best sealants degrade over time due to constant sun exposure and weather conditions. Reapplying a UV protectant once a year maintains the barrier against oxidation.
* Inspect lenses every few months for early signs of fading.
* Apply a fresh coat of headlight-specific sealant annually.
* Do not rely on standard car wax for UV protection.
Address Minor Damage Immediately
Small chips or cracks can quickly expand into major failures if ignored. Early intervention prevents water intrusion that could ruin expensive internal modules and projectors.
* Evaluate any new impact marks on the lens surface right away.
* Seek professional advice if a crack appears near the seal.
* Avoid delaying repairs as moisture damage compounds quickly.
Understand Warranty Limitations and Rules
Knowing what voids a warranty helps you maintain your investment and avoid unexpected repair costs. Most professional services have specific conditions regarding physical damage and modifications.
Restoration Warranty Conditions
Warranties for polishing services typically cover the return of yellowing or haze within a set period. They do not cover new physical damage such as rock chips, scratches, or collision impact.
* Coverage usually lasts one to two years for oxidation return.
* New scratches or cracks void the protection immediately.
* Aftermarket tint films often invalidate the warranty terms.
Replacement Service Guarantees
Lens replacement warranties focus on the integrity of the new lens and the quality of the resealing job. Pre-existing internal damage or improper reinstallation by the user is generally excluded.
* Guarantees cover seal failures and lens defects.
* Internal module failures present before service are not included.
* Damage occurring during transit or reinstallation voids the guarantee.
Compare Repair Options Side-by-Side
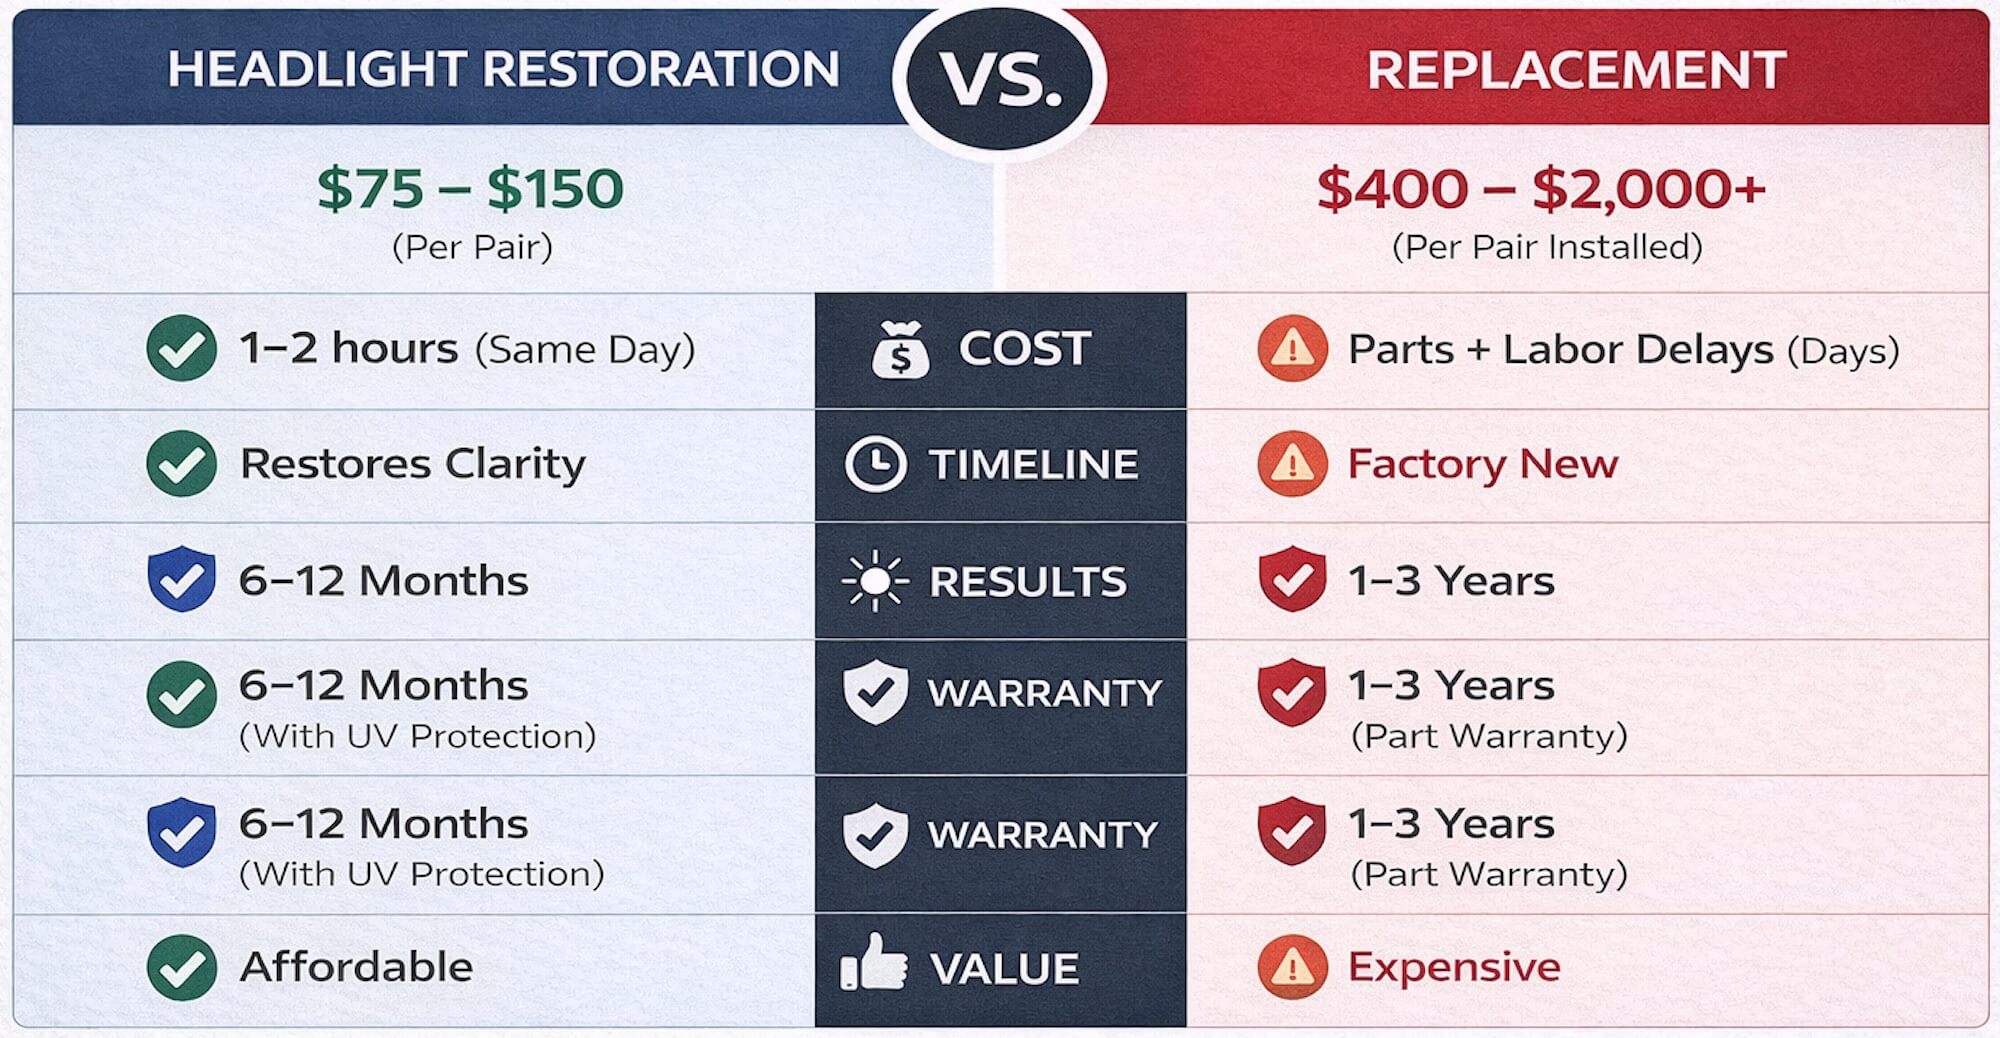
Choosing the right method depends on the severity of damage and your budget constraints. This comparison helps you decide between DIY kits, professional restoration, or full lens replacement.
| Feature | DIY Kit | Pro Restoration | Lens Replacement | New Assembly |
|---|---|---|---|---|
| Best For | Light haze | Heavy oxidation | Cracks and leaks | Total failure |
| Cost Range | $20 – $50 | $100 – $180 | $300 – $600 | $1,600+ |
| Time Required | Under 1 hour | 1.5 hours | 3 – 5 days | Immediate |
| Longevity | 6 – 12 months | 2 – 5 years | 5+ years | 5+ years |
| Preserves OEM | Yes | Yes | Yes | No |
Handle Special Vehicle Cases Correctly
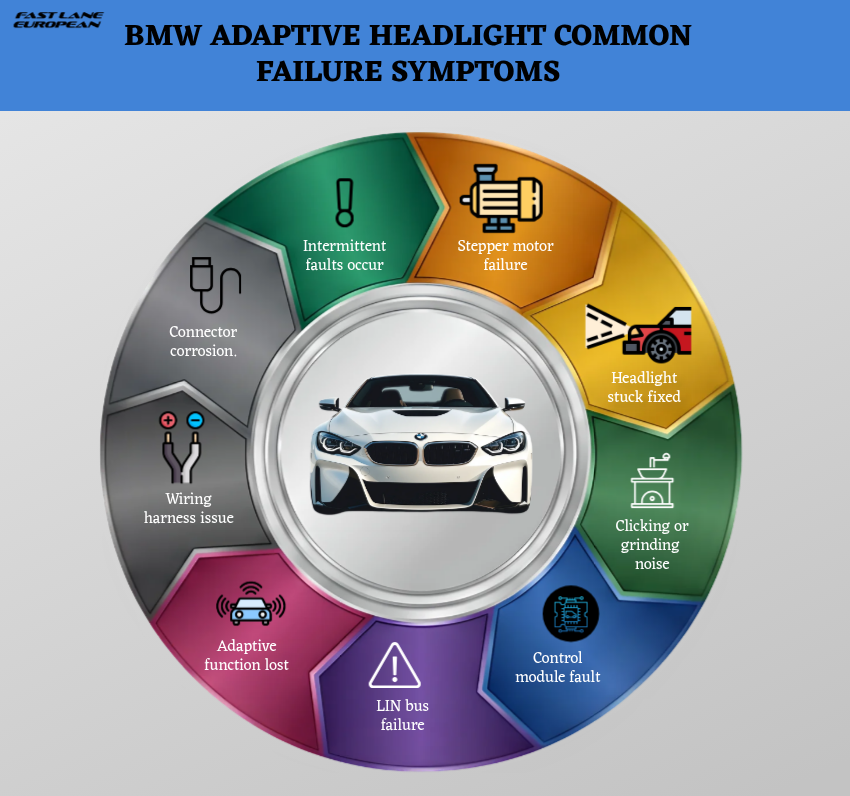
Certain vehicles require specialized knowledge due to complex housing designs or unique electronic configurations. European models and cars with aftermarket modifications often need extra care during repair.
Manage European Model Complexities
Brands like BMW, Audi, and Mercedes often have intricate headlight designs that require precise heat control during disassembly. Incorrect handling can damage delicate internal components or housing clips.
* Verify the technician has experience with luxury European brands.
* Confirm availability of specific lens models for your vehicle.
* Expect potentially higher costs for specialized sourcing and labor.
Address Aftermarket Tints and Films
Headlights with tint films or protective covers require removal before any restoration or replacement work can begin. This additional step adds time and labor costs to the overall service.
* Remove all films before attempting chemical polishing.
* Account for extra labor time when scheduling appointments.
* Be aware that old adhesive residue may need special cleaning.
Inspect Internal Harnesses and Modules
If lights flicker or fail after lens work, the issue may lie with the internal wiring harness or projector modules. These components can sometimes be replaced separately from the lens.
* Test internal electronics before sealing the new lens.
* Replace damaged harnesses to prevent future electrical failures.
* Check projector compatibility if upgrading or swapping parts.
Frequently Asked Questions About Headlamp Lens Repair
Can cracked headlights be fixed without replacing the lens?
No, cracked lenses cannot be polished back to clarity because the structural integrity is compromised. You must replace the physical lens or the entire assembly to ensure safety and prevent water intrusion.
How long does a professional headlamp lens repair take?
Mobile restoration services typically take 1 to 1.5 hours to complete on-site. Mail-in lens replacement services require 1 to 3 business days for the actual repair plus shipping time.
Will my headlights leak after a professional lens replacement?
Professional services include a resealing process using high-grade adhesive and leak testing to ensure a watertight fit. This prevents the moisture issues that often plague DIY repairs or damaged units.
Is sanding required to restore cloudy headlights?
Sanding is not required for many modern restoration methods that use chemical polishes instead. Non-sanding kits effectively remove oxidation without thinning the lens or risking permanent swirl marks.
What voids a headlight restoration warranty?
Warranties are typically voided by new physical damage like scratches, cracks, or collisions after the service. Applying aftermarket tints or failing to maintain the UV sealant may also invalidate coverage.
How much does it cost to replace just the headlight lens?
Professional lens replacement typically costs between $300 and $600 for a pair, which is significantly less than buying new assemblies. Full OEM assemblies can range from $1,600 to over $10,000 depending on the vehicle.
Key Takeaways for Successful Headlamp Lens Repair
Restoring or replacing your headlight lenses improves night visibility and saves you significant money compared to buying new assemblies. Always match your repair method to the damage type: polish for oxidation and replace for cracks. Regular cleaning and annual UV sealing will keep your headlights clear for years.
Take action today by inspecting your headlights for haze or cracks and choosing the appropriate headlamp lens repair solution. Whether you opt for a quick DIY kit or a professional replacement, addressing the issue now ensures safer driving conditions and better vehicle aesthetics.