
You’ve just returned from a wet weekend in the woods. Your gear is muddy, your tent is soaked, and you’re tempted to toss it in the garage until next month. Resist that urge. Learning how to dry a tent correctly is the single most important step in tent care. Even when the outer fabric feels dry to the touch, hidden moisture in seams, corners, and the floor can trigger mold, dissolve waterproof coatings, and leave your shelter smelling like a damp basement.
Proper drying isn’t complicated, but it does require patience. Whether you hang it from basement joists, drape it over your dining room table, or pitch it in the backyard, the rules stay the same: prioritize airflow, avoid heat, and never store it damp. This guide walks you through every reliable indoor and outdoor method, plus the packing and storage habits that keep your tent adventure-ready for years.
Choose the Right Drying Location
Pick a Well-Ventilated Spot
Airflow is non-negotiable when drying a tent. Outdoors, look for a shaded, breezy area that protects your tent from prolonged sun exposure. UV rays break down waterproof coatings and weaken nylon and polyester fibers over time.
Indoors, a garage, basement, or spare room with open windows or a fan works well. Skip humid basements unless you’re running a dehumidifier, since damp air defeats the whole effort.
Avoid Heat and Enclosed Spaces
Never place your tent near a heater, in a hot car, or under a hairdryer. Heat melts waterproof coatings and causes them to peel. Skip stuffy closets and sealed rooms too. These trap moisture and invite mold growth, even if the surface looks dry.
Set Up the Tent for Maximum Airflow
Pitch or Drape Fully
To dry a tent, fully open the tent. If you’re outdoors, pitch it completely. Without poles, drape it so everyone catches air. Open every door, window, and vents so air moves freely through the interior.
Indoors, drape the tent over tables, chairs, a shower rod, or a drying rack. Keeping it elevated prevents the floor from reabsorbing moisture and speeds evaporation from both sides.
Dry Components Separately
Remove the rainfly, inner tent, and mesh panels and hang each piece individually. Moisture often hides between layers when they’re packed together, so separating them exposes trapped dampness and shortens drying time.
Outdoor Drying Techniques

Hang on a Deck or Tree Line
One of the fastest outdoor methods is hanging the tent on a deck railing or between trees using paracord. Attach the corner loops and stretch the fabric loosely.
After a few hours, turn the tent inside out to expose interior seams and hidden corners. This simple flip is the secret to catching moisture that would otherwise stay trapped.
Use a Clean Tarp or Dry Grass
If laying the tent flat, place it on a clean tarp or dry grass. Never set it directly on wet or muddy ground, since moisture from below will soak back into the floor. A tarp also keeps dirt and debris off the fabric.
Plan for 12–24 Hours
Most tents need at least 12 to 24 hours to dry completely. In humid weather, give it two full days. One camper reported needing two days of wind and sun before his tent was truly dry. Patience here prevents mold later.
Indoor Drying Strategies
Drape Over Furniture or a Shower Rod
When outdoor drying isn’t possible, get creative indoors. Drape the tent over a dining room table, bed, or chairs, then place a fan nearby to move air gently across the surface.
Hanging it over a shower rod or door is another simple solution. Just confirm the room is well-ventilated so musty smells don’t develop.
Hang from Ceiling Joists
In an unfinished basement or garage, drive four nails into ceiling joists spaced to match your tent’s footprint. Hang the tent by its corner loops and let it air dry for 24–48 hours. This keeps it off the floor and allows full airflow around every panel.
Use Fans to Speed Things Up
Position a fan a few feet away from the tent so it circulates air without flapping it violently. Gentle, consistent airflow is the key. High-speed settings can stress seams and mesh.
Dry the Bottom First
Lay Flat on an Elevated Surface
The tent floor is the most common spot for trapped moisture, especially after sitting on wet ground. Place the tent on two tables, sawhorses, or a drying rack so air flows underneath.
This prevents the bottom from staying damp and speeds up evaporation from both sides at once.
Wait 3–4 Hours Before Flipping
Let the bottom layer dry for 3–4 hours before rotating. Many campers skip this step and find mold weeks later in storage. After the floor dries, flip the tent over and reposition it to expose the top and walls.
Never Use a Clothes Dryer
Machine Drying Damages Tents
The temptation is real, but never put your tent in a dryer. Tumbling stresses seams, snags mesh on zippers and buckles, and can melt waterproof coatings. Even no-heat cycles pose a risk.
Limited Exceptions for Other Gear
Some campers finish drying tarps or sleeping bags in the dryer for a few minutes on low heat, but only after they’re already air-dried. This exception does not apply to tents, especially those with poles, clips, or coated fabrics.
Safer Alternatives
Instead of a machine, rely on:
– Fans to move air
– Hanging setups in a garage or basement
– Draping over furniture
– Towel-assisted drying to blot excess moisture
These methods take longer, but they preserve your tent’s integrity.
Check for Hidden Moisture
Turn Inside Out and Inspect Corners
Even when the tent feels dry, turn it inside out and check seams, pockets, and corners. Pay special attention to fold lines and stitching, where water wicks and lingers.
Feel and Smell for Dampness
Run your hand across the floor and walls. If it feels cool or slightly clammy, it’s not ready. A faint musty smell is an early warning sign of mold. When in doubt, give it another few hours.
Clean After Drying
Remove Debris Before Packing
Once fully dry, clean the tent to remove dirt, leaves, and pet hair. Never clean a wet tent, as this spreads mud and can damage coatings.
Use a soft brush to sweep the interior and exterior. A leaf blower is highly effective for blasting dust from hard-to-reach areas.
Wipe Stains with a Damp Cloth
For stubborn spots, use a damp cloth and avoid soaking the fabric. If cleaning is necessary, use a mild soap and water solution and rinse thoroughly. Harsh detergents strip waterproof coatings.
Inspect Seams and Zippers
Check seams for wear or leaks. Wipe zippers with a damp cloth and run them open and closed a few times to prevent sticking. This is also the perfect moment to inspect poles and stakes.
Pack the Tent the Right Way
Roll from the Bottom Up
Never stuff your tent into its bag. Rolling prevents creases that weaken fabric and stress stitching. Start at the floor and roll tightly upward, then use included straps or paracord to secure the roll and squeeze out excess air.
Zip All Vents and Doors
Before rolling, zip every door, window, and vent closed. This keeps dust and bugs out during storage and prevents the fabric from snagging on anything.
Store Properly to Prevent Mold
Use a Breathable Container
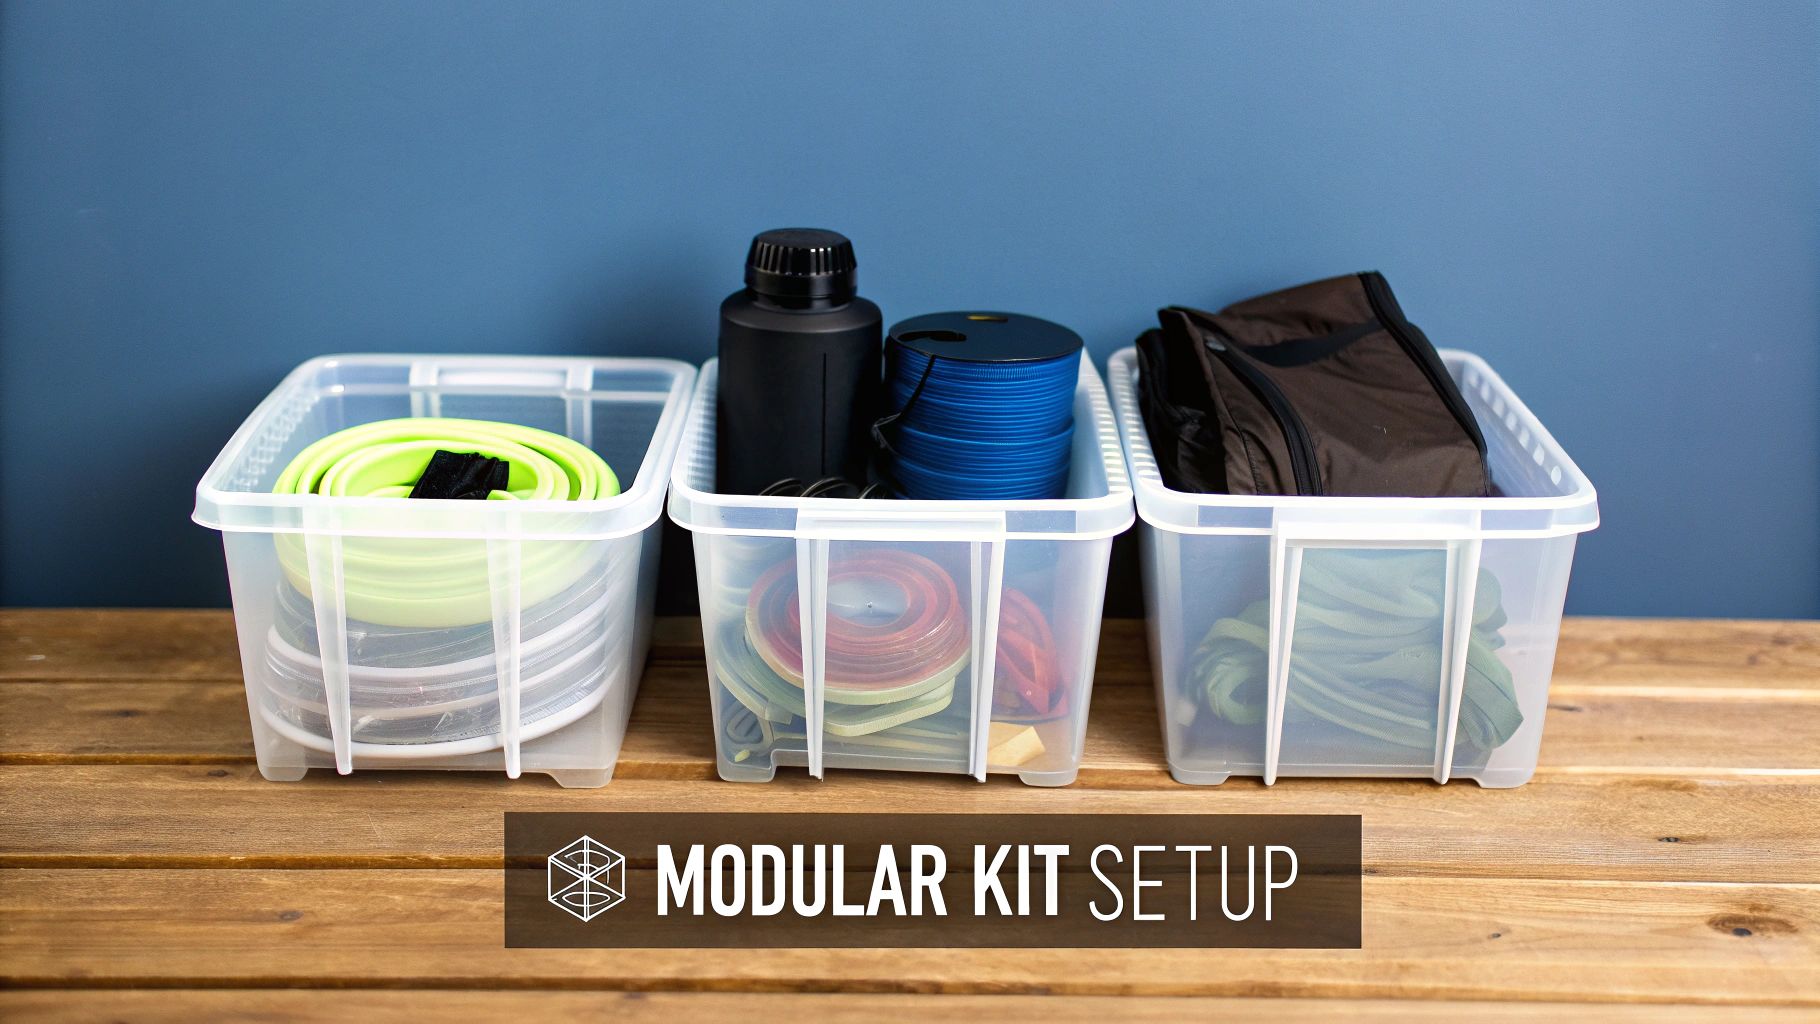
Never store your tent in its stuff sack, which traps residual moisture and feeds mold. Instead, use a breathable laundry sack, Rubbermaid tub, or lidded plastic trash can.
These containers protect against:
– Moisture
– Pests like mice
– Dust
– UV exposure
Choose a Cool, Dry Location
Store the tent in a cool, dry place. Avoid hot attics, damp basements, and car trunks. For long-term storage, fold the tent loosely to prevent permanent creases.
Avoid Common Drying Mistakes
The biggest mistake campers make is packing a tent that isn’t fully dry. Even slight dampness causes mold and odors over time.
Other pitfalls include:
– Using heat sources like hairdryers, heaters, or dryers
– Skipping the flip and leaving the bottom damp
– Leaving the tent in direct sunlight for hours
– Using harsh cleaners that strip DWR coatings
Complete Step-by-Step Drying Process
Phase 1: Post-Trip Setup
- Shake out the tent to remove loose water and debris
- Remove rainfly and inner tent for separate drying
- Pick a drying location with good airflow
Phase 2: Position for Airflow
- Pitch or drape the tent fully open
- Open all vents and doors
- Elevate the tent indoors if possible
- Place a fan nearby if drying inside
Phase 3: Dry Thoroughly
- Let the bottom dry for 3–4 hours
- Flip and rotate to expose all surfaces
- Turn inside out to check corners and seams
- Allow 12–24 hours of total drying time
Phase 4: Clean and Inspect
- Sweep or brush off dirt and debris
- Use a leaf blower for fine dust
- Wipe stains with a damp cloth
- Inspect seams and zippers
Phase 5: Pack and Store
- Roll from bottom up and secure tightly
- Zip all openings before rolling
- Keep in a cool, dry place
Frequently Asked Questions About Drying a Tent
Can I dry a tent in direct sunlight?
Short periods of sun are fine, but extended exposure degrades waterproof coatings and weakens fabric fibers. Choose a shaded, breezy spot whenever possible.
How long does it take to dry a tent?
Most tents need 12 to 24 hours of drying time, depending on humidity and airflow. In wet or humid conditions, allow up to two full days before packing.
Is it okay to dry a tent in a basement?
Yes, as long as the basement is dry and well-ventilated. Hang the tent from ceiling joists or drape it over furniture, and run a fan to keep air moving. Avoid damp basements where moisture lingers.
What happens if I pack a slightly damp tent?
Even minor dampness leads to mold, mildew, and musty odors within days or weeks. Coatings can also dissolve over time. Always confirm complete dryness before storage.
Can I use a hairdryer to speed up drying?
No. Hairdryers produce direct heat that damages waterproof coatings and weakens fabric. Stick to room-temperature air and gentle airflow from a fan.
How do I know when my tent is fully dry?
Feel the floor, seams, and corners for coolness or clamminess. Turn the tent inside out and inspect hidden areas. If there’s any doubt, give it another few hours.
Key Takeaways for Drying Your Tent
Drying a tent properly comes down to three essentials: airflow, patience, and avoiding heat. Pitch it fully or drape it loose, give it at least 12 to 24 hours, and never rely on a dryer or heater.
Once dry, clean off debris, roll instead of stuff, and store in a breathable container away from heat and moisture. These small habits prevent costly replacements and keep your shelter ready for the next adventure. Set up your drying station today so your tent is prepped and waiting when the next trip calls.