There’s nothing worse than stepping into soggy, stiff boots halfway through a hike—especially when it could’ve been avoided with just a few minutes of care. Hiking boot maintenance isn’t glamorous, but it’s the difference between gear that fails after a season and boots that last for thousands of miles. Dirt, moisture, and neglect silently degrade materials, weaken adhesives, and destroy waterproofing. The good news? A simple, consistent routine can keep your boots supportive, dry, and trail-ready for years. This guide breaks down exactly how to clean, dry, reproof, inspect, and store your hiking boots the right way—so you never have to cut a hike short because of failing footwear.
Clean Boots After Every Hike
Skipping post-hike cleaning is one of the most common—and costly—mistakes hikers make. Dirt, sand, and mud aren’t just messy; they’re abrasive. With every step, grit grinds into leather and fabric, accelerating wear. Dried mud pulls moisture from leather, making it brittle. Even small stones trapped inside can puncture waterproof membranes like GORE-TEX®. Cleaning after every hike takes less than 10 minutes but dramatically extends boot life and performance.
Remove Laces and Insoles First
Always start by removing the laces and insoles. This gives you full access to the interior and prevents moisture from getting trapped. It also lets you check for hidden debris that could damage the boot over time. Lay everything out so each part can be cleaned and dried properly.
Pro Tip: Snap a photo of your lacing pattern before removal—especially for complex boots—to make rethreading easier.
Brush Off Dry Debris
Tap your boots together outside to knock off caked mud and loose stones. Use a soft-bristle brush to sweep away dust and dirt from the upper, focusing on seams, eyelets, gusseted tongues, and high-wear zones like the toe cap. For fine sand stuck in tight spots, a paintbrush or can of compressed air works wonders.
Scrub with Lukewarm Water and Soap
Fill a sink or bucket with lukewarm water and a small amount of mild dish soap (like Dawn) or a specialized cleaner like Nikwax Footwear Cleaning Gel. Never use hot water—it can weaken adhesives and warp materials.
Dip a brush into the solution and scrub the entire upper, paying extra attention to creases and stitching. For stubborn grime around eyelets and toe boxes, an old toothbrush is perfect. Avoid soaking boots—prolonged immersion risks delamination and membrane damage.
Clean Treads and Outsoles
Use a stiff brush or pointed tool to dig out mud and pebbles from deep lug patterns. For caked-on debris, rinse the soles under running water or briefly soak just the outsole. Power-washing is acceptable for tough buildup—but keep the nozzle at least 12 inches away to avoid damaging the upper.
Wash Insoles and Laces Separately
Soak insoles in soapy water, gently scrub with a brush, then rinse and air-dry completely. Never machine wash—this can distort shape and degrade cushioning. Laces can be hand-washed or machine-washed in a mesh bag for deep cleaning.
Rinse Thoroughly
After scrubbing, rinse boots under clean running water to remove all soap residue. Leftover detergent can break down materials and ruin water repellency. Shake off excess water and move to drying—don’t let boots sit wet.
Dry Boots the Right Way
Improper drying is one of the top causes of boot failure. Heat and sunlight degrade materials, while trapped moisture leads to mold, odors, and hydrolysis—the silent breakdown of polyurethane midsoles. Air drying at room temperature is the only safe method for long-term boot health.
Air Dry at Room Temperature
Place boots in a dry, well-ventilated area away from direct heat sources. Never put them near radiators, campfires, stoves, or in hot cars—these can melt adhesives, warp rubber soles, and crack leather. Avoid direct sunlight, which fades colors and weakens fibers.
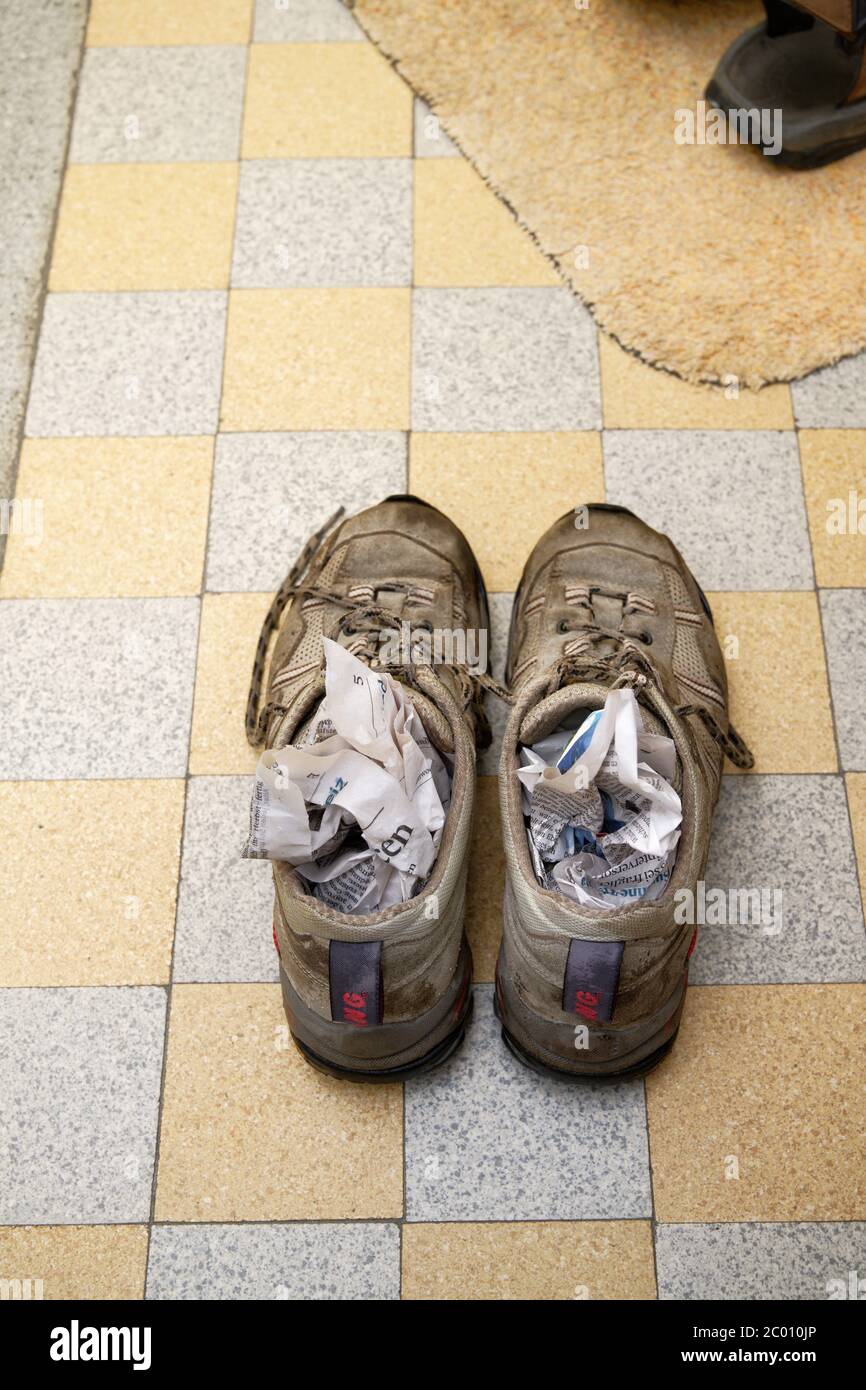
Stuff with Absorbent Material
Fill boots with crumpled newspaper, kitchen paper, or old T-shirts to draw out moisture and maintain shape. Kitchen paper is best for GORE-TEX® boots—regular newspaper ink can transfer and clog the membrane, reducing breathability.
Replace stuffing every few hours as it becomes damp. Continue until boots feel dry to the touch inside and out—this usually takes 12–24 hours.
Use a Non-Heated Boot Dryer
For faster results, use a fan-based, non-heated boot dryer. These circulate air without applying heat, typically drying boots in 1–4 hours. Avoid electric heaters or hair dryers—they deliver damaging heat even on “cool” settings.
Warning: Heat is the “silent killer” of hiking boots. It may seem fast, but it cuts boot life in half.
Reapply Waterproofing Regularly
Waterproofing isn’t permanent. The Durable Water Repellent (DWR) coating on boots wears off over time. When water stops beading and soaks into the upper—a process called “wet-out”—boots become heavy, cold, and less breathable. Reapplying treatment restores performance and protects materials.
Test When to Waterproof
Sprinkle water on the upper. If droplets bead and roll off, your DWR is still effective. If water soaks in, it’s time to reproof. Always clean boots first—dirt blocks treatment absorption.
Rule of Thumb: Waterproof 1–2 times per year, or after every deep clean.
Choose the Right Product by Material
Using the wrong treatment can damage your boots. Match the product to your boot’s material:
| Boot Type | Recommended Treatment |
|---|---|
| Full-Grain Leather | Wax or cream (e.g., Nikwax Waterproofing Wax for Leather) |
| Suede/Nubuck | Spray or gel (e.g., Nikwax Nubuck & Suede Proof) |
| Synthetic/Fabric | Spray-on DWR (e.g., Nikwax Fabric & Leather Proof) |
| Mixed Materials | Dual-purpose spray safe for all components |
| Vegan/Synthetic | PFAS-free sprays (e.g., Collonil Protect & Care) |
Avoid: Mink oil and industrial boot oils—they over-soften leather and reduce support.
Apply to Damp, Clean Boots
For best results, boots should be clean and slightly damp—not dripping wet. Damp fibers absorb treatment more evenly. For dense leather, wrap boots in a wet towel for 1–2 hours to open pores.
Spray or Rub In Evenly
Hold sprays 15–20 cm from the boot and apply in smooth, overlapping passes. Cover the entire upper, including seams and stitching. For waxes or creams, rub in with fingers or a cloth, working thoroughly into the material.
Wipe Off Excess
After 5–10 minutes, wipe off any residue with a damp cloth. This prevents white buildup and ensures even performance. Let boots dry naturally at room temperature—don’t wear or store until fully dry.
Test Beading Performance
Once dry, sprinkle water on the surface. It should bead and roll off. If it absorbs, reapply a second light coat.
Pro Tip: Nikwax Waterproofing Wax for Leather replenishes tanning agents, enhances breathability, and prevents cracking—ideal for smooth leather boots.
Condition Leather Boots Only When Needed
Conditioning is only for full-grain leather boots—not suede, nubuck, or synthetics. Over-conditioning softens leather too much, reducing structural support and increasing stretch. Apply only when leather feels dry, stiff, or shows fine cracks.
Spot-Check High-Flex Areas
Focus on zones that bend most: the crease above the toes, heel collar, and ankle folds. If leather looks dull or feels rough, it needs conditioning.
Use Natural Beeswax or Leather Cream
Apply a small amount of conditioner or natural beeswax with a soft cloth. Work it into the leather in circular motions. Beeswax adds a protective layer while preserving breathability.
Buff After Absorption
Let the product absorb for 15–30 minutes, then buff lightly with a dry cloth. This restores shine and removes any surface film.
Avoid: Products with tannin—they can deteriorate stitching over time.
Inspect Boots Before Every Hike

A quick inspection takes less than a minute but can prevent trail failures. Check boots before and after every hike, especially after long periods of storage. Catching small issues early saves money and keeps you safe on remote trails.
Check Outsoles for Wear
Look for:
– Flattened or uneven tread
– Cracks in rubber
– Separation between sole and upper
Worn treads reduce grip on wet or loose terrain—replace soles before they fail.
Examine Midsoles for Damage
Compression, cracking, or “powdery” texture indicate midsole breakdown. Hydrolysis—a chemical degradation of polyurethane—occurs during long storage and causes soles to crumble.
Scan Uppers for Tears
Inspect for:
– Seam splits
– Fabric tears
– Delamination (peeling layers)
– Loose eyelets or hooks
Even small rips can expand under pressure.
Replace Worn Laces and Insoles
Frayed laces can snap mid-hike. Replace them when you see wear near metal eyelets. Insoles lose cushioning over time—replace if they’re flat, smelly, or deformed.
Smart Move: Carry spare laces and insoles on long trips.
Resole Instead of Replace

Resoling breathes new life into boots with worn treads but intact uppers. It’s cheaper than buying new, reduces waste, and supports sustainable gear use. Don’t wait until soles are completely gone—early repair ensures better adhesion and structural integrity.
Know When to Resole
Replace soles when:
– Tread is worn down to the base
– Rubber is cracked or peeling
– Midsole is compressed or separating
Waiting too long makes repairs harder or impossible.
Find a Certified Repair Shop
Most cobblers can’t handle hiking boots. Use the VIBRAM® Shoe Repair Locator to find certified outdoor boot specialists. Brands like SCARPA, Meindl, and Hanwag are designed for resoling.
Cost: €50–€150—often half the price of new boots.
Store Boots Properly for Longevity
How you store boots matters just as much as how you use them. Improper storage leads to mold, odors, and hydrolysis—the #1 cause of sole failure in unused boots. Follow these steps to keep gear ready for next season.
Clean, Dry, and Treat Before Storage
Never store dirty or damp boots. Always:
1. Clean thoroughly
2. Dry completely
3. Apply a fresh coat of waterproofing
This protects materials during months of inactivity.
Keep in a Cool, Dry Place
Ideal storage conditions:
– Temperature: 18–20°C (64–68°F)
– Environment: Dry, ventilated, away from sunlight
– Avoid: Attics (too hot), basements (too damp), cars (temperature swings)
Use Breathable Storage
Store boots in:
– Original box with ventilation holes
– Cloth bag or old pillowcase
– Open closet shelf
Never use plastic bags—they trap moisture and encourage mold.
Maintain Shape and Prevent Dry-Out
Stuff boots with scrunched paper or boot trees. Tie laces loosely to prevent deformation. To prevent hydrolysis, wear boots at least every two months, even for short walks. Movement keeps sole materials active.
Key Insight: Hydrolysis is a bigger threat than wear for infrequently used boots.
Final Note: Hiking boot maintenance isn’t complicated—but it is critical. A few minutes after each hike can extend boot life to 5–10 years or more. Clean, dry, reproof, inspect, and store properly, and your boots will keep your feet dry, supported, and trail-ready for thousands of miles. Treat your gear well, and it will return the favor—every step of the way.