
Winter camping offers stunning landscapes and peaceful solitude, but dropping temperatures can turn your tent into an icebox overnight. Without proper insulation, your body heat escapes quickly, leaving you cold and restless. The good news is that you don’t need a specialized four-season tent to stay warm. With proven techniques and affordable materials, you can transform any tent into a cozy winter shelter.
This guide walks you through every step of tent insulation, from site selection to heat management. You’ll learn where to place reflective barriers, how to upgrade your floor setup, and which sleeping system combinations deliver maximum warmth. Whether you’re car camping or backpacking, these strategies keep you comfortable even when temperatures plunge below freezing.
Choose the Right Tent Location
Avoid Cold Air Pockets
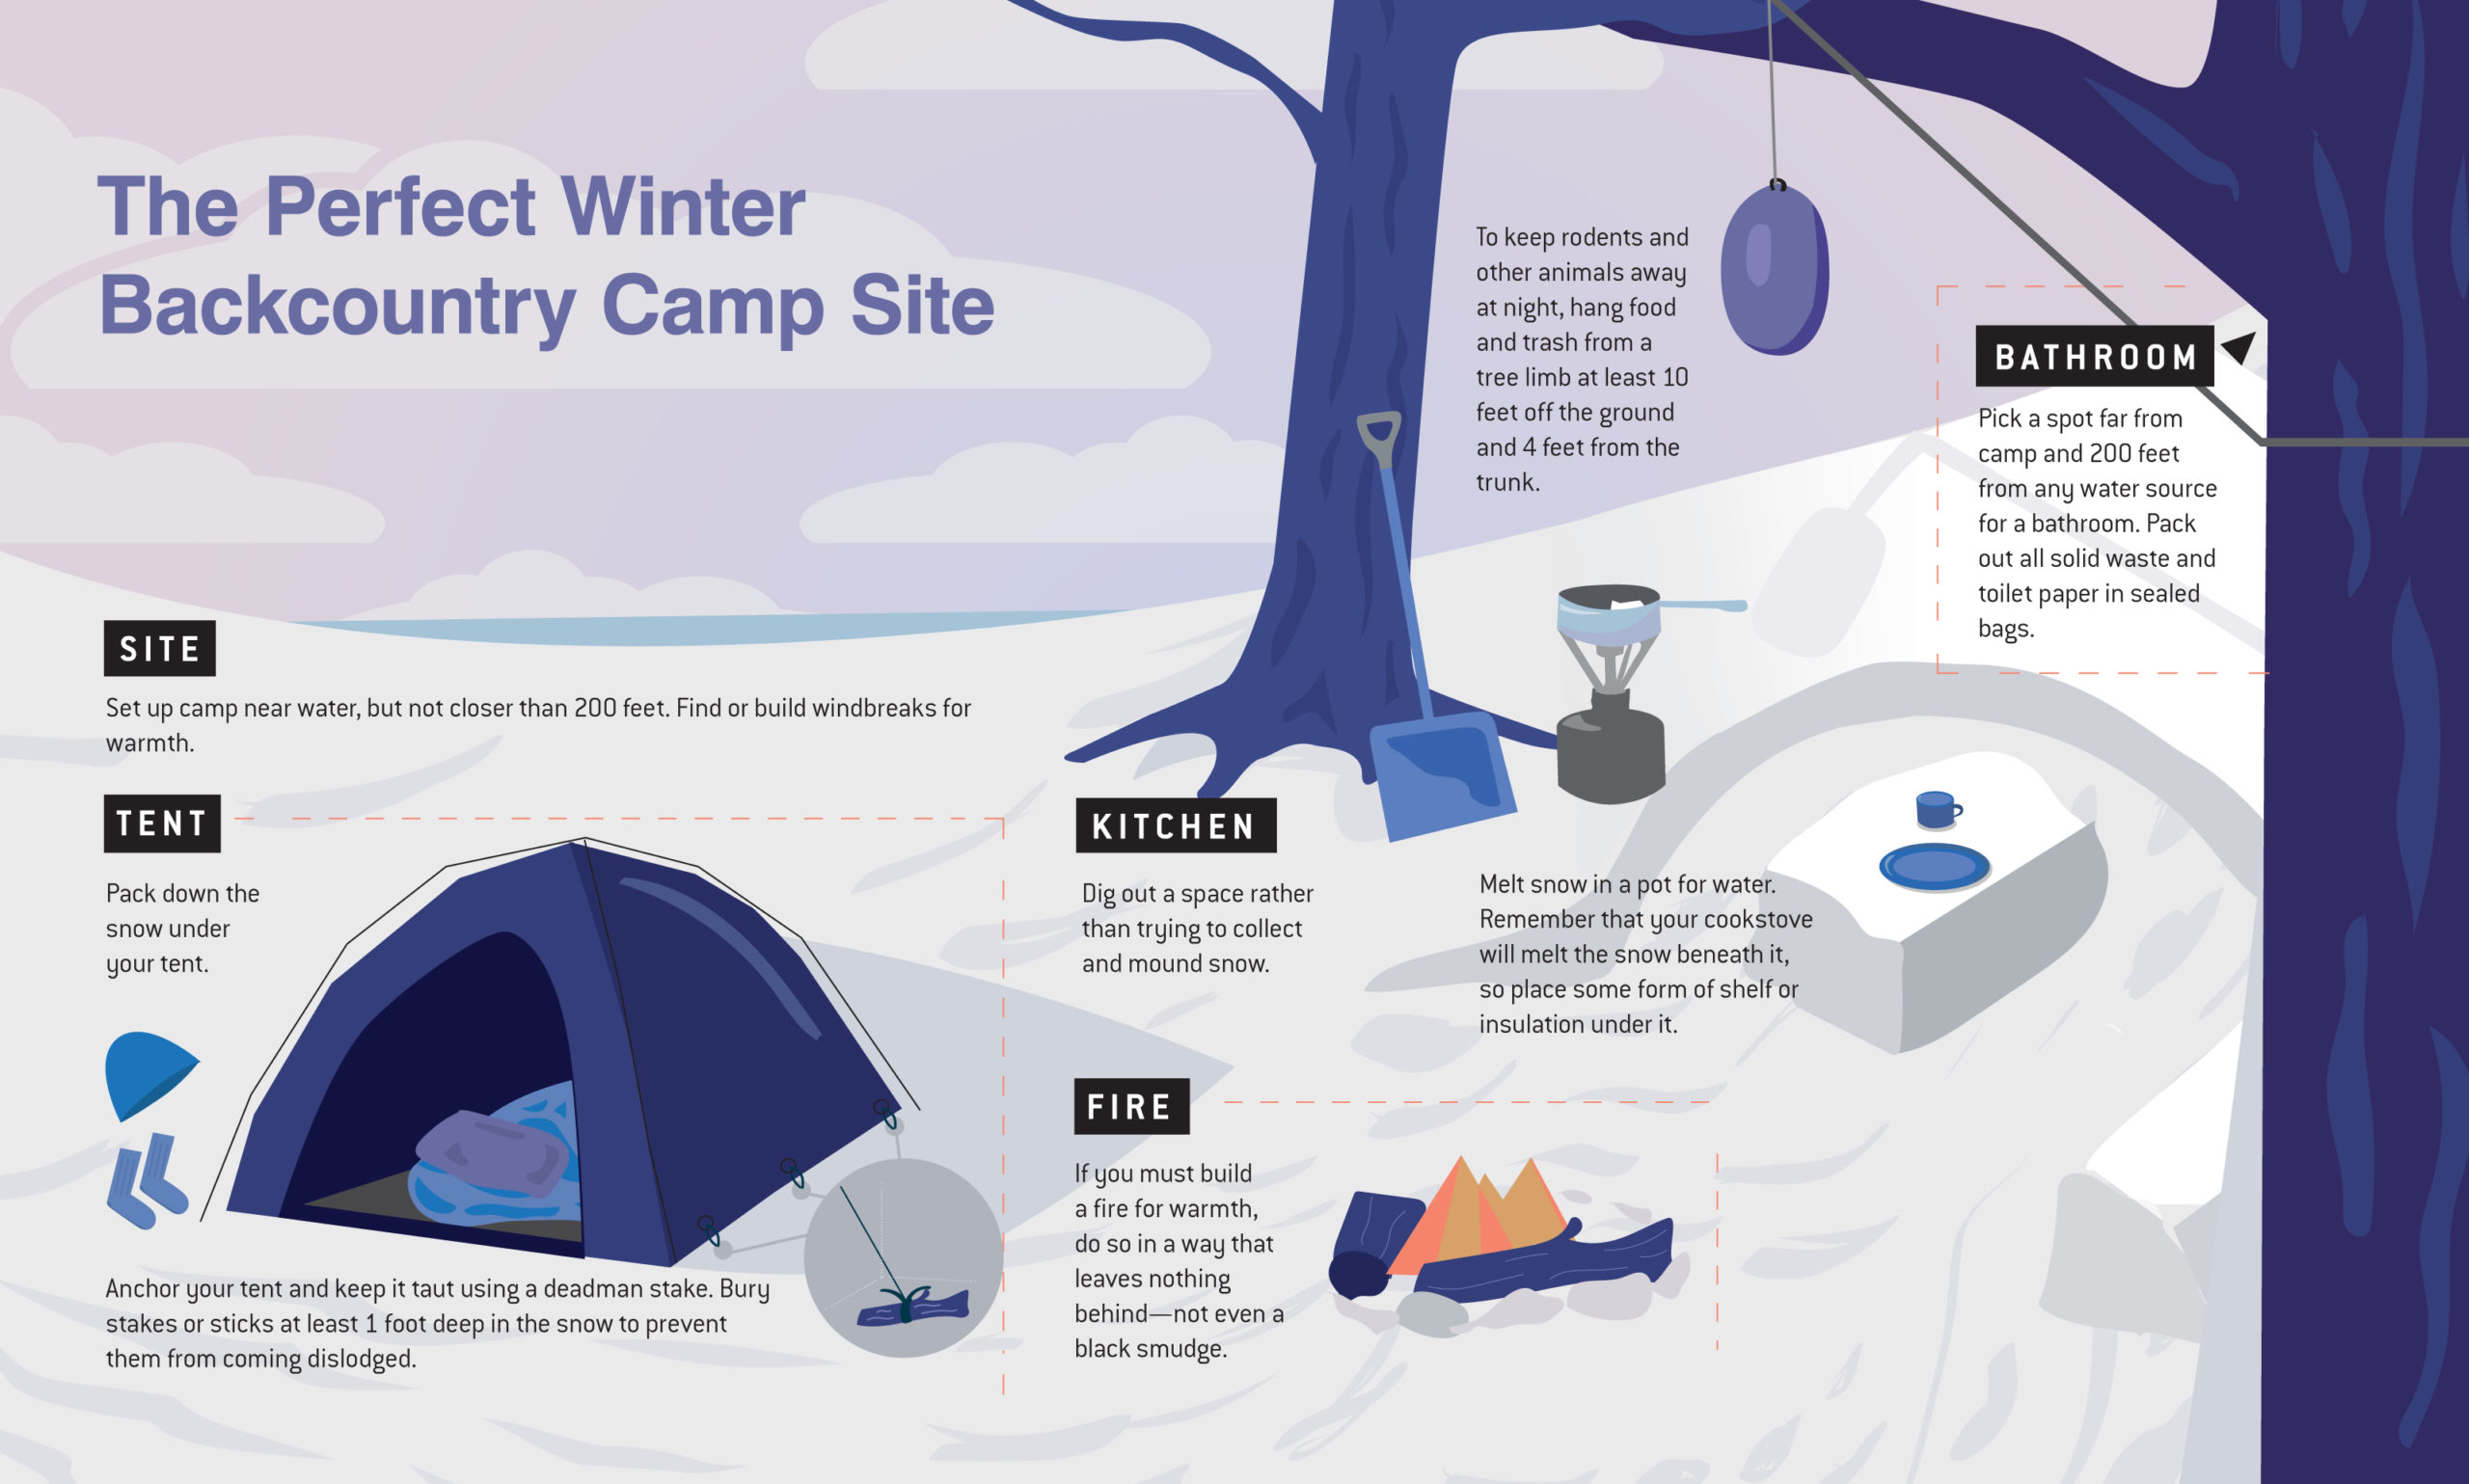
Cold air sinks, so valleys and low-lying areas become frost traps at night. Set up your tent on higher ground, just a few feet of elevation can make a real difference. Look for natural windbreaks like tree lines or rock formations, but avoid steep slopes or avalanche-prone zones.
Face the Door Away from Wind
Most winter winds come from the northwest. Position your tent so the smallest side or door faces away from prevailing winds. This reduces pressure on the rainfly and prevents cold gusts from blasting inside when you enter.
Use Natural Insulation from Snow
Once pitched, pile snow around the base of your tent like a berm. It acts as a windblock and adds an extra insulating layer. Pack it tightly along the sides, but keep vents clear to prevent CO₂ buildup if you use a heater.
Use a Reflective Thermal Barrier

Install Emergency Mylar Blankets
Line the interior ceiling and walls with emergency mylar blankets. These reflect up to 90% of your body heat back toward you. Tape them in place with duct tape or hang them loosely with cord. Avoid letting them touch sleeping bags directly to prevent condensation transfer.
Cover the Rainfly with Insulating Material
For extreme cold, drape a light-colored tarp or insulated blanket over the rainfly. White reflects sunlight during the day, helping warm the interior. At night, it creates dead air space that slows heat loss. Secure it with bungee cords or rope, and make sure it doesn’t sag onto the fly.
Add Floor Insulation Underfoot

Lay Down Foam Floor Tiles
Standard tent floors offer almost no insulation. Place interlocking foam floor tiles (like EVA puzzle mats) inside your tent. They create a thermal break between you and the frozen ground, which is the biggest source of heat loss. Cut them to fit your tent footprint and stack two layers in sleeping zones.
Use Reflective Insulation Panels
Place reflective bubble insulation panels beneath the foam tiles. These combine air pockets with aluminum foil to reflect radiant heat upward. They’re lightweight, moisture-resistant, and perfect for car camping or base camps.
Upgrade Your Sleeping System
Double Up Sleeping Pads
Use two sleeping pads: one closed-cell foam pad (like a Therm-a-Rest Z Lite) and one inflatable (such as an NEMO Tensor). The foam pad goes on the bottom, since it won’t compress and lose R-value under your body weight. The inflatable adds comfort and extra insulation. Aim for a combined R-value of 5 or higher.
Pre-Warm Your Sleeping Bag
Before bed, fill a Nalgene bottle with hot water and place it in your sleeping bag 10–15 minutes ahead of time. This warms the interior without adding moisture. Avoid heating stones, as they can crack and release steam, which increases condensation.
Wear Dry Base Layers to Bed
Put on clean, dry thermal base layers before zipping in. Moisture from sweat freezes overnight and reduces insulation efficiency. Stick with wool or synthetic materials, and never wear cotton.
Block Drafts and Seal Gaps
Tape Tent Seams and Vents
Apply weatherproof tape (like Tenaceous Tape) over factory seams and zippers on the rainfly to prevent cold air infiltration. Partially close vents to reduce airflow, but leave one open slightly to manage humidity and prevent frost buildup inside.
Use a Door Draft Snake
Roll an old fleece jacket or stuff a sock with dry clothes to create a draft snake. Place it along the bottom edge of the tent door to block cold air from creeping in. For a longer-lasting solution, sew a fabric tube and fill it with rice or wool scraps.
Manage Condensation Effectively
Wipe Down Interior Walls Daily
Condensation forms when warm breath meets cold fabric. Each morning, wipe down walls and the ceiling with a microfiber towel. Hang it outside to dry during the day to prevent dampness from soaking into gear and sleeping bags.
Ventilate Without Losing Heat
Open the rainfly’s upper vents slightly to allow moist air to escape while keeping warm air trapped below. If it’s snowing, tilt the fly outward so snow doesn’t block airflow. You can also build a ventilation chimney from a cardboard tube covered in foil to direct airflow upward.
Use Heat Sources Safely
Bring a Portable Tent Heater
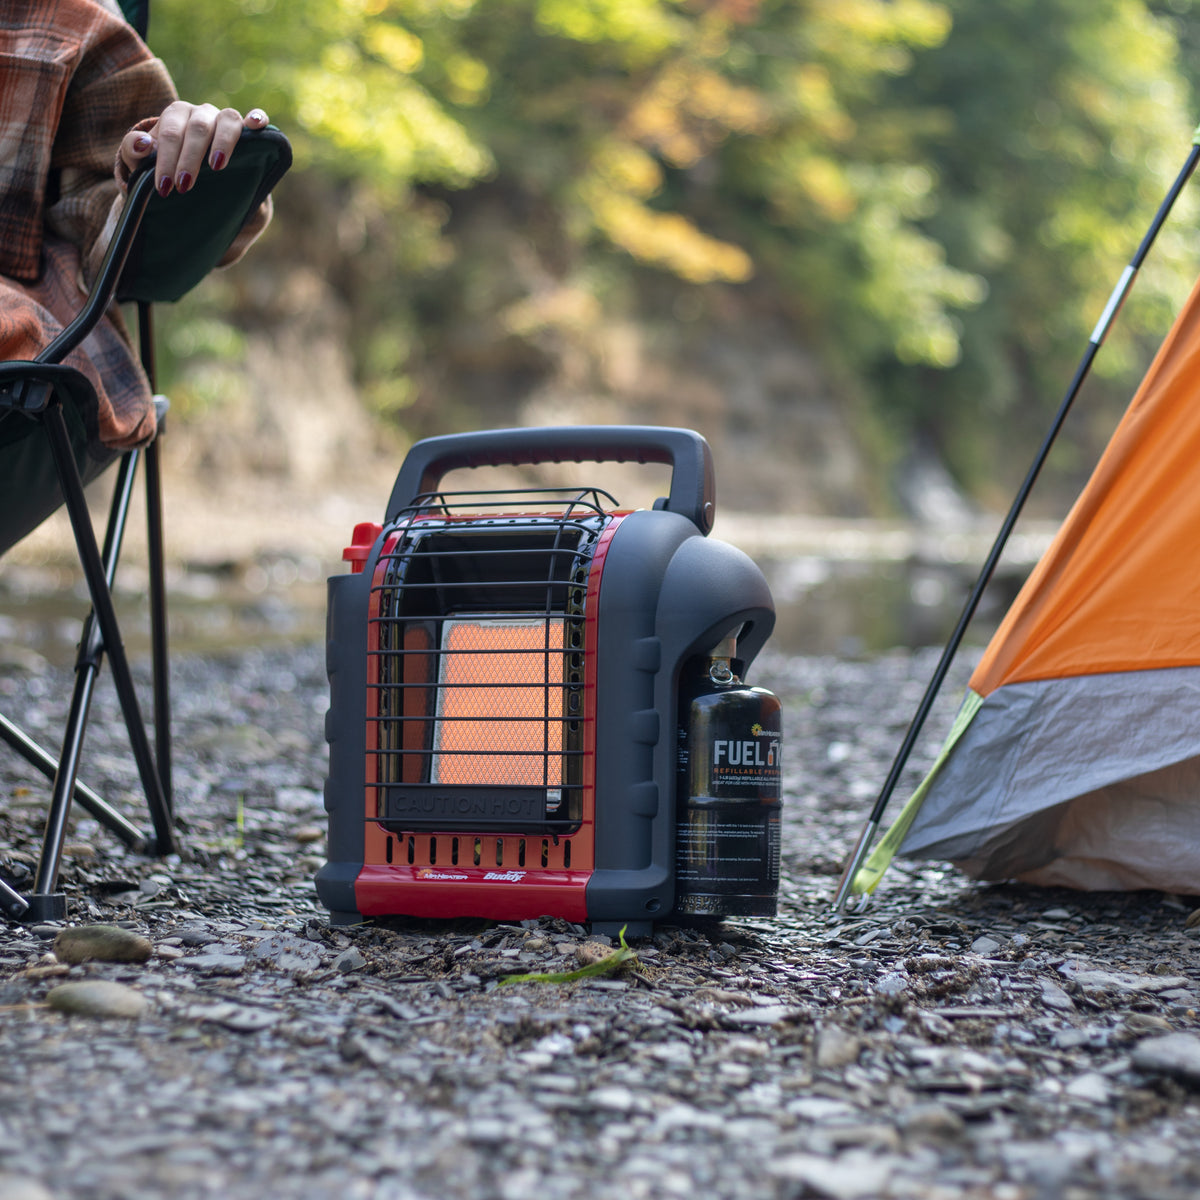
A catalytic propane heater (like the Mr. Heater Buddy) can raise interior temperature by 10–20°F. Only use it with proper ventilation and a carbon monoxide detector. Never leave it unattended or run it while sleeping unless it’s specifically rated for indoor tent use.
Place Hand Warmers Strategically
Tuck disposable hand warmers near your core or feet before bed. Put them in your socks or armpits first to warm them slightly, which extends their burn time. Avoid direct skin contact to prevent burns.
Reinforce with External Windbreaks
Build a Snow Wall Around the Tent
Use a snow shovel to construct a 3-foot-high wall around the windward side of your tent. Pack the snow tightly and let it set for 20 minutes to harden. This deflects wind and creates a microclimate that stays warmer.
Hang a Tarp as a Wind Shield
Pitch a freestanding tarp 3–5 feet in front of your tent door. Angle it diagonally to block wind while allowing easy entry. Use trekking poles or sticks as supports to create a buffer zone that reduces wind chill and snow drifts at the entrance.
Maintain Insulation Over Time
Check for Compression and Wear
Foam pads and insulation layers shift over time. Every few days, inspect your floor setup and re-fluff compressed areas. Replace torn mylar sheets or worn tape immediately to maintain performance.
Rotate Sleeping Spots
Body heat melts snow beneath you, creating cold pockets. Rotate sleeping positions every night if camping in the same spot for multiple days. This keeps the ground more uniform and prevents deep frost formation.
Frequently Asked Questions About Winter Tent Insulation
Do I need a four-season tent to camp in winter?
No. A three-season tent works fine if you add proper insulation, seal drafts, and manage condensation. Focus on floor insulation, reflective barriers, and a strong sleeping system to stay warm.
What is the best floor insulation for a winter tent?
Closed-cell foam tiles paired with reflective bubble insulation offer the best results. This combination blocks cold from the ground and bounces body heat back upward.
Can I use a space heater inside my tent?
Yes, but only use a heater rated for indoor use, like a catalytic propane heater. Always crack a vent for airflow and use a carbon monoxide detector for safety.
How do I prevent condensation from forming inside my tent?
Ventilate consistently by leaving a rainfly vent open slightly, wipe down walls each morning, and avoid bringing wet clothes or gear inside. Good airflow is the key to moisture control.
Will mylar blankets really help insulate a tent?
Yes. Mylar blankets reflect up to 90% of radiant body heat back toward you. They’re one of the most affordable and effective insulation tools for winter camping.
How thick should my sleeping pad be for winter camping?
Use two pads with a combined R-value of 5 or higher. A closed-cell foam pad on the bottom and an inflatable pad on top provides both insulation and comfort.
Key Takeaways for Insulating a Tent in Winter
Insulating a tent for winter camping comes down to trapping heat and blocking the elements. Start with site selection by pitching on higher ground and using snow as a natural windbreak. Add reflective mylar barriers on walls and ceilings, then layer foam tiles and reflective panels on the floor for a thermal break from frozen ground.
Upgrade your sleeping system with two pads totaling an R-value of 5 or higher, and always wear dry base layers to bed. Seal drafts with tape and a homemade draft snake, then manage condensation through daily wiping and strategic ventilation. When used safely, a catalytic heater and hand warmers add critical extra warmth.
Next step: Before your next trip, gather your materials and test your insulation setup at home. Pitch your tent in the backyard, add your reflective layers, and spend a night checking for drafts, condensation, and comfort. A little preparation ensures warm, restful nights in even the harshest winter conditions.